Yesterday, the table topper quilt top came together nicely with satin and zigzag stitching for raw edge applique. Today is quilting day with Fairfield Quilter’s 80/20 Quilt Batting. We’re adding lots of texture to the 4 seasons with extra batting. To top it all off, I’m adding even more dimension with decorative Dress It Up buttons resulting in a really interesting and creative Circle The Seasons Table Topper.
Let’s prepare for quilting.
- Lay your backing fabric on a hard surface making sure it’s at least 30” wide, and tape it to the surface so that it’s smooth but not taut. Place the backing right side down to the surface, and the wrong side facing up.
- Cut out two 30” x 30” pieces of quilt batting, layer them together, then lay them centered on the backing.
TIP Quilting with 2 layers allows for more quilting texture to show up, gives the quilt more dimension and shows off the quilting work more effectively. Two layers of Fairfield Quilter’s 80/20 Quilt Batting is the perfect product for this.
- Place the newly stitched table topper right side up on top of the quilt batting.
- Use a basting spray or quilting pins to baste all layers together.

All layers basted together
5. Once the layers are basted together, trim all layers, leaving about 2” of batting and backing around the quilt top to allow for quilting sprawl. Now it’s ready to quilt.
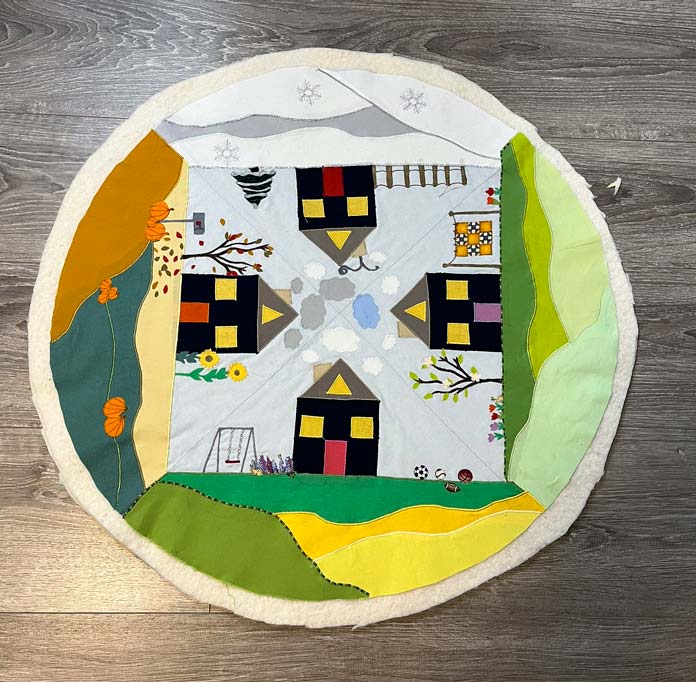
Trimmed and ready to quilt
6. Insert a free motion foot and lower the feed dogs on the sewing machine. Using a thread to match or blend with the background and backing, start quilting in the center around the clouds, keeping the stitches close to the edges. I moved on to the houses next and quilted close to all the stitching lines, and then on to all the smaller details. Once the details were complete, I added texture to the sky with wavy lines and swirls. I quilted the sky differently for each season to deliberately depict the weather and quilted the landscape lines last to show off hills, valleys, fields, grass, and snow.
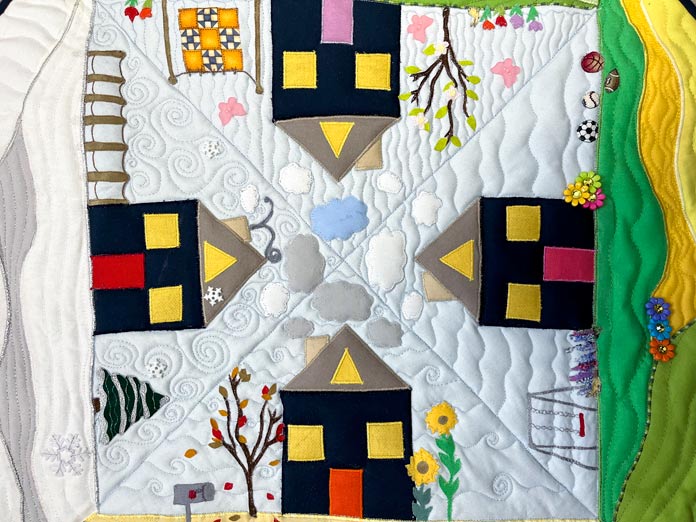
See the texture in the quilting
7. After you finish quilting, it’s time to trim and bind. The quilt should measure about 25” in diameter. I used approximately 85” x 2½” of bias binding in a solid navy cotton fabric for my binding. I recommend sewing the binding to the front, folding it, and clipping it towards the back. I then hand-slip stitched the binding to the quilt backing. You can also machine sew the binding.
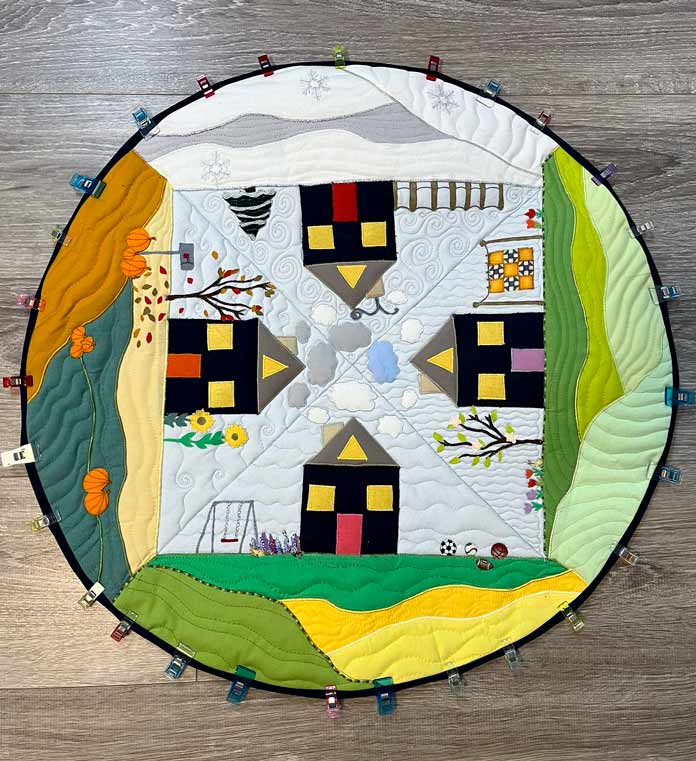
Bias binding sewn to the front, folded to the back and clipped ready for sewing
8. I sewed on Dress It Up buttons to all seasons – delightful daisies for summer, oak leaf for fall, snowflakes for winter and butterflies for spring.

Dress It Up Delightful Daisies
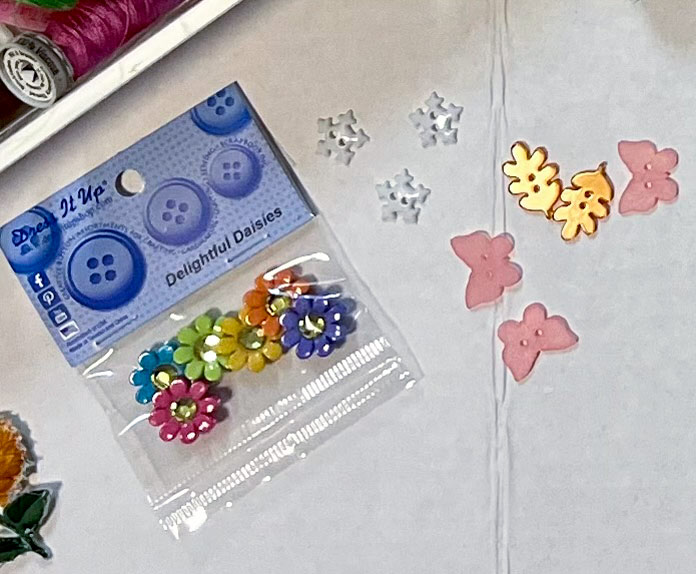
Buttons to embellish the table topper
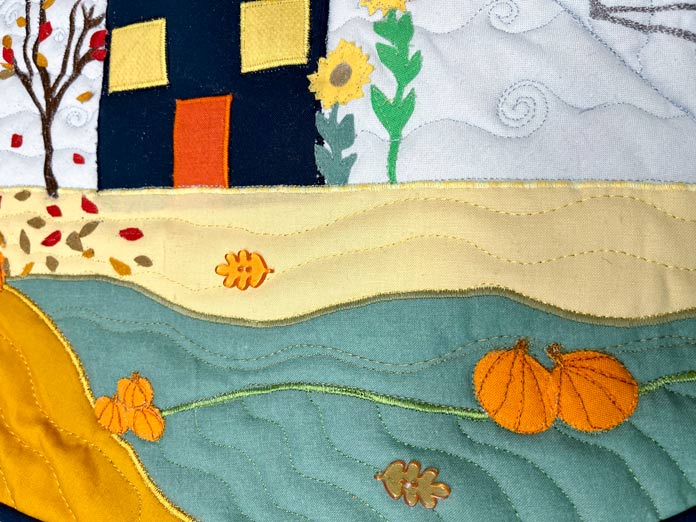
Leaf buttons for fall
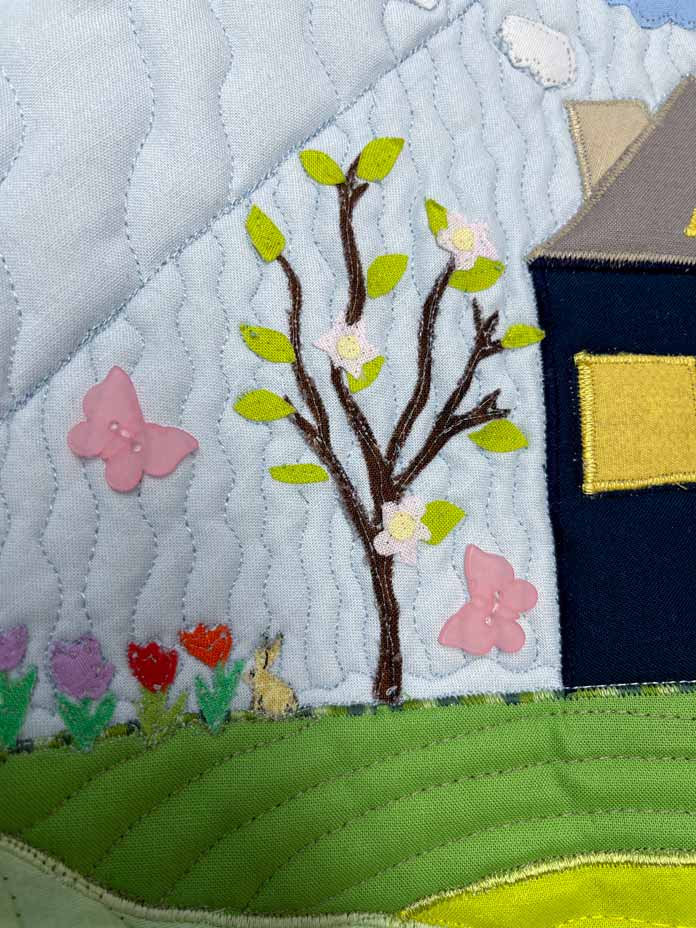
Butterfly buttons for spring
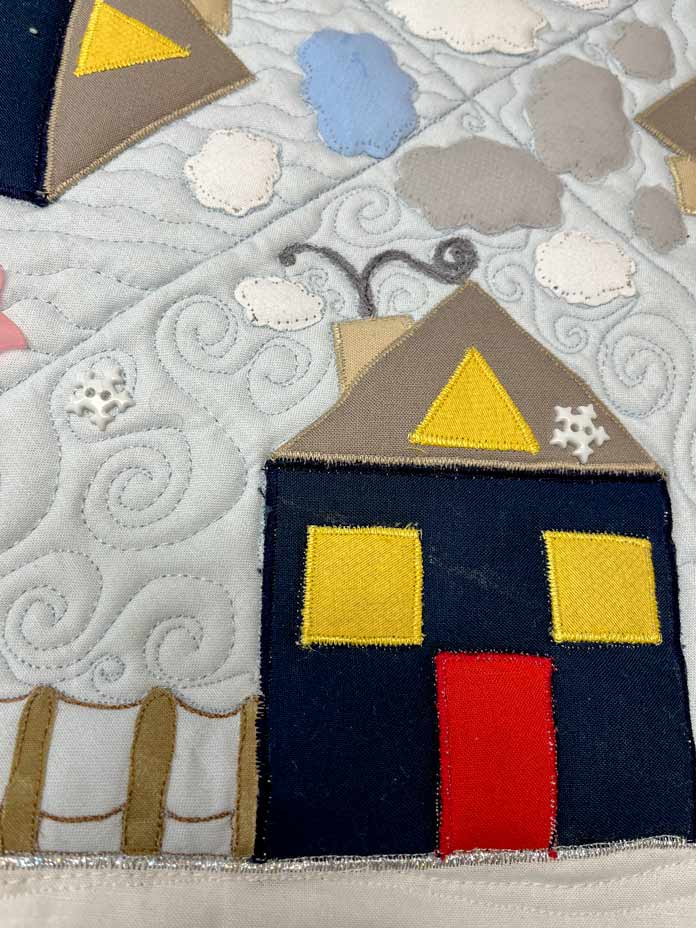
Snowflake buttons for winter
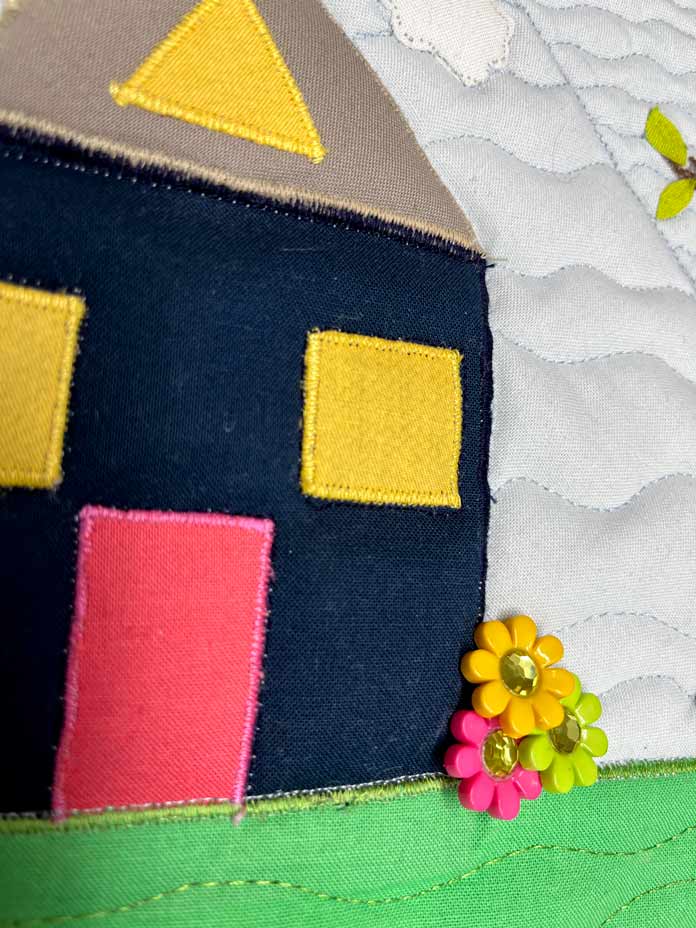
Delightful daisies for summer
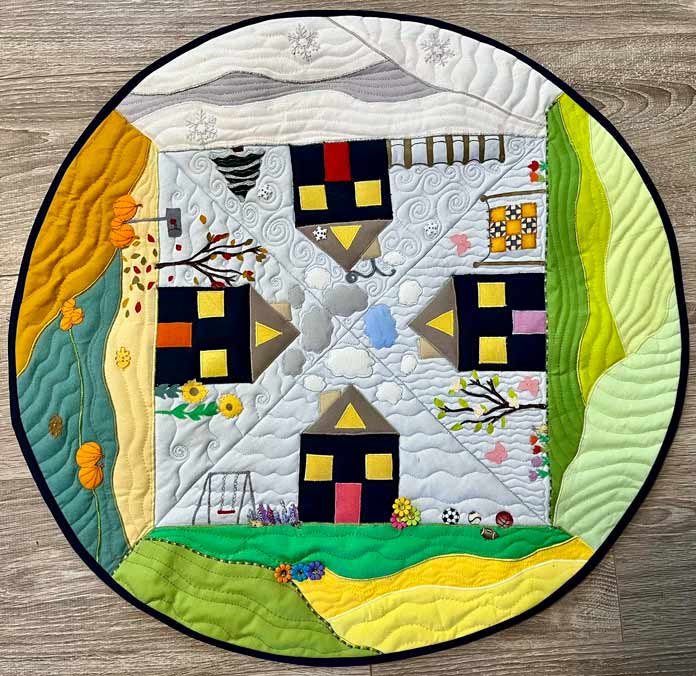
It’s done!
Check it out on my round table.

Looking great on my round table
Also, great for a children’s table.
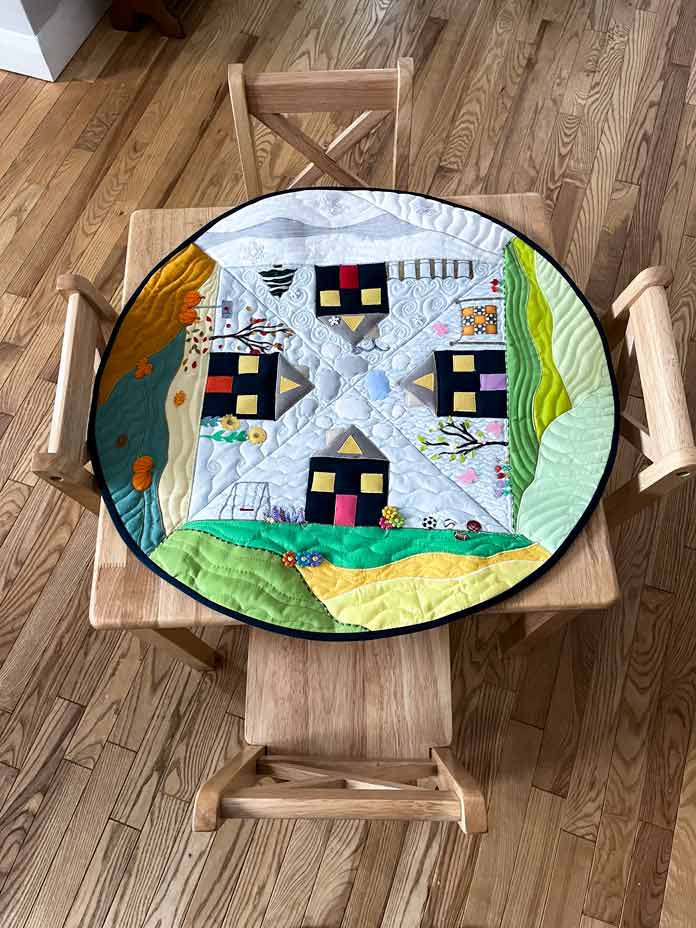
Looking good on my grandchildren’s table
This Circle The Seasons Table Topper project was so much fun. Be sure to download the free original pattern and give it a try if you haven’t already. It looks great on a round table but you can use it on any shaped table. I had so much fun with my stash of solid fabric, HeatnBond Lite, Dress It Up buttons, Fairfield Quilter’s 80/20 Quilt Batting and Gütermann Invisible Nylon Thread. Look for these products at a quilt or sewing store near you. This was a great creative outlet during a wintery time when there’s always hope for other gorgeous seasons! I sincerely hope you enjoyed this week’s blog post. Enjoy a great weekend.
