A wall quilt for darling domestic divas
I learned to create things at the elbows of some very caring ladies. They were darling divas of domesticity, who knew how to make fancy food worthy of a Bridal Tea, soothe a colicky baby, and make a dollar stretch to feed their families. Sometimes all of this was accomplished simultaneously. They taught me to sew, quilt and embroider. Today, the darling domestic divas are remembered through needlework…A wall quilt for darling domestic divas.
Several of them tried mightily (without success) to teach me to knit.
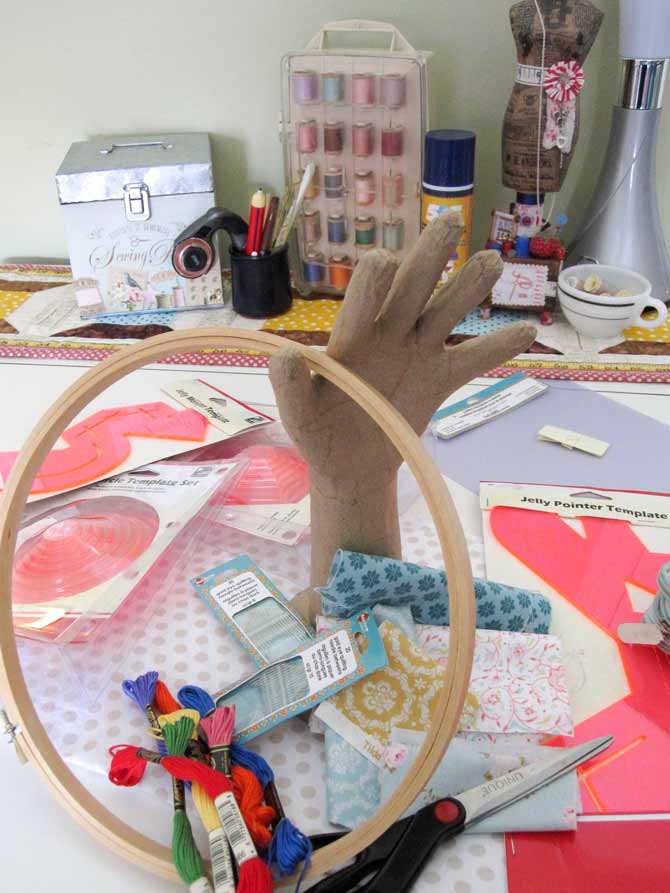
In honor of those darling divas, and their early lessons in wielding a needle and thread, I envision a mini quilt that’s put together mostly by hand, using applique, embroidery and embellishment with self-covered buttons.
This little wall quilt can decorate the sewing space of a friend, a cherished family member, or your own space.
I’m finally using a cute quilt hanger I found some time ago in my travels, but you can also use a simple dowel to hang this wall art.
As we create it, we’re going to discover several things: a new look for Dresden plate fans, needle turn applique without actually using a needle to do the turning, and template gadgets that can speed up the process of making embellishments like paper-pieced hexagon flowers from that giant pile of scraps on your sewing table.
Let’s get started on this little wall quilt.
You will need
- main fabric, in a neutral pattern
- muslin
- fabric scraps in various sizes
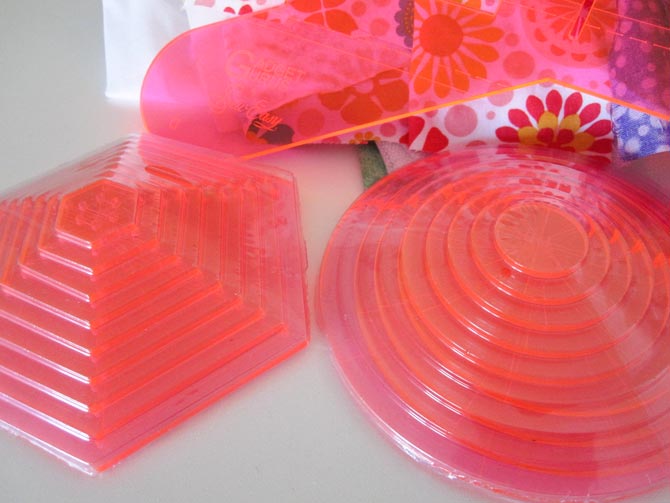
- template plastic
- seam ripper
- applique sheet
- embroidery floss
- quilting hoop
- lightweight interfacing
- circle template
- hexagon template
- quilt batting
- basting spray
- small self cover buttons
- silk thread
- quilting needles sizes 8 and 10
- ric rac
- quilt hanger or wooden dowel
Cut
- Patterned neutral fabric 12″ x 18″
- muslin 14″ x 18″
- batting 14″ x 18″
- From fabric scraps, select fabric for the dress bodice and skirt, and muslin to back these pieces.
instructions
- Download and print the templates provided. Make sure your printer is set to “actual size” and/or “no scaling”.
- Trace the patterns, using template plastic and a permanent marker. Cut out the shape from the template plastic.
- With right sides together (RST), trace the pattern onto a scrap of fabric and muslin, adding 1/4″ seam allowance. Pin and sew around the bodice. Clip curves.
- Use a seam ripper to slice a small opening in the muslin.
- Pull the bodice piece though the muslin.
- Even the seams and press. Set aside for now.
- Trace the Dresden fans of the skirt, adding 1/4″ seam allowance.
- Join the skirt pieces together using a 1/4″ seam. Take care to match the bottom of the skirt fans just before the scalloped edge. The top of the skirt may appear uneven, don’t worry, it will be covered up by a ric rac sash.
- Press the seams of the skirt toward the middle fan. With right sides together, pin the Dresden fans to a piece of muslin. Sew around the outer edge of the skirt piece. Clip curves.
- Slice an opening in the muslin, and pull the Dresden skirt piece through the opening. Press.
- Use a number 10 needle threaded with silk thread to join the skirt to the bodice using a small blind stitch. The ribbon sash will cover any gaps, don’t fret.
- From the remaining scraps cut 2 1/2″ wide strips. The scraps can be random lengths, but they should all be 2 1/2″ wide. Arrange them in a pleasing colorway, and make border strips for the top and side of the neutral fabric, join them using a 1/4″ seam allowance.
- Attach these scrappy strips to the top of the neutral fabric using 1/4″ seam allowance, and repeat for the sides.
- Press the seam allowances toward the main fabric.
Dear Divas, come back tomorrow when we transfer the words to embroider on this wall quilt for darling domestic divas!
2 comments