Simple patchwork is enjoyable and calming. My project this week has no curves or triangles. Perfect for stress free quilting. In yesterday’s post we gathered the fabrics and cut pieces to make the Modern Blooms wall quilt. Today, I’ll share with you a built-in program on the PFAFF performance icon that makes sewing seams of similar lengths even easier – and fun!
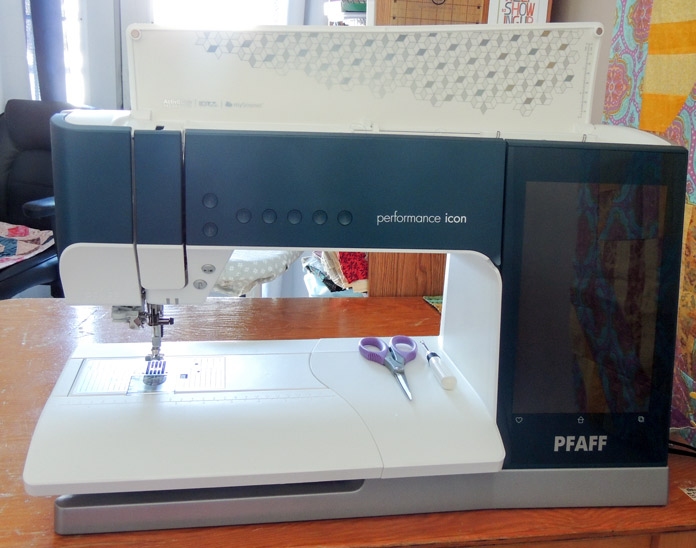
The PFAFF performance icon built-in Patchwork Program lets you set a length of sewing as a programmed stitch. Then, using the Start/Stop sewing button, you can have the machine do all the work, sewing accurate seams and stopping for you to put the next set of fabrics in place. I used this program to sew the purple blocks together.
Make the purple blocks
To make one block, you need the following fabric pieces:
White center 1 – 2½” square
Light purple 1 – 2½” x 4½” strip and 2 – 1½” x 2½” strips
Dark purple 1 – 2½” x 4½” strip and 1 – 2½” x 6½” strip
Patchwork Program
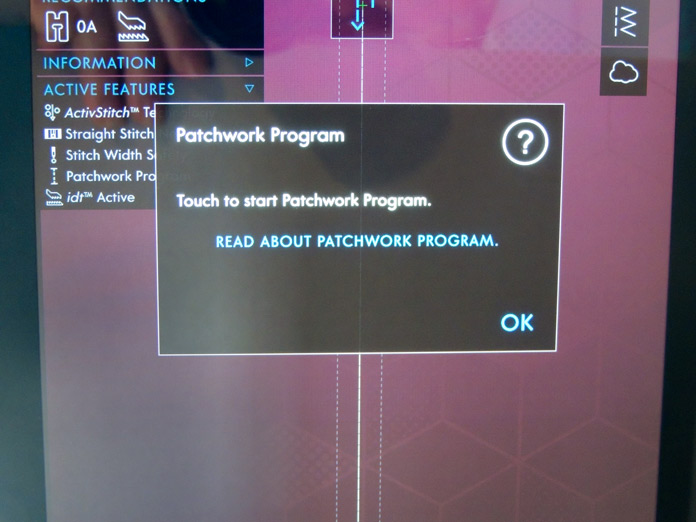
It’s been a while since I last used the Patchwork Program, but I remembered that you can access the user guide instructions by touching the question mark then selecting the item you want more information on. In this case, I can easily press and open up the User’s Guide right to the Patchwork Program for a refresher.
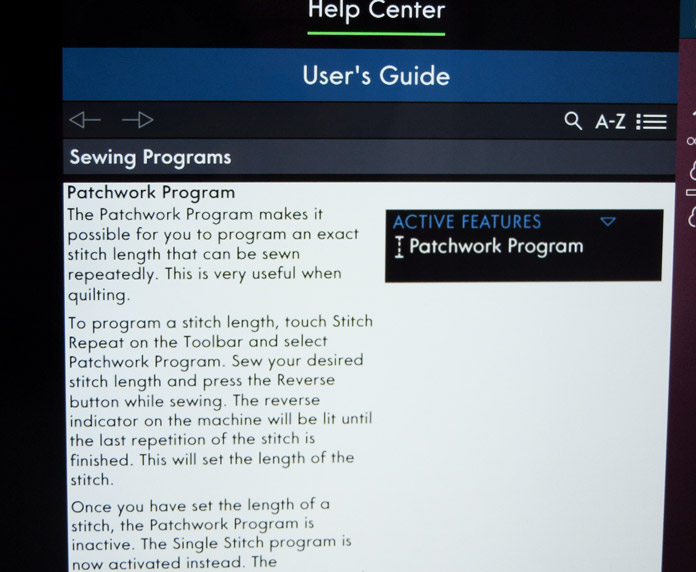
Clear instructions, diagrams and even videos are part of the built-in User’s Guide on the performance icon. After reading through the instructions, I was ready to set up the machine to start my chain piecing, programmed stitching.
To chain sew pieces, repeat each step 8 times before moving to the next one.
- Sew 1 light fabric 1½” x 2½” strip to one side of the middle fabric 2½” square.
- Continue with the same Patchwork Program stitch. Sew a second light fabric 1½” x 2½” strip to the opposite edge of the middle square. Press the seam from each step to the strips.
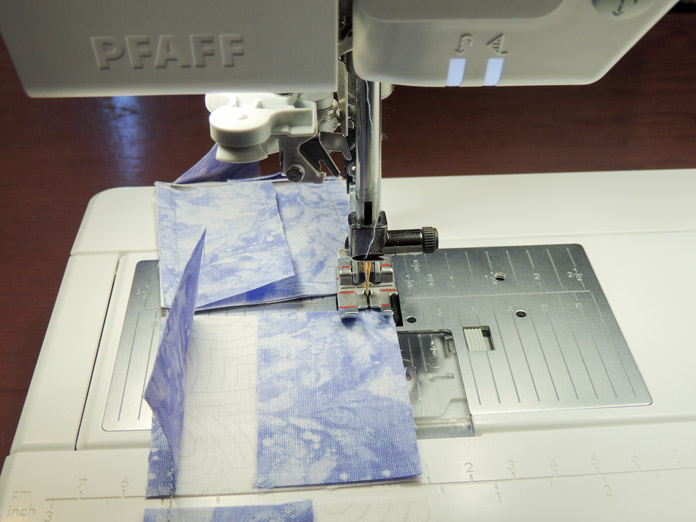
When I’m chain piecing, I like to use the Needle Up/Down button so the needle always goes down when I stop. This makes me confident my pieces won’t move as I set the next block in position. I also use the ¼” Quilting Foot for IDT System to keep an eye on the edge of my pieces and my seams accurate. This foot engages with the IDT System which feeds the fabric layers evenly under the needle.
3. Reset the Patchwork Program by pressing the Patchwork Program on the Stitch Repeat menu again. Program the new seam length with your first set. Sew the light 2½” x 4½” strip to the right side of the unit – see photo. Press the seam to the strip.
4. Continue with the same Patchwork Program stitch. Sew the dark 2½” x 4½” strip to the top edge of the unit – see photo below. Press the seam to the strip.
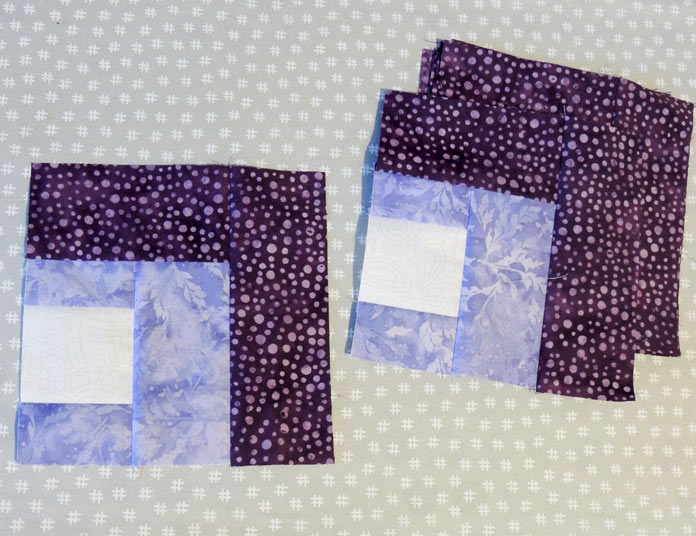
5. Reset the Patchwork Program for the new seam length with your first set. Sew the 2½” x 6½” dark strip to the right edge of the unit – see photo. Press the seam to the strip.
The block should measure a 6½” square.
The purple blocks are completed quickly thanks to the Patchwork Program.
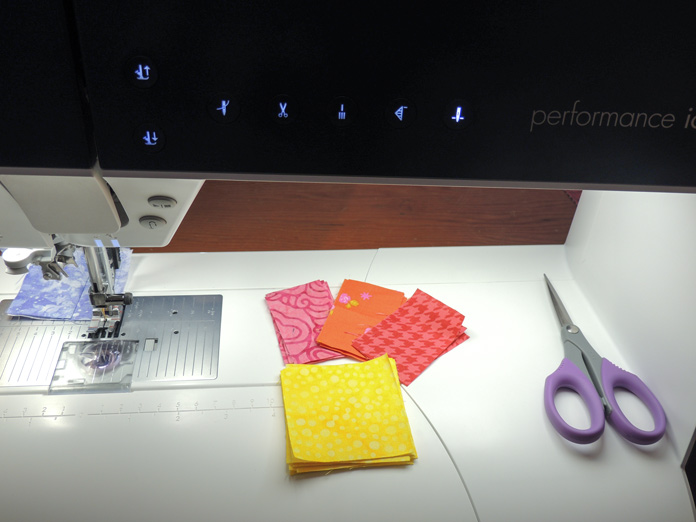
So quickly, in fact, that I decided to keep using the program to start the bright blocks.
Repeat steps 1 and 2 to start sewing the bright blocks together too! There’ll be 2 red, 3 pink, and 2 orange fabric blocks. Use pairs of the same 1½” x 2½” fabric strips to complete the steps.
The Patchwork Program on the PFAFF performance icon makes piecing a dream. These blocks are quick to make and you may want to make more to make a bigger project – the piecing takes less time than cutting the fabric thanks to the performance icon’s Patchwork Program.
This is part 2 of 5 in this series
Go back to part 1: Quilt a modern blooms wall quilt: Here’s what you need to get started
Go to part 3: The magic (and how to) of Floating Stitches for your quilt projects