Yesterday, I showed you how to make a basic heart block using the new Brother Innov-ís BQ3100. Now let’s explore some of the new decorative stitches that are available on this machine.
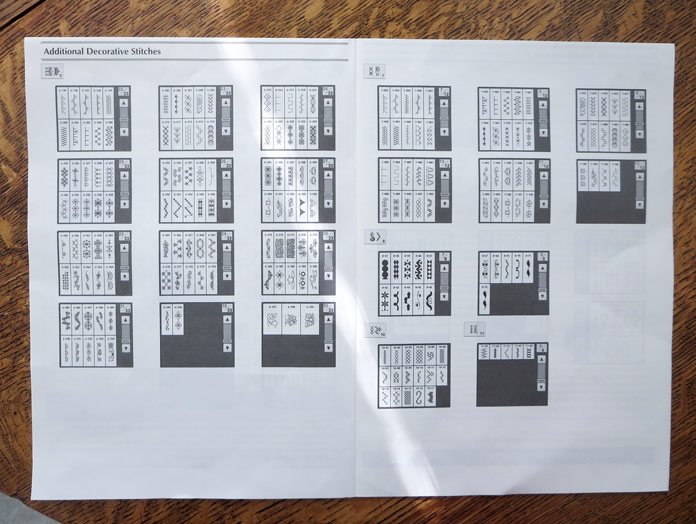
There are dozens of new decorative stitches on the new Brother BQ3100 machine. These new stitches are all shown on a separate leaflet that comes with the machine. You’ll also find hundreds of other decorative stitches in the printed manual.
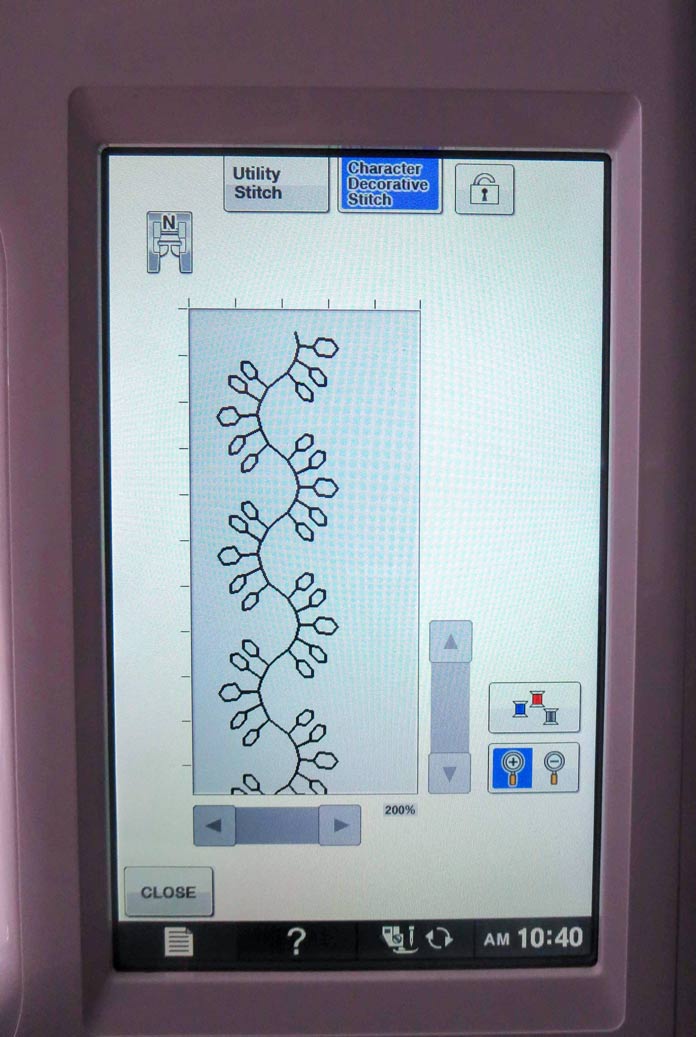
It’s easy to access the decorative stitches – just press the Decorative Stitch key on the LCD touch screen. You can change the length and width of many of the stitches by pressing the + or – key at the bottom of the screen, and to see a close-up view of each stitch on the LCD, press the image key also at the bottom of the screen.
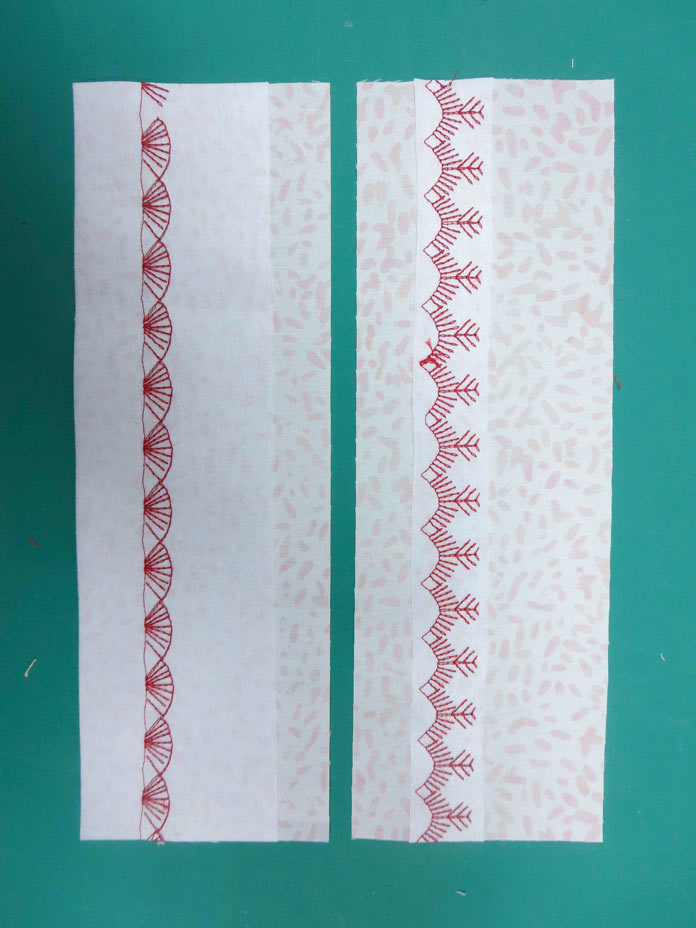
The best way to see these stitches is to stitch out some samples. And that’s just what I did here. Many of the new decorative stitches are quite wide. The machine sews from side to side, as well as forward and back to create these stitches. Make sure you have a lightweight stabilizer on the back of your fabric and let the machine do its thing. You just have to very gently guide the fabric.
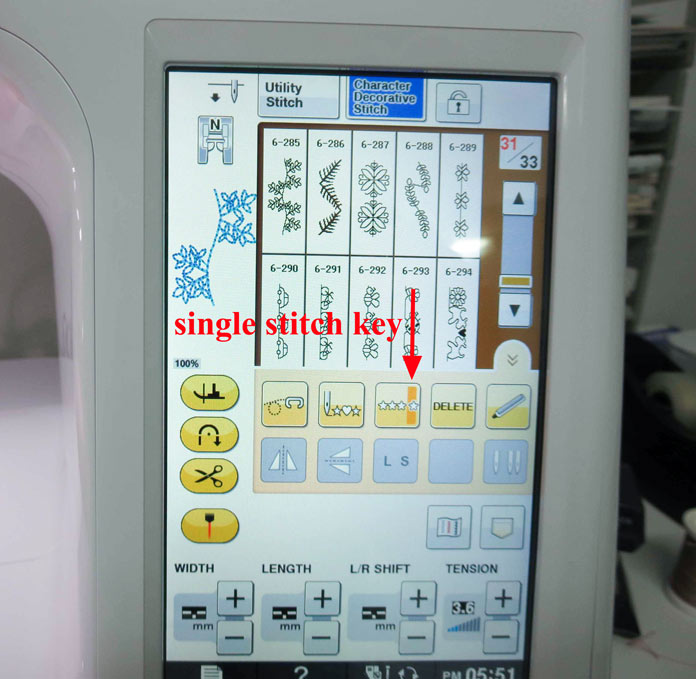
I also like how easy it is to do a single stitch just by pressing the single stitch key on the LCD screen. This is also a good feature to use if you’re doing a long row of decorative stitching and you want to make sure the design stops at the end of the stitch. As you come to the end of your stitching line, just press the single stitch key and the machine stops at the end of the design.
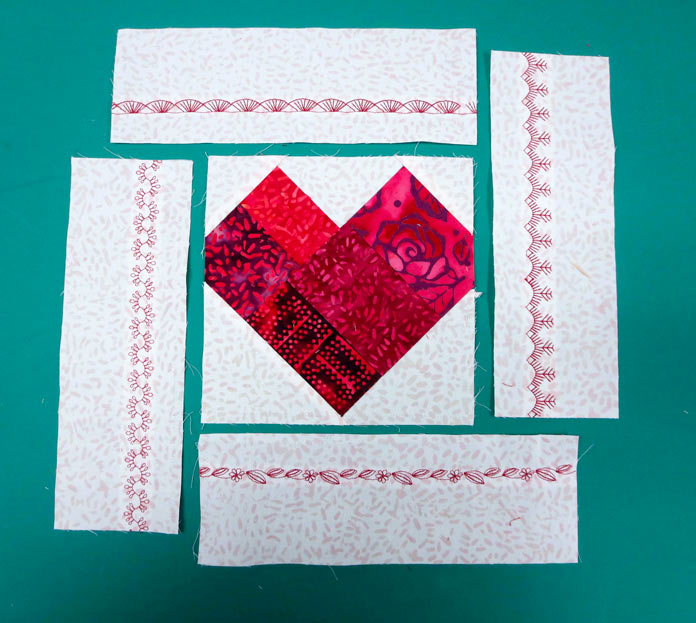
After making another basic 6″ heart quilt block, see instructions for it in my blog post, This basic heart quilt block starts with a free pattern (tutorial) I decided to use some of the new, wide decorative stitches on the border around the block. I cut my border strips about 4″ wide and placed lightweight stabilizer on the back. Then I stitched a different design on each of the four borders.
I trimmed each border so it was 3″ x 9″, leaving ¾” on the seam side of each strip. I also removed the excess stabilizer from the back of the block. The borders were sewn to the heart shape using the method from yesterday’s Basic Heart Quilt Block.
Here’s how my heart block looks after I added the borders. Wouldn’t this make a great block design for a quilt? And you’d get lots of opportunity to try even more of the new decorative stitches on the new Brother BQ3100 machine!
I hope you come back tomorrow to see how to use this heart design as an applique shape – and of course I’ll show you even more new features on the Brother BQ3100!
This is part 3 of 5 in this series
Go back to part 2: This basic heart quilt block starts with a free pattern (tutorial)
Go to part 4: Scrap fabric and applique: What it takes to make this heart placemat