Yesterday, I showed you how to use some of the new decorative stitches on the Brother Innov-ís BQ3100 machine to create a unique border around the heart block.
Today, we’ll look at another way to use up some scraps and create this appliqued heart design placemat. I used several of the new stitches that were added to the Q group of stitches on the Brother BQ3100.
materials
Here are the templates for the appliqued heart. Prepare the templates using the method given for the pieced heart in my blog post, This basic heart quilt block starts with a free pattern (tutorial).
fabric
- scraps and strips of red fabric for heart, border and binding
- 13″ square of background fabric
- 13″ x 19″ for backing
- 13″ x 19″ piece of batting
thread
- monofilament or thread that matches your fabric
- lightweight thread that shows up on your fabric for the bobbin
notions
- plastic templates
- cutting mat
- rotary cutter
- quilting ruler
- Clover Pen Style Chaco Liner, temporary marking tool
- fabric marker
- HeatnBond Feather Lite, light weight fusible web
- paper
- glue stick
feet/machine accessories suggestions
- open toe foot
- MuVit walking foot
equipment
- iron
- ironing board
- sewing machine
- computer
- printer
Making the heart shape
Sew scraps or strips together to make new fabric. You᾽ll need a piece that is about 9″ x 9″.
Press lightweight fusible web on the back of the strip-pieced fabric.
Trace around the templates. The templates can be placed on any angle on the fabric.
Cut out the heart shapes.
Place the fused shapes on the background fabric, slipping the ¼” seam allowance under the large heart shape. Press the shapes on the background fabric.
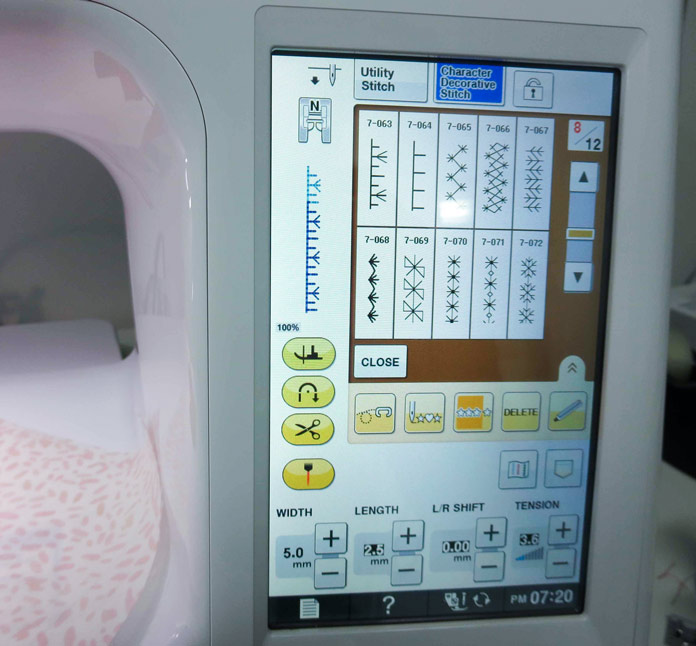
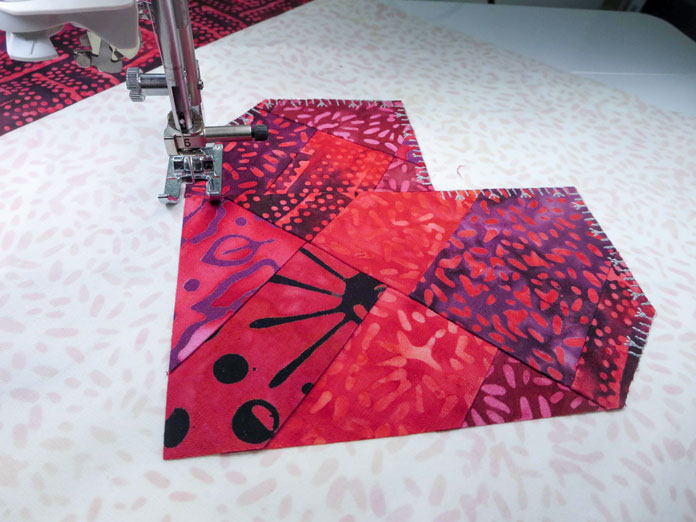
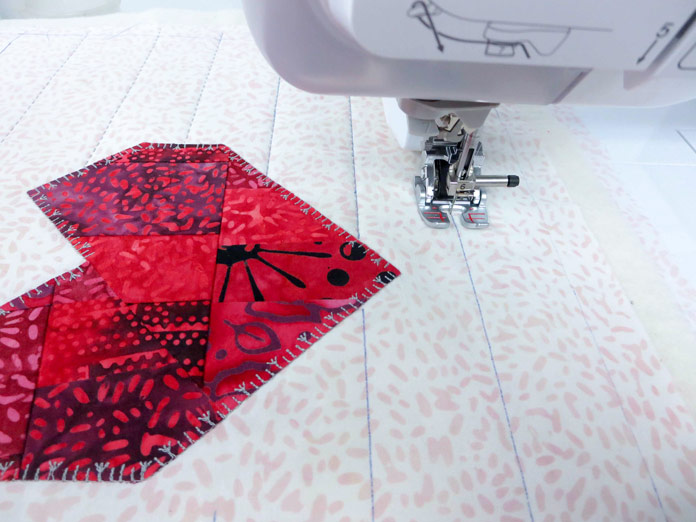
Using the open toe foot, I stitched one of the many blanket stitches on the Brother BQ3100 around the outside edges of the heart shape.
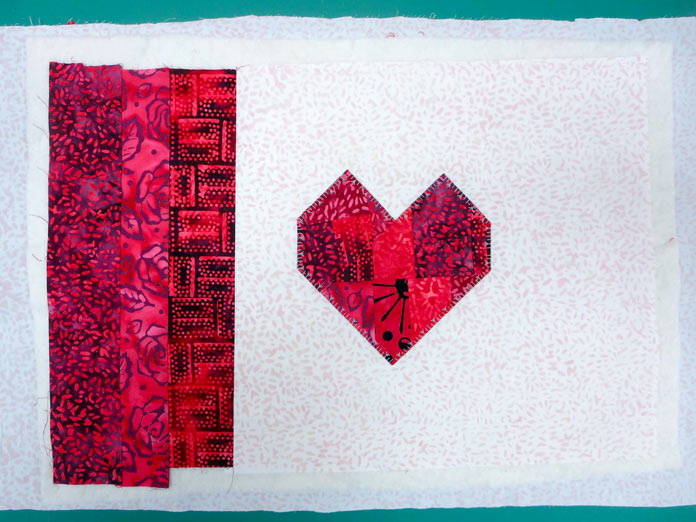
For the border, sew together 3 strips that are 13″ long and 1½” to 2″ wide.
Sew the border to the left side of the background fabric. The placemat will be trimmed after the quilting is finished, so it doesn’t matter if all the outside edges don’t line up.
Layer placemat top, batting and backing. Pin or baste the layers together. I like to use the basting stitch (#1-08) for this step.
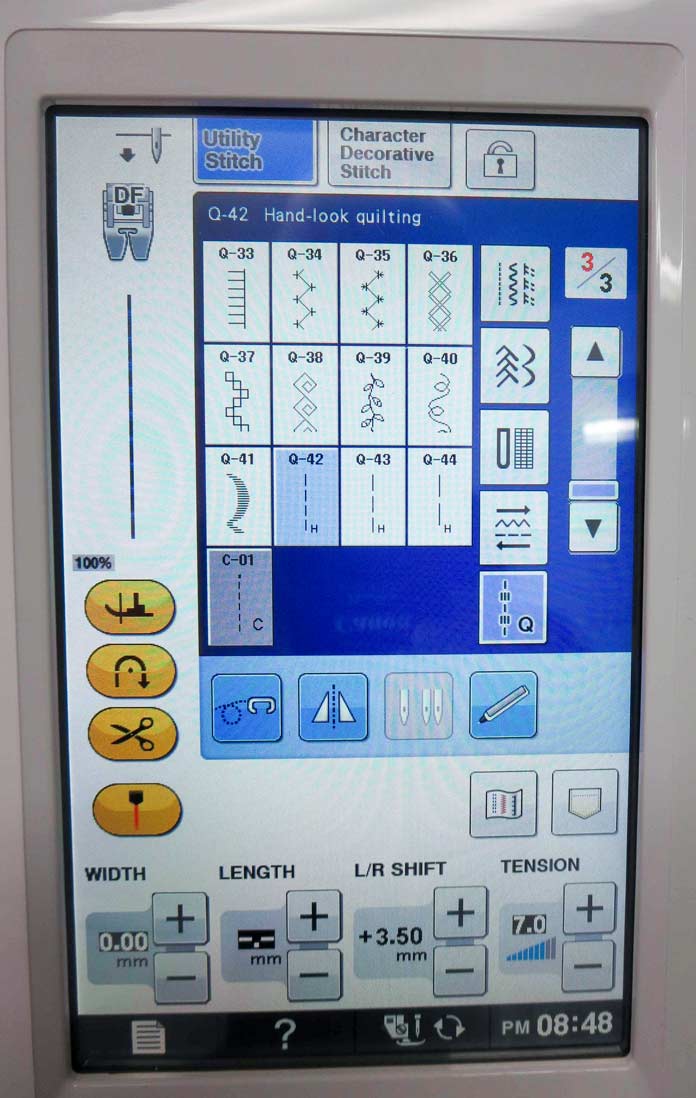
To finish this project, I wanted to use the new hand-quilting stitches on the Brother BQ3100 machine. There are 3 different hand-quilting stitches, each of them a different length. When using the hand-look quilting stitches, use monofilament or thread that matches your fabric in the top. Use a light-weight thread that shows up on your fabric in the bobbin. The bobbin thread is the one that makes the quilting stitch and shows on both the right side of the fabric and the backing.
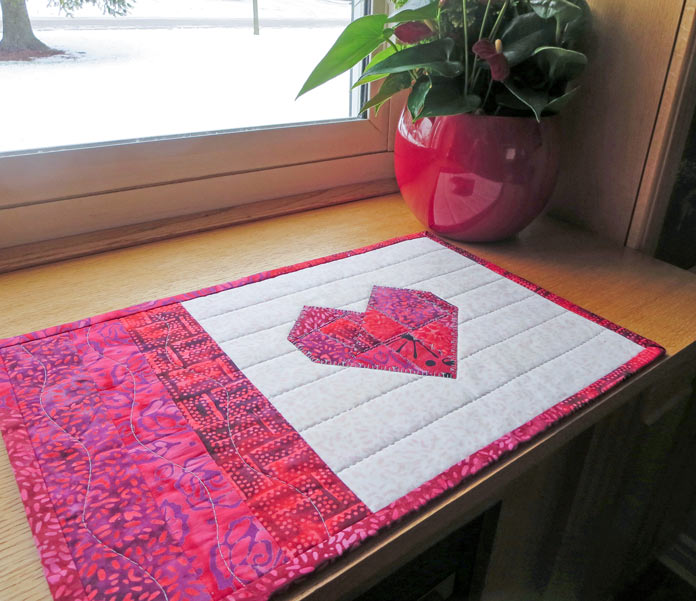
I drew some guidelines on the background fabric, attached the new MuVit walking foot, and I was ready to start quilting. I love the way this hand-quilting stitch looks on the finished placemat!
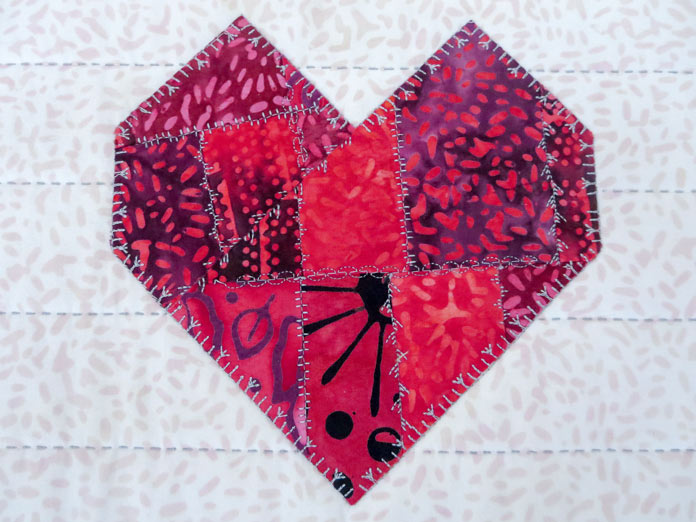
I couldn’t resist adding some more decorative stitching to the heart shape. All the stitches I used are new stitches that were added to the Brother BQ3100 stitch library.
I trimmed my placemat so it was 12″ x 18″, but you can make yours any size you like.
The binding was cut from leftover strips and sewn on, again using the new MuVit walking foot.
This was a great project for using up some leftover scraps and strips and trying out more of the new decorative stitches on the Brother BQ3100.
Please join me again tomorrow as I show you even more features on the new Brother BQ3100 machine.
This is part 4 of 5 in this series
Go back to part 3: 100+ decorative stitches on the new Brother BQ3100: how do you choose?
Go to part 5: 6 features on the new Brother BQ3100: Why they’re quilter favorites!
2 comments