Welcome back! We’re halfway done making this stunning Snow Crystals Hexie Pillow pattern designed by Christine Baker and available at Upper Canada Quiltworks. Yesterday, I showed you how to use fusible web with wool applique. Now let me show you my simple steps to achieving the perfect alignment of hexagons using my two favorite tools for precision positioning.
Enjoy the perfectly aligned hexies on the Snow Crystals Hexie Pillow pattern designed by Christine Baker.
The first step is to audition your hexagons on the background wool to ensure your layout is balanced in terms of color flow. But before you begin, I suggest marking your background fabric to avoid having to remove your layout once you’re set. It’s the perfect time to use your Sew Easy Colour & Tone Guide and Tonal Estimator. The tonal estimator helps you see easily if there is a hexagon not sitting well in your layout.
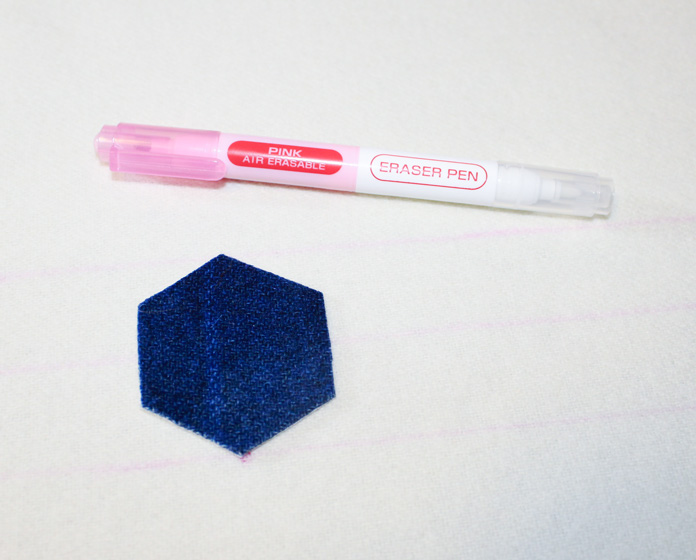
Here’s how I marked my background wool piece to ensure proper positioning of hexagons. I started by marking a line in the center of the fabric, both vertical and horizontal. I used a Clover Chacopen with Eraser – Air Erasable – Pink for this project as I didn’t need much time to position my wool hexies and fuse them to the background fabric. I then drew a horizontal line above and below the center line so I could position the first row of hexagons while ensuring I was keeping a straight line.
To leave an even ¼’’ between each hexagon, I used my Omnigrid 1” x 12’’ ruler, but you can also use the seam allowance mark on the hexagon template. Once the first row was evenly positioned, I was able to position the rest of the hexagons either ¼’’ above or below the center row.
Once I was happy with the layout, I fused the hexagons to the background fabric using my Oliso Pro TG1600 Pro Plus Smart Iron, UNIQUE Quilting Double Sided Applique Pressing Sheet and UNIQUE Quilting Wool Pressing Mat 18″ x 24″. The wool pressing mat was perfect for placing my wool background on while aligning the hexies. I just love how I can easily pin my fabrics onto the wool mat whenever I need to, for extra security.
Using the UNIQUE Quilting Wool Pressing Mat while positioning my wool applique onto the background fabric
At this stage, I simply left the project on my pressing mat with a cotton fabric over it secured in place with pins. I was ready to head to the cottage for some embroidery stitching. That was a very relaxing time… you can read all about it in tomorrow’s post.
This is part 3 of 5 in this series
Go back to part 2: Fusible web with wool applique really works (tricks of the trade)
Go to part 4: A beginner’s guide to blanket stitch wool applique (tutorial)