Today, I’m going to show you one of my favorite features on the Sapphire 930 – the Needle Stop Up/Down button. It’s located on the Function button panel – which is very conveniently located right above the needle area. I found at least 6 benefits of the presser foot down/pivot function make piecing and quilting so much easier. Let’s review them…
In the photo above, the Needle Stop Up/Down button is on the extreme right in the top row. The upper LED next to the button is lit when needle up is activiated and the lower LED is lit when needle down is activiated.
While other sewing machines may have a needle down feature, the use of the needle down function in conjunction with the Sensor Foot Down/Pivot Position button (on the right in the third row above), the Sapphire 930 will stop with the needle down and the presser foot will automatically raise to the pivot position so you can pivot or readjust your work.
If I didn’t have this combination of functions, I would have to manually lift the presser foot each time I wanted to pivot.
I heard some fellow sewers comment that they have a knee lift that does the same thing. Really? A knee lift that requires leg/brain coordination to raise the presser foot so I can pivot versus a sewing machine like the Sapphire 930 that does it automatically? No contest there!
Pivoting – so where would we use this feature?
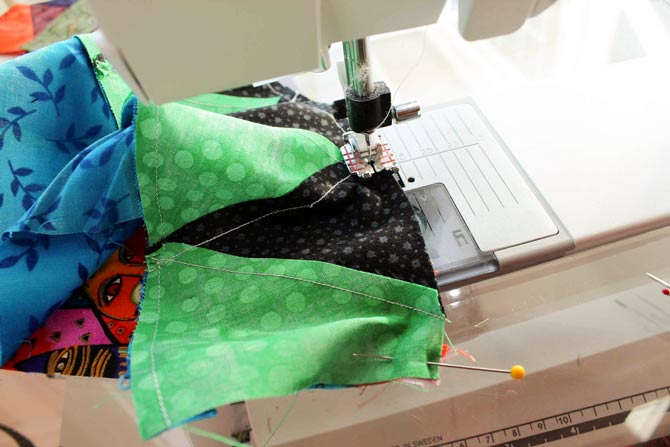
Think about machine applique – how many times do you have to pivot on curves and corners? What other instances do we need to pivot our work? Well – the following examples are from the project that you will get instructions for later this week. That’s a LOT of pivoting in one project. Can you see why I like this combination of functions?
Do you see what I mean? There are loads of opportunities to use the needle down and Sensor Foot Down/Pivot combination. The easier it is to pivot, the less likely I am to skip steps or try to cheat my way through them. Did you see how beautiful the stitching was in all those examples? While I’ll take credit for some of the results, the Sapphire 930 made it so easy – I didn’t have to do much more than guide the pieces and pivot hands free!
These combined features are such a huge time saver – I would be lost without them and I certainly won’t do applique without Needle Up/Down and the Sensor Foot.
However that needle down in conjunction with the Sensor Foot Down/Pivot Position also comes in very handy when doing regular piecing.
Chain piecing and Needle Down/Sensor Foot Down/Pivot functions
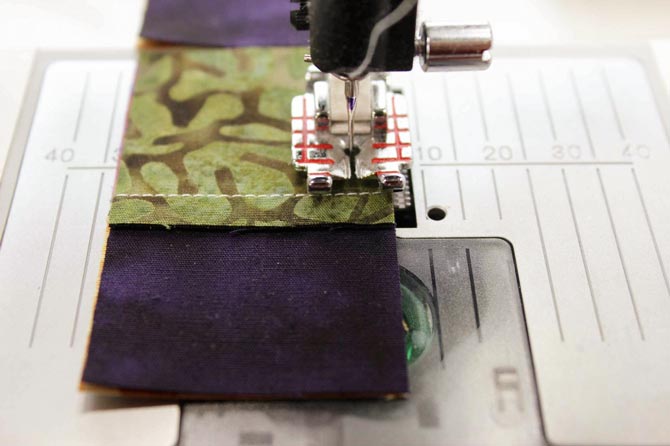
I’m chain piecing and I want to insert the next set of pieces to sew. I have the needle down engaged, a feature which many other brands of sewing machine have.
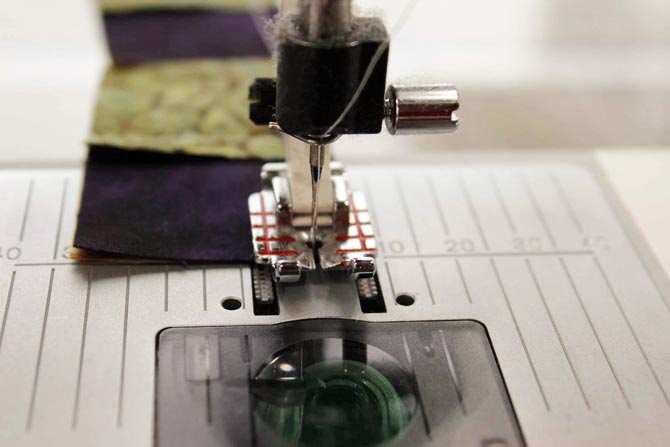
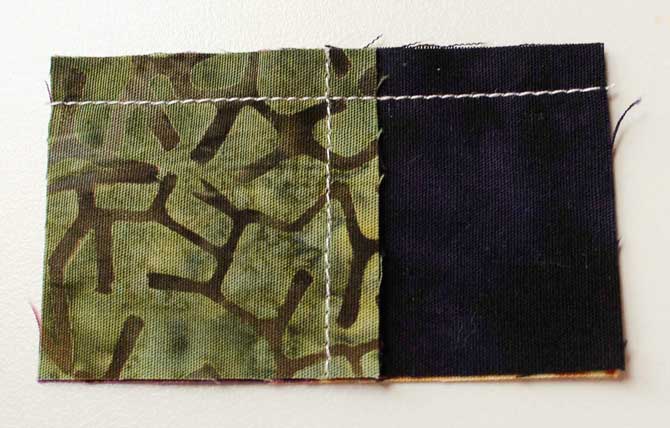
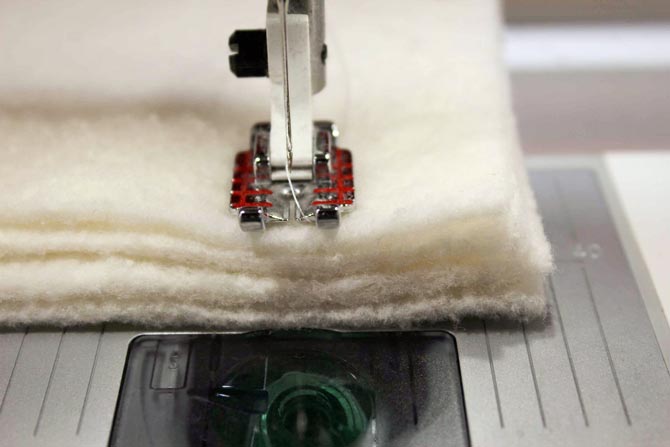
Unless you have the Sensor Foot Down/Pivot function, the sewing machine will stop with the needle down, but the presser foot will be touching the throat plate so I can’t get my fabric close to the needle. If I don’t manually raise the presser foot slightly, the top fabric is going to slip as it is forced under the presser foot. When I’m finished my seam – those two leading edges (which I had nicely lined up) are no longer lined up – the top one has slipped down.
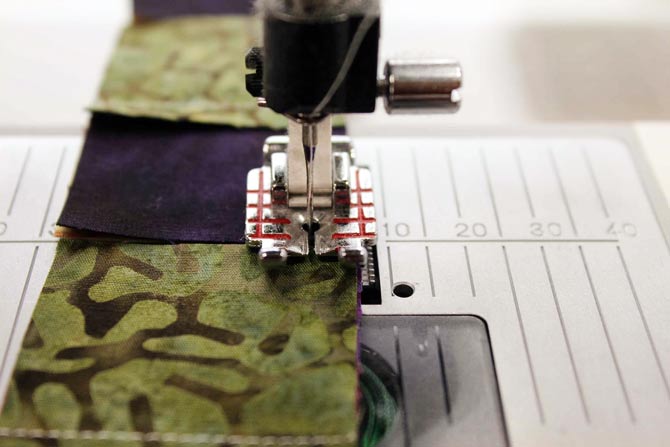
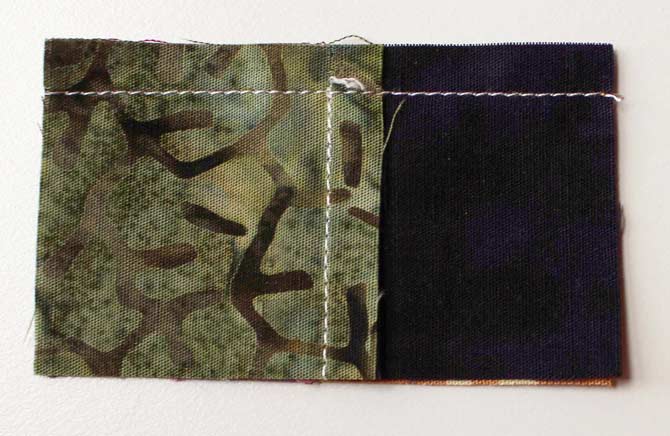
If I engage the Needle Down function WITH the Sensor Foot Down/Pivot, when I stop to add the next set of seams, the presser foot raises every so slightly to the pivot position and allows me to slide the next set of seams right up to the needle. There’s NO shifting of that top piece of fabric because it won’t be forced under the presser foot. The edge of the two leading pieces will be even.
If you’ve never seen these features in action, it may be hard to appreciate or understand the awesomeness of them.
Here’s a short video to give you an idea of how useful this combination of features truly is.
Sewing Machine Presser Foot Down/Pivot Function Combination – YouTube
This feature is also great when I need to stop to match up my seams. I don’t pin my intersecting seams, but use a quilter’s awl.
Having the needle stop in the down position allows me to make the necessary adjustments without worrying about the fabric shifting and creating a seam that has a notch in it. You see there might be times when I have to “ease” the top or bottom fabric to fit and if the needle isn’t in the fabric, I may pull the fabric out of place. Then I get an extra long stitch or a seam with a notch in it. I don’t like either!
Twirling Seams
Now here’s a little trick that I love to do when piecing. I hate when seams are NOT pressed flat and I hate to see imbalance on the front because of how the seams were pressed and I certainly hate to see bulky seams. One of the tricks I learned was to twirl the seams to help distribute the bulk of the seam allowances. This doesn’t always work, but when I can make it work in my project, I always twirl the seams.
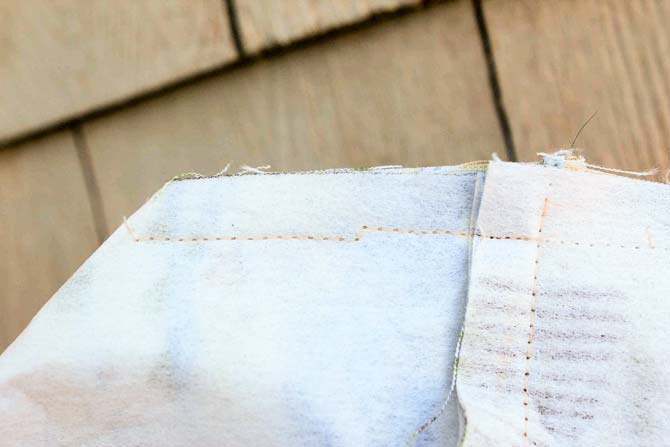
In the photo below, you can see that I eased out the stitches in the vertical seam just above the horizontal seam. I do that on both sides.
I used my seam ripper to do that – but notice that I did NOT cut the thread – just eased it out. This is another reason to use a shorter stitch length – if your stitch length is too long, the horizontal seam won’t lock the thread and the stitches can unravel.
When you press that seam – split the seam allowance in the center and one seam will go one way and the other in the opposite direction. This is the only time that I press from the wrong side – I get those seams going in the correct direction and then I turn the piece over and press from the front.
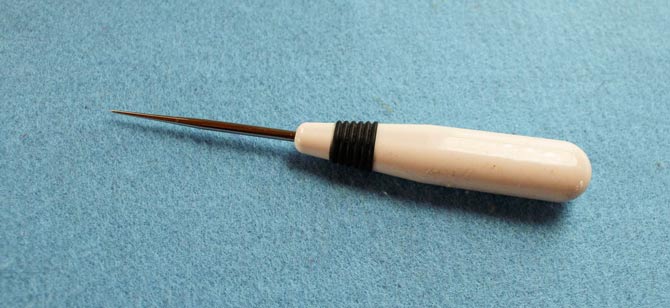
In case you don’t know what a quilter’s awl looks like – this is what it is. A very useful tool for pinning on the fly. I don’t pin my seams – I match up the seam allowances as I sew and then use the quilter’s awl to hold the seams in place until I have sewn that intersection. Then I match up the next intersection, use the quilter’s awl to hold the seams in place and so on. It requires a lot of stopping and starting, but saves a lot of time and definitely improves accuracy.
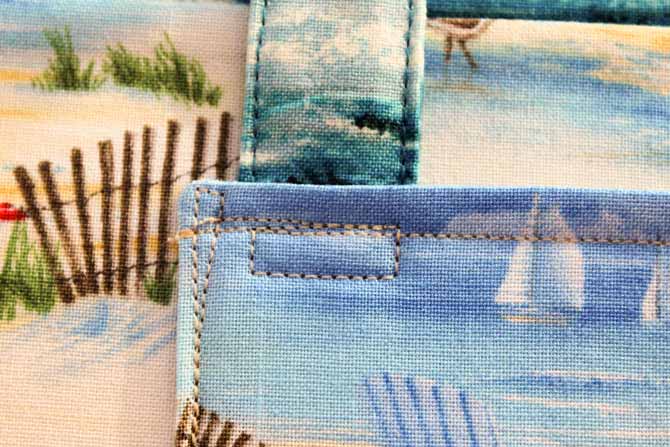
We know the advantages of using the Presser Foot Down/Pivot function, so what about the Presser Foot Up/Extra Lift? At the highest position, the presser foot can easily accommodate those bulky corners when putting on binding or topstitching handles on a bag, quilting a bulky quilt with lots of seams. There are many other examples when you need to get extra clearance to get your work under the presser foot but the Sapphire 930 can accommodate pretty much anything you would encounter with regular sewing.
If you’ve never sewn with any of those features you don’t know what you’re missing. While it may take you some time to get in the groove so you’re taking full advantage of all the features and functions, once you learn what each one does – you’ll be using them all the time.
The Husqvarna Viking Sapphire 930 makes everything so easy and handy right there on the Touch Panel and the Function button panel. Although we can probably think of more, the 6 benefits of the presser foot down/pivot function make piecing and quilting so much easier. Tomorrow – I’m going to look at some housekeeping tasks – make that ‘sewing machine’ house keeping that is. Have a great day! Ciao!
2 comments