Yesterday I had a great time playing with the TrueCut ruler and rotary cutter but today I need to get some sewing done so that this little table runner will actually be completed by the end of the week. How do you press your seams? What tool do you use? Today along with getting some sewing done I’m going to talk about 6 pressing tips for perfect seams.
Tools for Pressing
Do you have a favorite pressing tool? My favorite tools are an iron or finger presser.
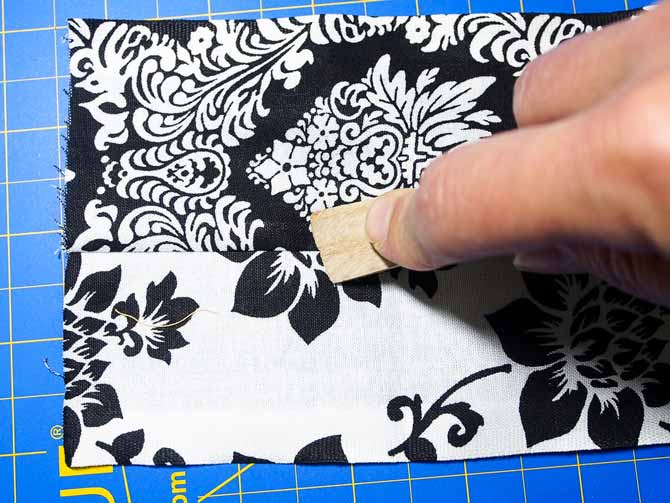
Finger Presser
The finger presser from Unique is a wooden tool with a flat bottom to run along the seam. Some benefits to this tool is that it doesn’t distort fabric, it’s great for the cottage if you do not have power and it’s small and fits into your sewing kit easily.
A drawback of the finger presser is it takes longer to press the seams but in my opinion does a wonderful job which out ways the time factor.
As well, a hard, flat and non flexible surface is required for optimal results like a cutting mat.
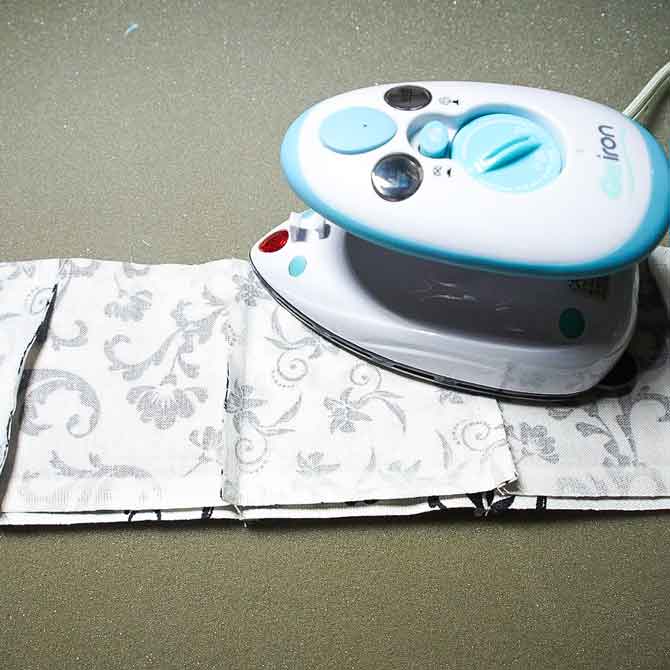
Iron
I have this amazing little travel iron called the Goiron, I’ve seen many other quilters with it at classes and retreats and thought, “Isn’t that a cute little iron!” I normally don’t take an iron to class or retreats but now that I have this great little travel iron I’ll be taking it to class and retreats with me, not to mention using it in my studio.
As well as being cute it’s very functional.
Features of the Goiron
Some of the features include:
- three temperature settings – low, medium and high
- heats up in 30 seconds
- steam with a 40 ml water reservoir
- ergonomic handle
- non-stick sole-plate
- only 400 watts – the low wattage will make it perfect for when I go to the cottage to sew once we have a solar power system as the 400 watts won’t drain the batteries like a full size iron
- dual voltage which means it can be used anywhere in the world
Plus it comes with a carry pouch and fits perfectly into a suitcase or sewing bag.
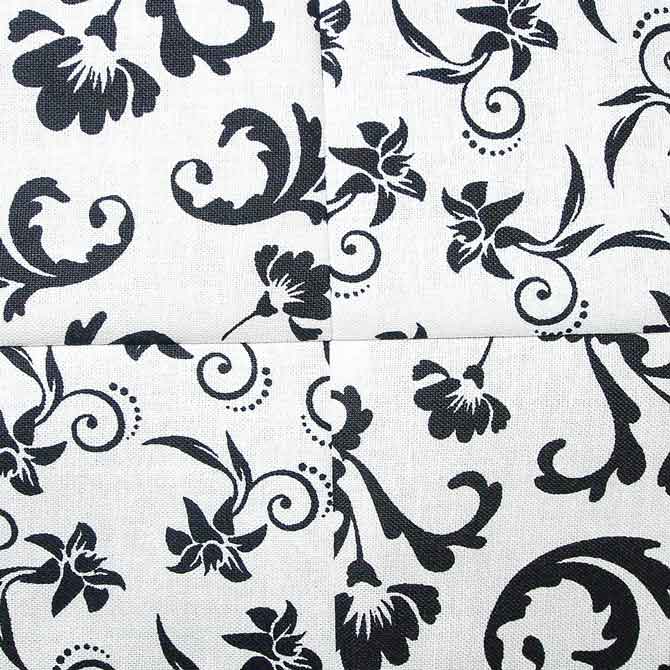
Sewing the strips together
To create the checkerboard background make two sets of strips alternating the two different fabrics. Each set will have 3 strips of one fabric and 2 of the other fabric – so a total of 5 strips in each.
Now that I’ve sewn the strips together I’m heading back to the cutting table to sub cut the strip sets into 5 – 3½″ x 15½″ for a total of 10 strips.
Pressing Tips
1 – Set the seam
Set the seam first by pressing the seam with the two pieces lying RS together as they came off the sewing machine – this will set the stitches and fabric allowing for a flatter seam.
2 – Press to the darkest fabric
Try to always press the seam towards the darkest fabric. By doing this it will ensure that the seam allowance does not show the dark fabric through a lighter fabric.
3 – Press from the middle
When pressing long strips, rows or borders start in the middle of the section and work out one way to the end of the seam then return to the middle and work out the other direction to the end of the seam. This will help to eliminate waves in the seams so that your seams are not wonky – nobody likes a wonky seam.
Making the checkerboard
To make the checkerboard alternate one strip from the first strip set with one from the second. Here they are all laid out ready for sewing together.
More Pressing Tips
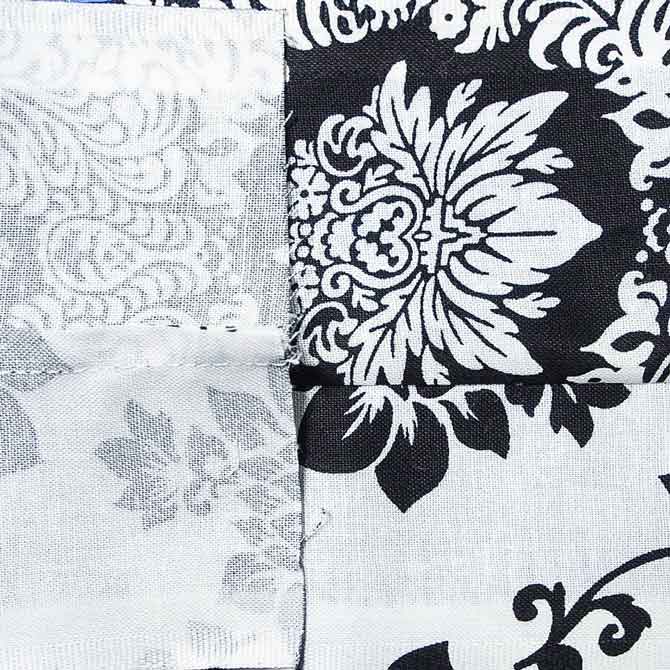
4 – Butting seams – press in opposite directions
When seams need to butt together it’s best that the seams have been pressed in opposite directions so that they’ll nest together – this helps ensure the join of the two seams on the top of the quilt will be perfect. Since I’m making a checkerboard background for this table runner, and hopefully you are too, the seams will be nesting together. By pressing all the seams towards the darkest fabric it ensures that the seams will be opposite when the pieces are placed together on this little project.
5 – Press towards the least bulk
Press the seam to the side with the least amount of bulk if there are several seams in the area. Sometimes this may mean that you have to press the seam towards the lighter colored fabrics which is okay if it means that the seam is going to lie flatter.
Pressing seams open may also help to reduce the bulk. Extra bulk from seams can also cause problems when quilting, such as skipped stitches, teeny tiny stitches due to the foot getting caught up on the machine and unwanted bulges.
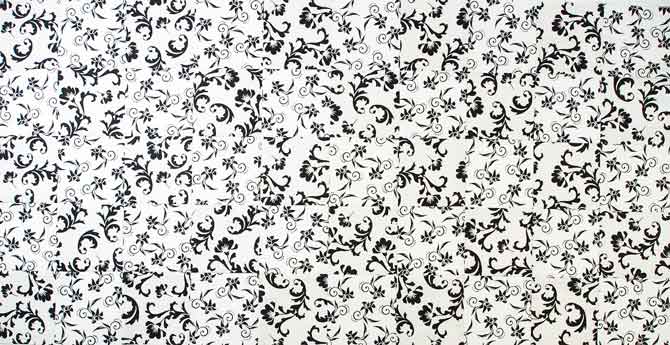
6 – No Steam
Use a dry iron when pressing seams. Steam can distort and change the shape of the fabric especially cotton. If there is distortion in the seams there will be distortion in the finished block which in turn results in distortion in the quilt. It’s a domino effect.
Do I ever use steam? The answer to that is yes. I use it when I’m pressing my fabrics prior to cutting and when the piece is finished to give it a nice crisp and flat look.
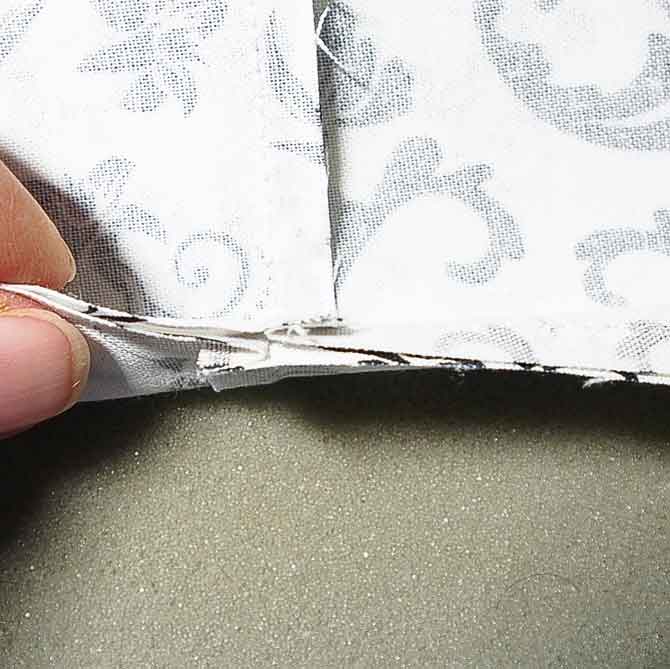
The image below has had no steam applied to it. I just followed these great tips for pressing.
The checkerboard top is all sewn together with perfectly pressed seams thanks to these six pressing tips for perfect seams. I can now move onto the applique. Tomorrow I’ll be looking at creating some applique shapes for the top of the runner and highlighting another super tool I found at my favorite fabric store. I’m not going to tell you what it is – you’ll have to tune in and find out. Trust me it’s a real cool one. Happy Quilting!
7 comments