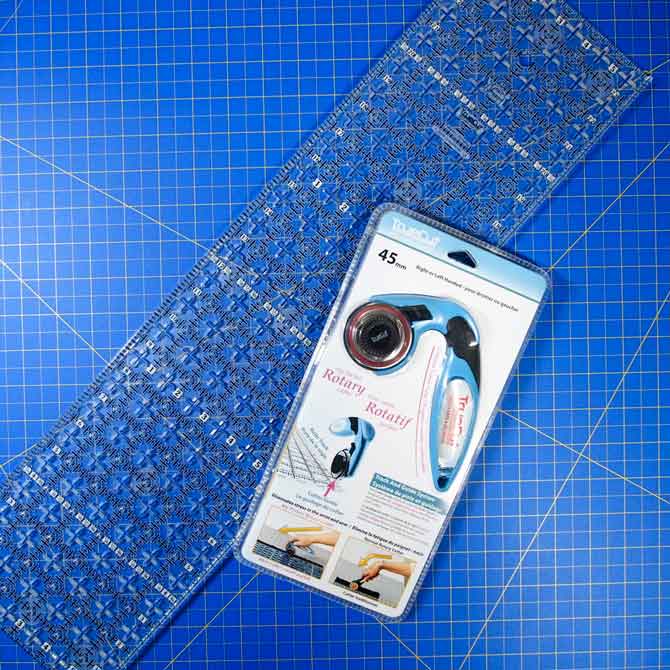
After a visit to my favorite fabric store a couple of weeks ago I came home with some very exciting tools and notions to use and share with you over the next week and in the coming months. I’m always keen to try new tools and today I’m using the cutting system called TrueCut which includes My Perfect Rotary Cutter and a 6″ x 24″ TrueCut ruler. So without further ado, let’s check out those 9 reasons why you should use the TrueCut System.
I’ll be creating a summer table runner with all of these wonderful tools. It’s fast and easy and perfect for home or the cottage. Gather up the materials and follow along.
materials
- 5 black & white fat quarters for background and binding
- 3 fat quarters in 3 different colors
- fusible web such as Heat n Bond
- variegated threads for decorative stitching such as Sulky Cotton Blendables
- 1 package green Rick Rack
- piece of low loft batting
- buttons for embellishment such as the Dress It Up decorative buttons
Shall we get started?…
The TrueCut System
I’m all ready to go with my ruler, cutter and mat. Don’t you just love the vibrant blue of the Unique cutting mat – I sure do. It definitely adds some color to my cutting table.
Features & Benefits of the TrueCut System
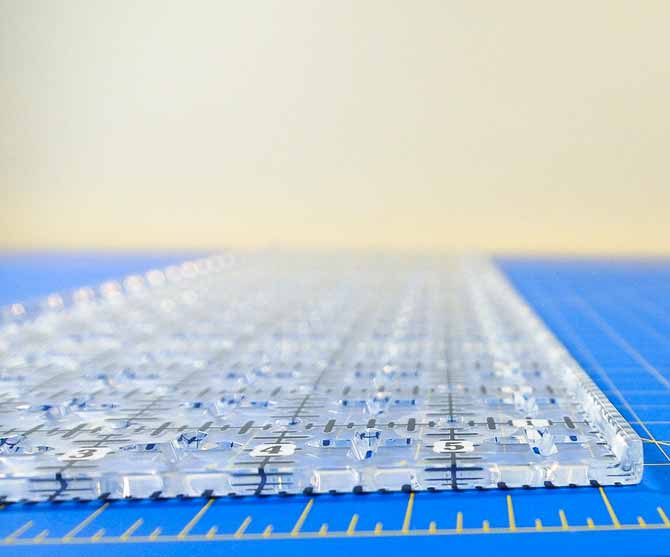
1 – The lines are well marked on the clear plastic in black with a grey outline for easy visualization. I wasn’t sure about the open cross area at first as I found the ruler really busy. But then realized that these open areas made it easier to view the edge of the fabric for precise alignment.
2 –The vertical edges of the ruler have a lip that act as a track for the cutter. The coolest feature I’ve ever seen in a ruler. This means no more wandering rotary cutter and no more wasting fabric. Especially perfect for beginners or quilter’s with arthritis or shaky hands.
My Perfect Rotary Cutter
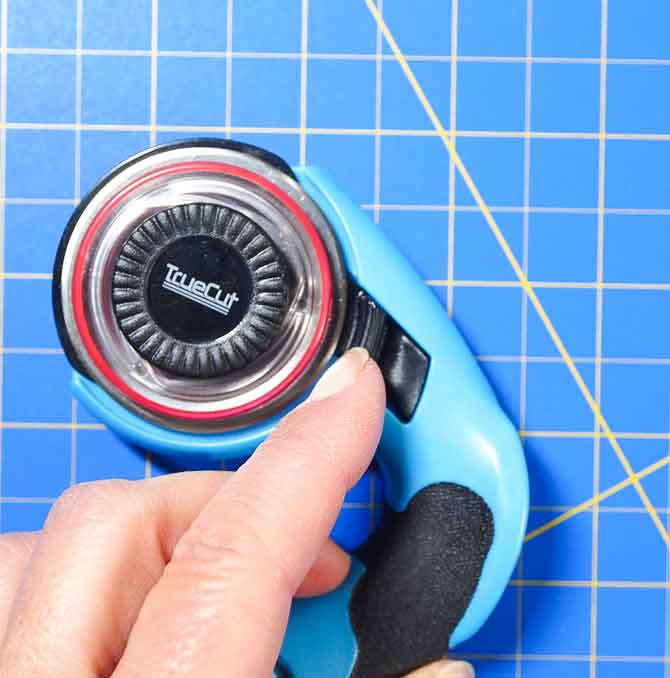
1 –The Handle: My Perfect Rotary Cutter doesn’t look like all the other cutters you’ve seen and that’s because it’s made with a unique handle to reduce strain on the wrist. The cutting power is directly over the blade with this unique handle design.
2 – Safety Guard: with the slide of a button the safety guard is released to expose the blade for use. It’s always a good idea to keep the safety guard engaged when the cutter is not in use.
3– Cutter Guide: My Perfect Rotary Cutter has a guide that fits onto the ruler track making for perfect cuts every time. No wandering off the edge of the ruler. Such a brilliant feature and not only perfect for the beginner quilter but also everyone else too!!!
4– It can be switched to a left-handed set up.
5 – The blades are easy to switch out and the straight blade can be switched to a pinking blade if needed.
6 – Just remove the guide system and My Perfect Rotary Cutter can be used with any other ruler.
7 – This last feature is so cool – it can be personalized!! The clear cover on the handle is removable and your name can be put in place of the TrueCut emblem. Having your tools marked clearly with your name is always a must when going to class and retreats and TrueCut has made it easy to do so.
And finally My Perfect Rotary Cutter is available in three different sizes – 28mm, 45mm and 60 mm. I guess there are really eleven reasons not 10!
When I first started quilting way back when I bought all my fabric for my first project and was cutting all the pieces prior to class. Well, I kept arcing the cutter away from the ruler’s edge and wasting fabric. My husband who is an engineer finally said give that thing to me and I’ll cut your pieces so you don’t waste anymore fabric. Now if I had had this cutting system when I first started out, there would not have been any fabric wastage. Even now as a veteran rotary cutter and ruler user I still occasionally wander off the path and now with this system I’ll never wonder off the path again.
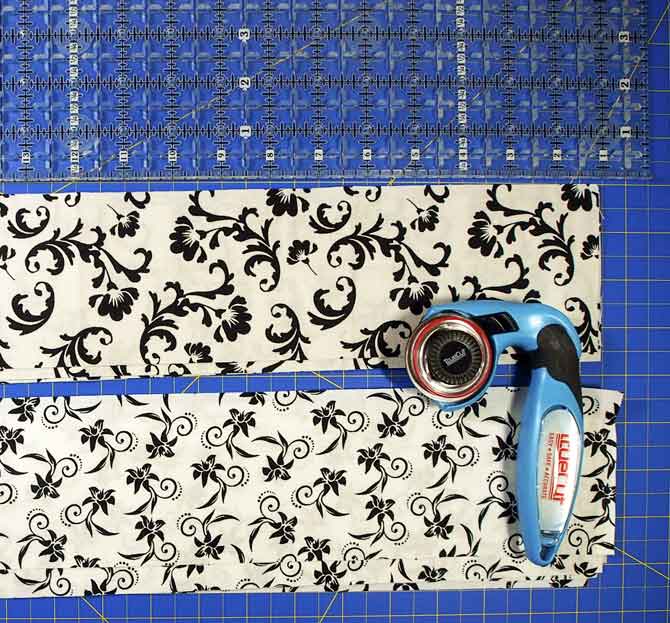
After reviewing these wonderful cutting tools and familiarizing myself with how they work I’m going to put them to use cutting two of my fat quarters each into five – 3½″ x WOF strips to create the background. I used a white with black and a light grey with black fabrics for the checkerboard. What fabrics are you going to use?
Since I’ve cut the pieces and reviewed the 9 reasons why you should use the TrueCut System I’ll wait until tomorrow to start sewing these strips together and creating the checkerboard background. There will be new tools and tips tomorrow that you won’t want to miss so make sure to tune in. Happy Quilting!