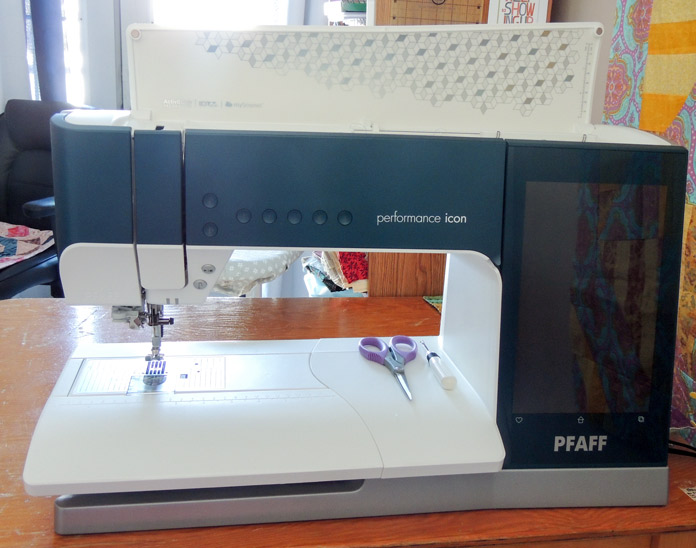
This week’s project is a bright wall quilt for Spring. With the features on the PFAFF performance icon I added stitching details and made quick work of block construction. In yesterday’s post I used built-in Floating Stitches to sew together the bright fabric blocks. It was fun to pick out some decorative stitches to include in the centers of the orange blocks too. Now it’s time to put the quilt top together with one more added dimension.
Assembling the quilt top
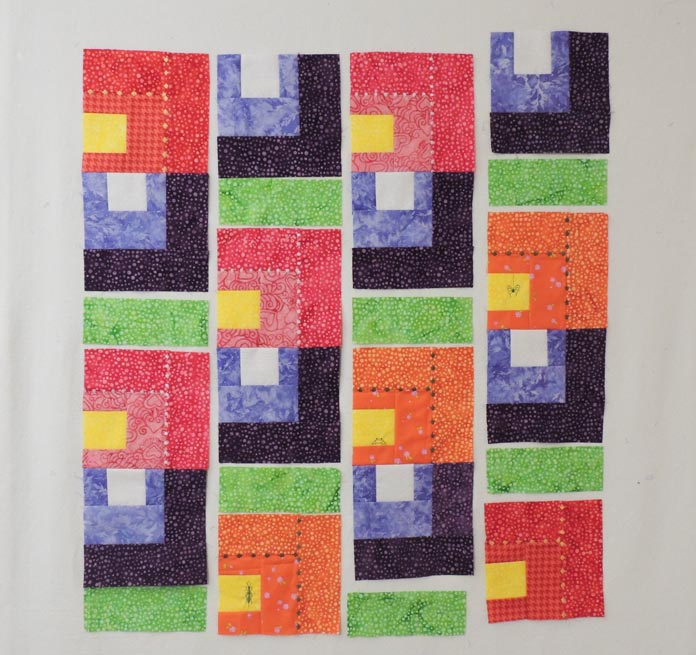
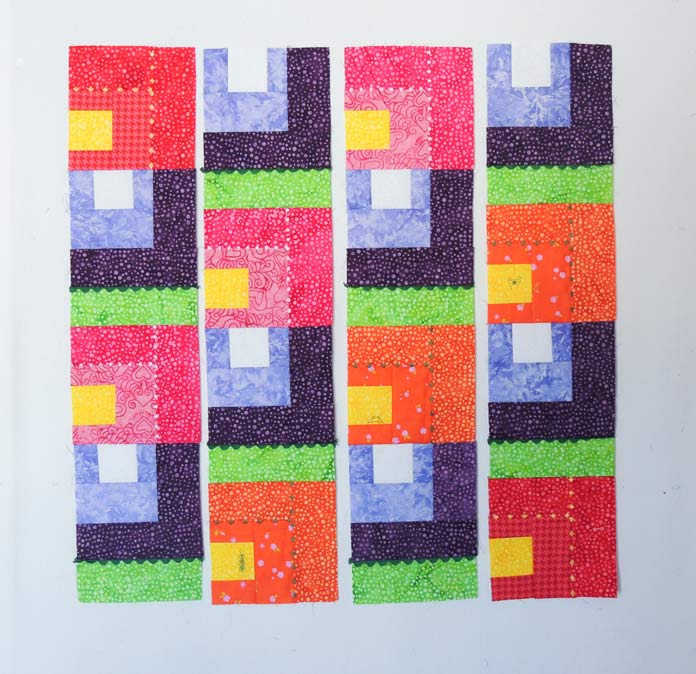
I laid out the completed blocks on my design wall and had second thoughts. Originally, I designed this wall quilt without the green, but it just wasn’t working for me. I needed to hint at the green leaves that support early blooming flowers by adding some green fabric. At this point I knew I wanted to add rick rack. Now, adding it to lay against the green fabric helps it be seen. Yay for having more fabric on hand!
Lay out the blocks as shown on my design wall below. Notice there’s a green strip of fabric beneath each purple block. Also notice that all of the purple blocks are turned with the center fabric at the top; all of the other blocks have the center on the left.
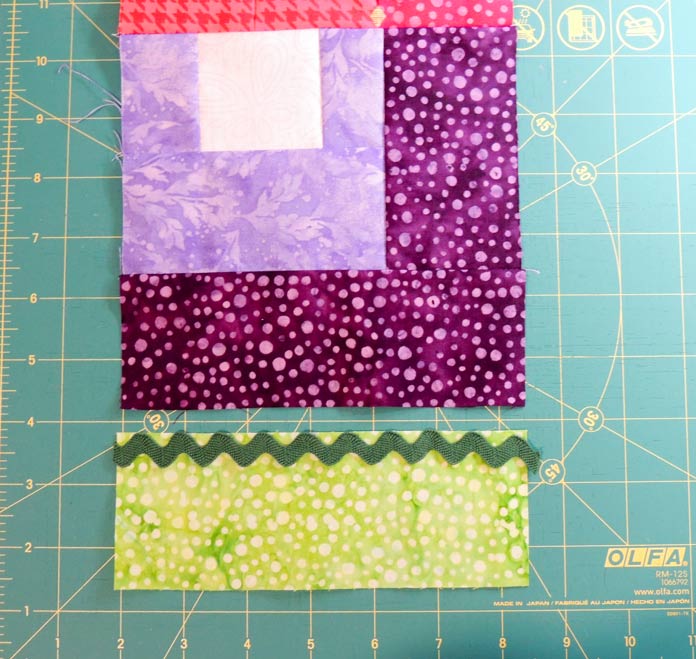
Sewing the rick rack between the green fabric strips and purple blocks
Cut the green rick rack into 8 – 6¾” long pieces. Line up one piece along the top long edge of a green 6½” x 2½” strip. Put a few pins in the rick rack to secure it in place. Then lay a purple block right side down and pin in place.
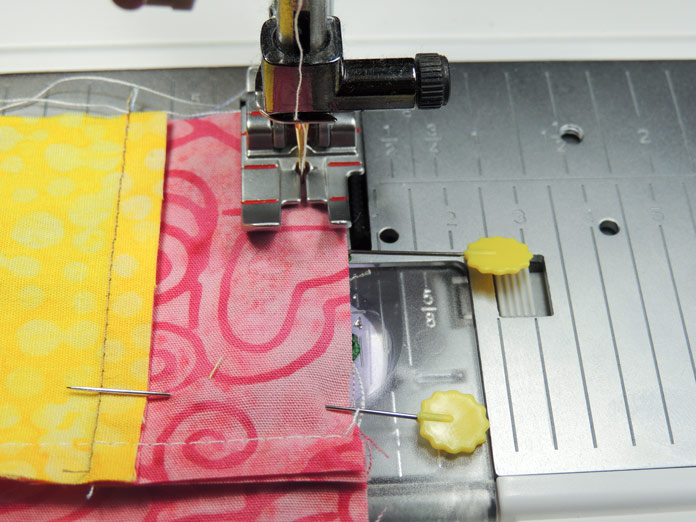
I have no problem sewing this thick layer under the needle of the PFAFF performance icon with the IDT System that evenly feeds the fabric layers.
Press the seams to the purple block. Repeat to sew the rick rack between each green fabric strip and purple block.
Sewing the blocks together in columns
Next, sew the blocks together in columns. I pinned the blocks and used the ¼” Quilting Foot for IDT System for precise piecing.
Press seams to the purple and the green fabrics to create nesting seams for joining the columns together.
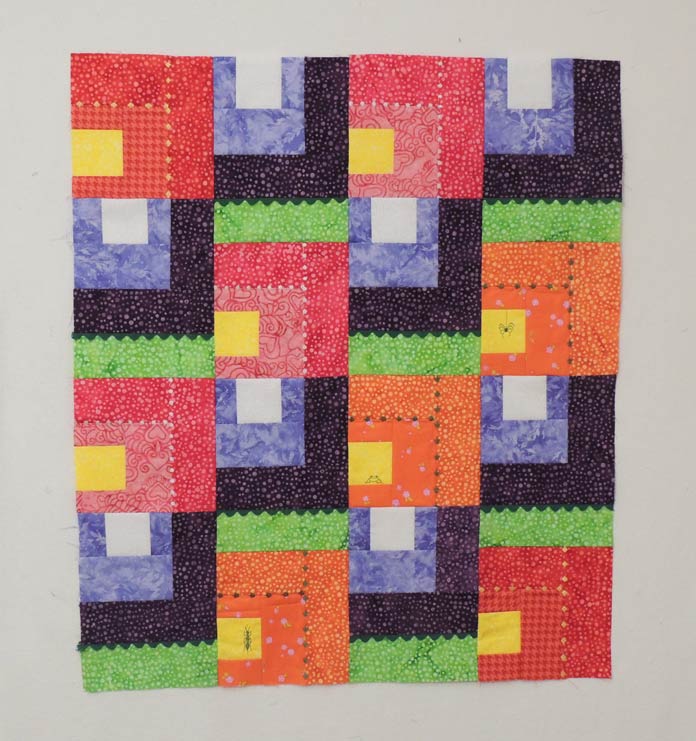
Sewing the columns together
The next step is to sew the columns together, again pinning and using the ¼” Quilting Foot for IDT System. This time I pressed each seam to the right. The top should measure 24½” wide x 28½” tall.
Quilting preparations
Before you sandwich the quilting layers, sew around the edge of the quilt top about ⅛” to secure the outer seams. I use the Stitch Edit menu and make my stitch length 3” for this step. Then it’s time to layer the batting and backing, ensuring they extend past the edges of the quilt top. It’s recommended to have about 2” all the way around the quilt top when you quilt on a domestic sewing machine like the performance icon.
Use your preferred method for securing the three layers together – I use pins. Secure the layers at least every 2” including along the edge.
Today was fun to see all the piecing and stitching come together in a quilt top. The PFAFF performance icon did a great job of evenly sewing the blocks and columns together, even with the bulky addition of rick rack.
This is part 4 of 5 in this series
Go back to part 3: The magic (and how to) of Floating Stitches for your quilt projects
Go to part 5: Quilt and bind with the PFAFF performance icon: What features make it easy