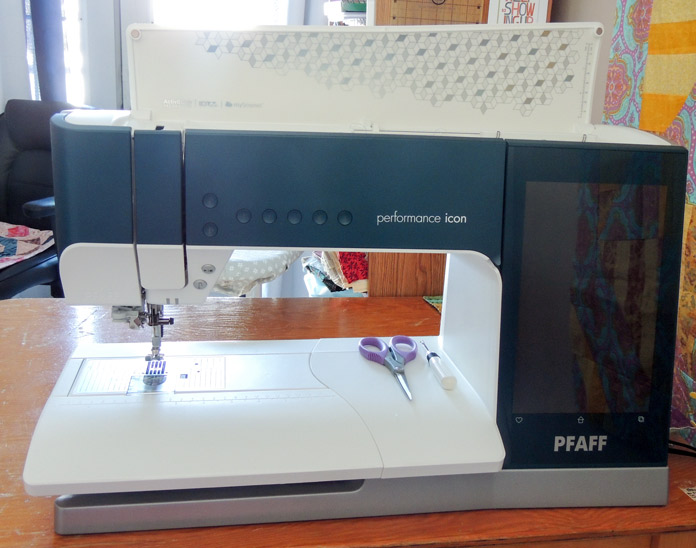
The end of my week is here and I’m feeling cheery. The Modern Blooms wall quilt was a joy to create using the PFAFF performance icon. In yesterday’s post, I sewed the wall quilt top together, adding a final design element of rick rack. Today, we’ll use even more features of the PFAFF performance icon to quilt and bind the wall quilt.
Quilting to secure the layers
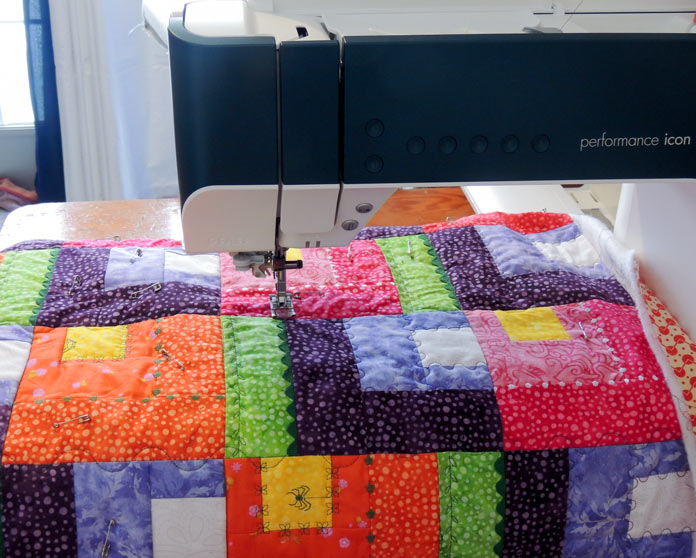
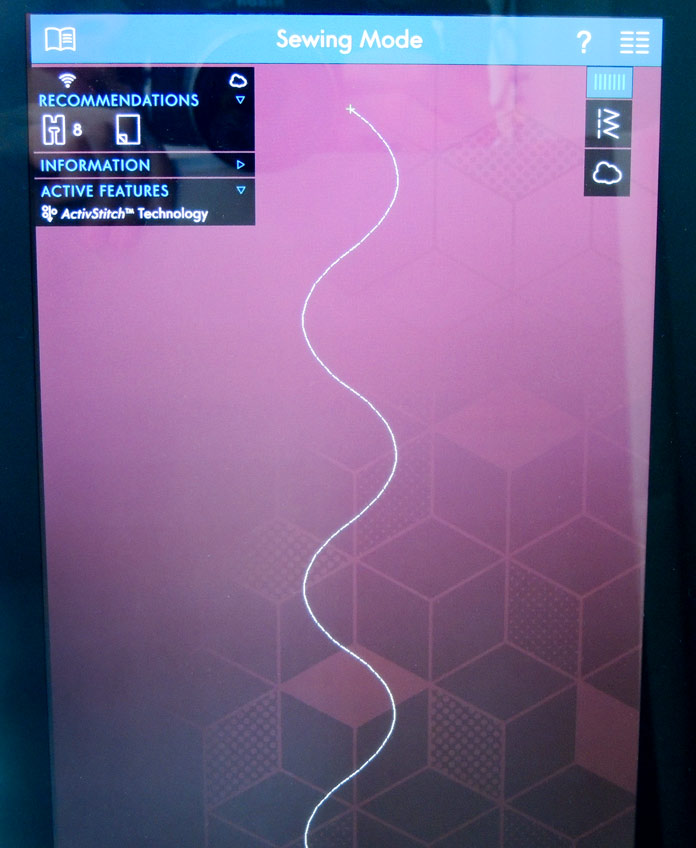
To secure the layers, I quilted in the ditch of the seams between the blocks going across the quilt. I used the Clear Stitch-in-the-Ditch foot For IDT System and white thread. I decided to quilt the vertical seams going down the quilt with green thread and a stippling stitch to look like stems. Maybe vines? I had fun! The great thing about the Multi-Touch screen is that it allows you to see the selected stitch before you sew with it; I picked the larger serpentine stipple because it has symmetry. There are more serpentine stitches to choose from in the Quilt Stippling menu.
Add decorative stitch to green fabric
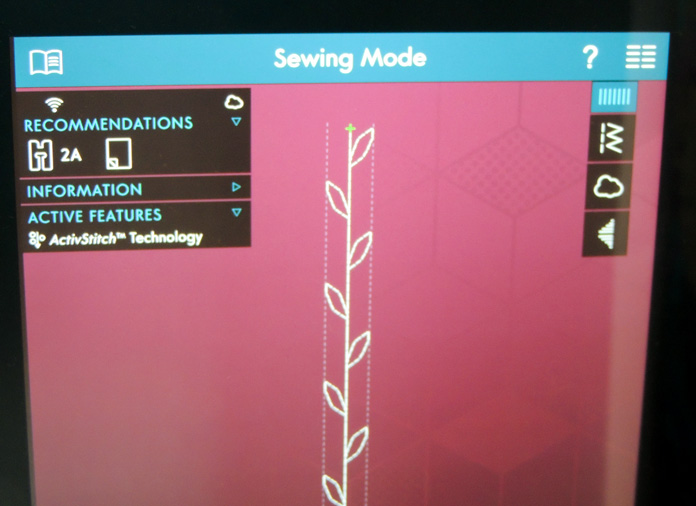
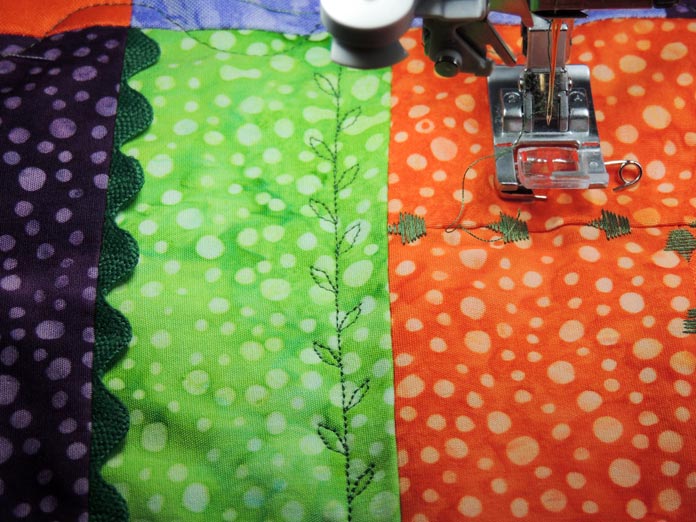
Next, I wanted to enhance my vines with some leaves in the green fabric areas. There are again, many choices of leaf stitches. I initially chose a busier stitch with more leaves, then changed to this simpler one because it appears better as leaves from far away. The Multi-Touch screen makes it easy to see where the stitch starts; you can line up your needle on the fabric to match where you want the stitch to be sewn. In this case, the stitch starts in the center.
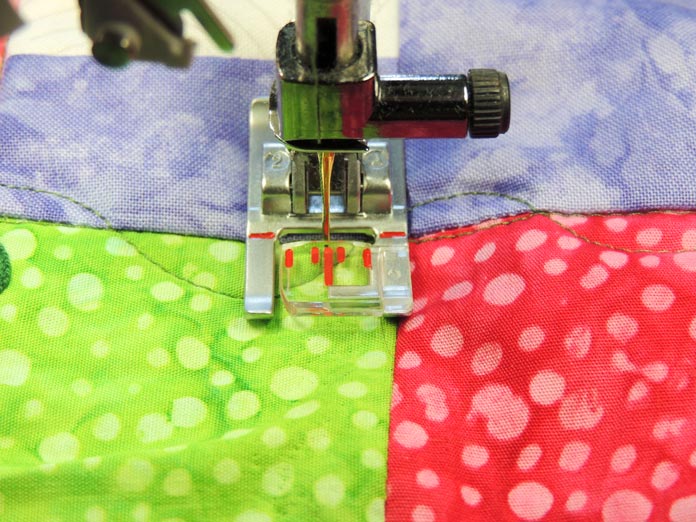
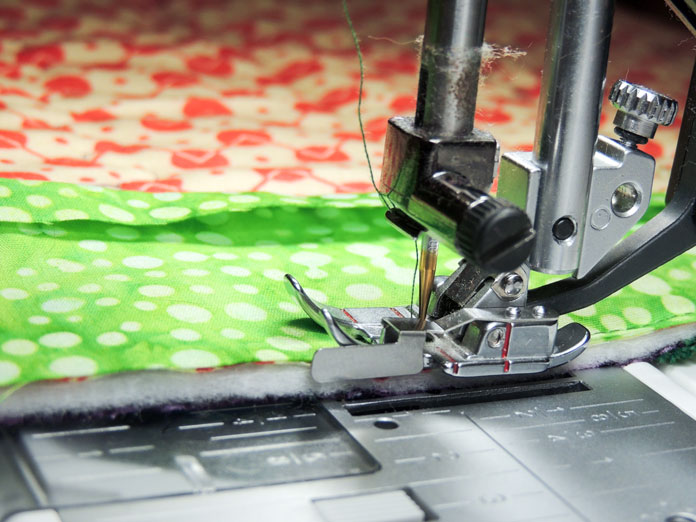
The red guide marks on the Presser Foot 2 help with lining up the needle right at the beginning edge of the green fabric at the seam. Starting the stitch in the same spot on each green fabric is easier thanks to the guides. I also used the edge of the foot to keep a consistent distance from the edge of the green fabric.
One trick I used when quilting the green fabrics
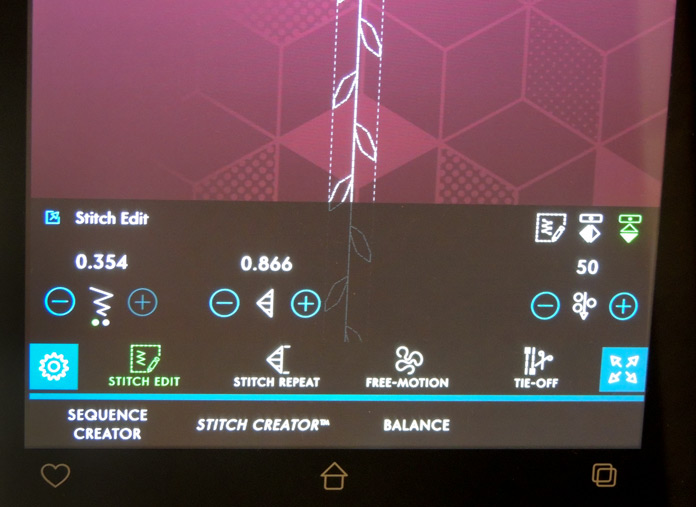
The green fabric on the bottom right of the wall quilt is at the edge. I used the mirror feature to change the direction of the stitch so I could put the top under the machine in an easier to hold position. I love the mirror function, and was so glad I thought of it when I got stuck figuring out how I was going to support the quilt and get a nice stitching line!
Quilt the purple blocks
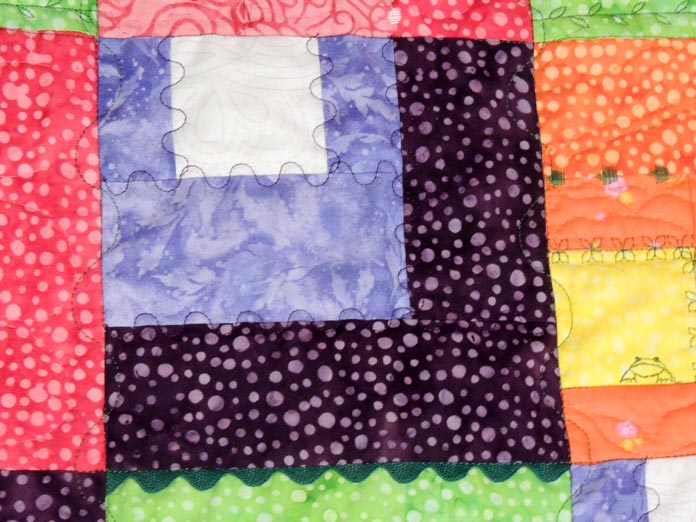
Now it’s time to start quilting the blocks. With so many quilting options on the performance icon I decided to quilt each color of block differently. For the purple blocks, I used a built-in stipple stitch and purple thread. I used the Stitch Restart button to start the stitch in the same place each time – this lets me keep the look of each block consistent. I like to use a curvy quilting motif with straight patchwork seams – here I think it suggests the flowy edges of flower petals.
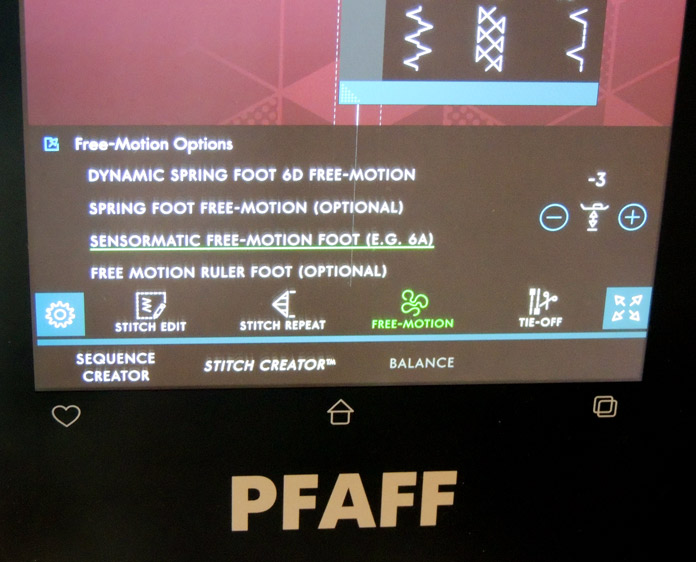
Free-motion quilt the pink blocks
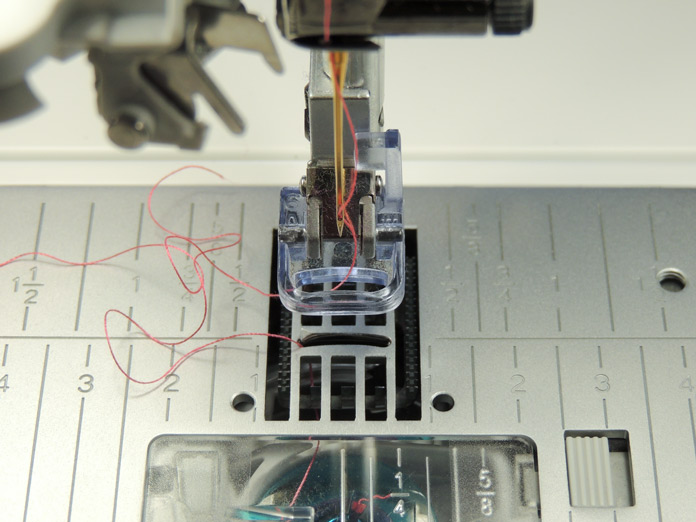
I had to take advantage of all the free-motion quilting options on the performance icon. For the pink blocks, I used my go-to free-motion foot, foot 6A. The free-motion quilting menu has four different free-motion quilting foot options.
I used pink thread for the quilting and made large curves to look like large petals. It was tricky to photograph the pink thread on pink fabric, but you can see the results in the final picture in this post.
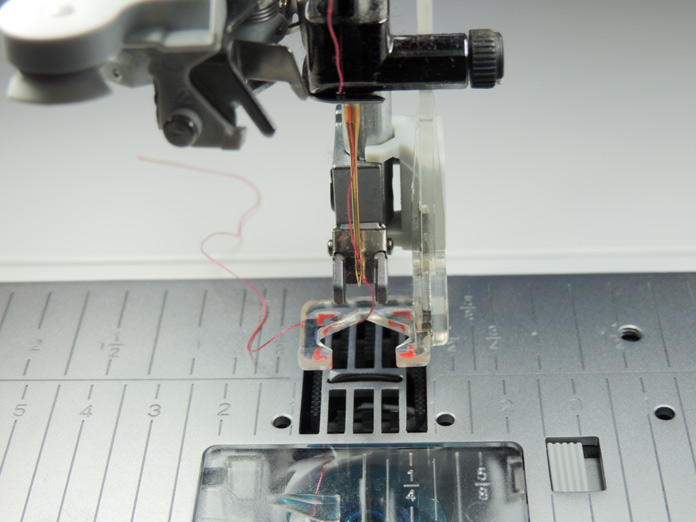
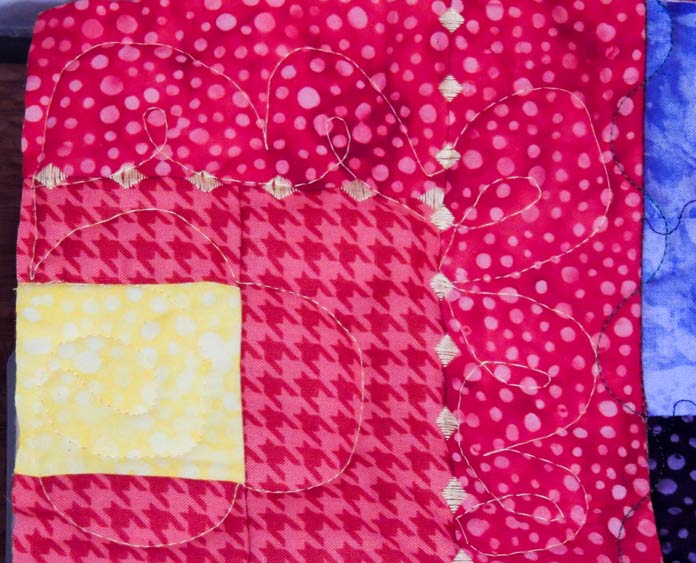
For the red blocks, I switched to yellow thread so my results would show – I learn fast. I also tried out a different foot – the Open Toe Free-Motion Foot. This time I also quilted in the yellow center and went in a spiral, then out into the red fabric to quilt petals. I added an inner loop in each petal too.
I will admit that it takes a bit more practice to quilt well with the Open Toe Free-motion Foot. I ended up switching back to the Presser Foot 6A to quilt in the orange blocks. This time, I added a bit more quilting and think the added texture to this block makes it more interesting. Even though I used orange thread, the volume of quilting shows better on these blocks. You can see I did repetitive parentheses to make overlapping rows of petals. These might be my favorite blocks on the wall quilt.
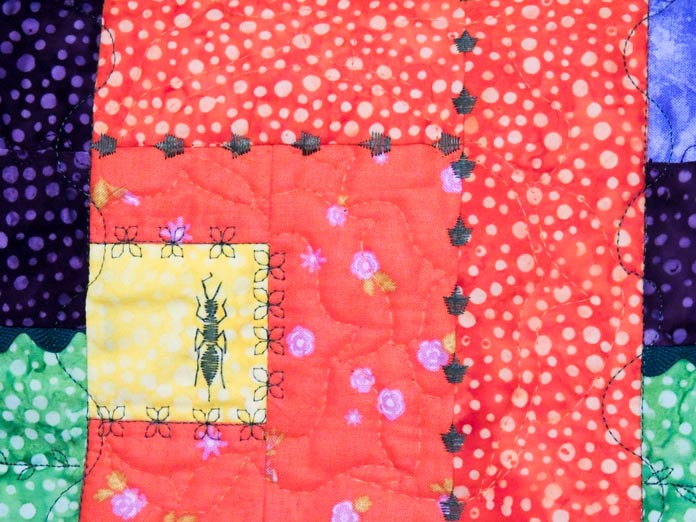
The photo below reminded me that I actually added even more decorative stitching to the orange blocks! When I finished stippling with the green thread, I also added decorative stitches around the centers of the orange blocks. I just couldn’t resist giving the little critters some decor.
Trim and bind
The quilting fun is over and it’s time to trim the top. Carefully trim making sure to keep the top square. I use the markings on my ruler and match them up with my seam lines as I go.
Then it’s time to add binding. Before adding the binding, I make my hanging sleeve, or in this case, sleeves. I cut two shorter ones to save on fabric. I’m mentioning the sleeve now because I sewed the binding to the back and then the front with the machine so I need to pin the sleeves in place at this point.
Not everyone is comfortable or wants to bind their projects with the machine, but I find it’s the best way for me to get things done! Wall quilts are a great way to try out machine binding as it is a smaller project to maneuver. The performance icon can easily handle the bulk of the binding fabric and quilt top layers to make it an enjoyable task as well.
I pin my sleeves in place along the top edge, then start pinning my binding along the back of one side of the wall quilt. I usually start in the middle right edge. I love using the Perfect ¼” Foot with Guide for IDT System to sew my binding on. Really, click on it to see why they called it perfect – it’s hard to not get a ¼” seam with it!
Sew your binding to the back of the quilt just like you would normally when starting on the front. Then when you’re done, pull it over to the front and stitch it in place. On this quilt, I used green thread and the regular straight stitch – you can also use a blanket stitch or other decorative stitch. The key is to sew very close to the left edge of the binding so the front stitches don’t even show on the back. To do this close stitching, I use the inner metal groove on the left side of the ¼” Quilting Foot for IDT System as my seam guide.
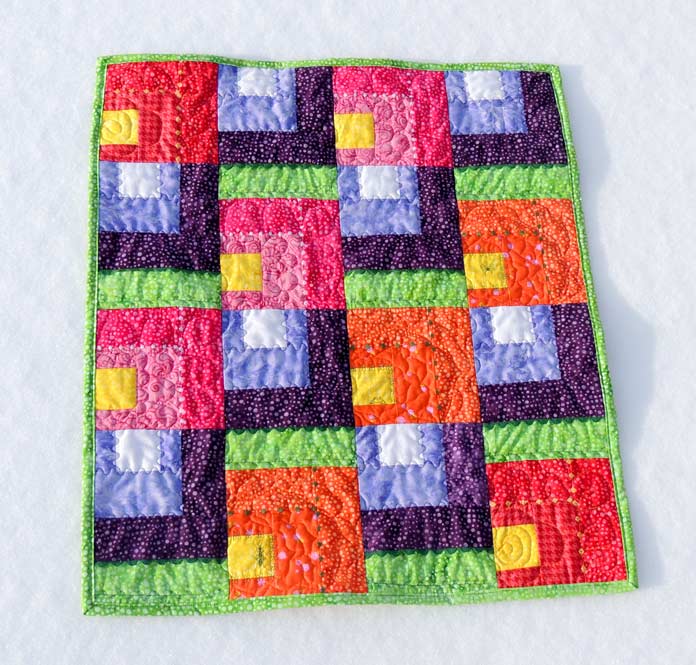
I love the precise results I get with the PFAFF performance icon! The Modern Blooms wall quilt is complete. Even though it’s sunbathing on a snowbank in my photos, I really hope the weather is warming up as you stitch together your Modern Blooms wall quilt. Quilting a project from start to finish on the performance icon always makes me happy.