Today, we’re going to have fun with making circles and hexagons using the Sew Easy templates to finish embellishing our Darling Diva wall quilt. I never met a gadget I didn’t like, and recently, I came across this gadget which makes English paper piecing even easier! Let me show you how English paper piecing replaces potato chips…
I love these templates! The Sew Easy templates, distributed by H.A. Kidd Company Ltd., are durable and come in a fun (and hard to lose) pink-orange color.
The circles and hexagons packages contain nine templates to make pieces from 1/2″ to 5″ — and have eliminated the need for me to raid the kitchen cupboard for bowls, cups and glasses to trace a circle. The hexagons will enable me to make my own English paper piecing (EPP) papers.
By the way, EPP is a great stash buster, and a very portable activity that you can take almost anywhere. To make the flower embellishments on the Darling Diva wall quilt, I traced 21 small “hexies” onto sturdy matte photo paper (poster board or old greeting cards work well too). Then, I carefully cut them out along the traced lines.
The following photos are great visuals on how to EPP. One caveat: you’ll never make just one! This is a highly-addictive technique. Therefore possibly replacing the urge to eat potato chips.
- Trace the Sew Easy hexagon template onto sturdy paper to create English paper pieces.
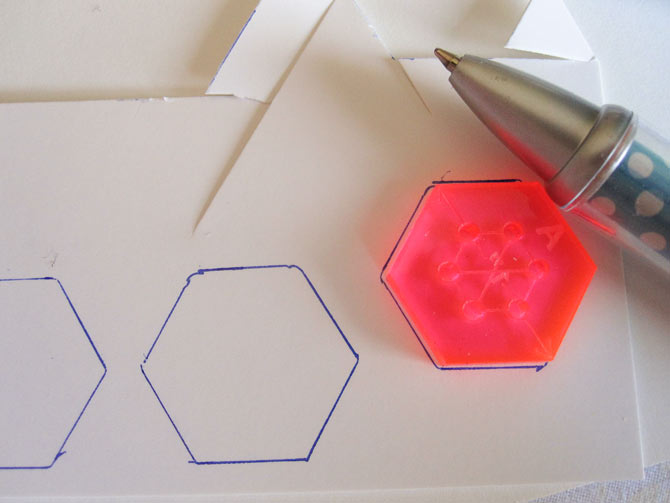
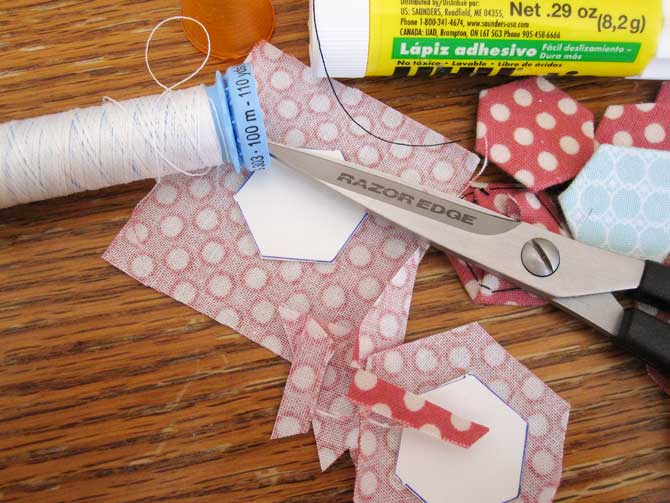
- Use a glue stick to dab just a bit of glue on a square of fabric. Cut out the hexi shape, leaving at least 1/8″ of fabric around the shape.
- Fold the fabric over the shape, making sure the edges are crisp. Use contrasting thread to tack each corner, all around the hexi.
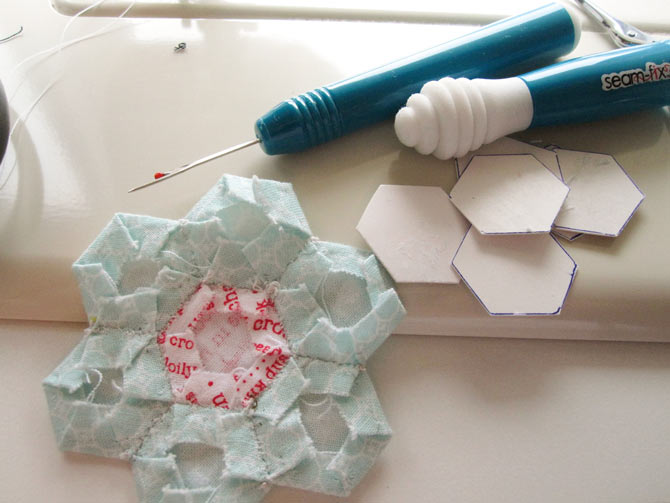
To make a flower, you need seven hexies — six joined together around a central hexi.
- Use contrasting thread to tack just the corners of the fabric to the paper template. Pull tightly to make a snug wrap and, therefore, sharp edges.
- Join them using tiny stitches that do not go through the paper, just catch the edge of the fabric. Do your best to make sure the stitches can’t been seen on the right side of the joined hexies.
- Press well with steam. Snip the basting threads and ease the papers out of the shapes. These papers can be used over again.
EPP flowers in a flash: the first red polka-dotted hexi joined to the aqua center. Note the tiny stitches. Once the paper is removed, you can barely see the joining stitches.
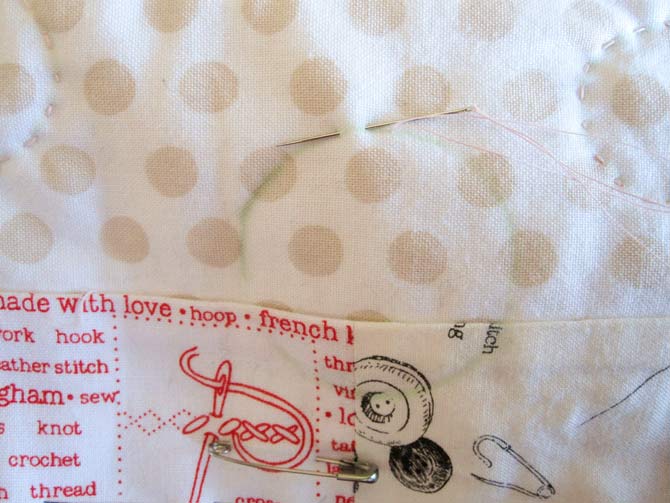
I attach all the hexi “petals” to the center first, then I sew the petals to one another. The shorter quilting sharp needle is essential at this point.
Our Darling Diva wall quilt has been dressed up and is almost ready to be quilted. But first, let’s make a sandwich of muslin, batting and the main quilt.
- Spray baste the layers together using 505 fabric adhesive.
- Smooth the layers together. Place the whole quilt in a quilting hoop.
- Use an embroidery needle, threaded with two strands of embroidery floss, to outline the dress and the skirt fans. Remove the quilt from the hoop.
- Spray the flower embellishments with 505 adhesive and attach to the quilt. Attach the flowers to the quilt, just catching the edge of the flower and going through all the layers of the quilt. Don’t pull too tightly, or you will create puckers.
I did this, and I had to remove the flowers and start again. It was a dark moment in the creation of the Darling Diva wall quilt. But, that’s part of the charm of hand quilting. Sometimes, mistakes happen. They can be corrected with a seam ripper, or they can be become a “design decision”. A pucker, in my view, required a seam ripper.
- When the flowers have been appliqued to the quilt, they have also become part of the quilting.
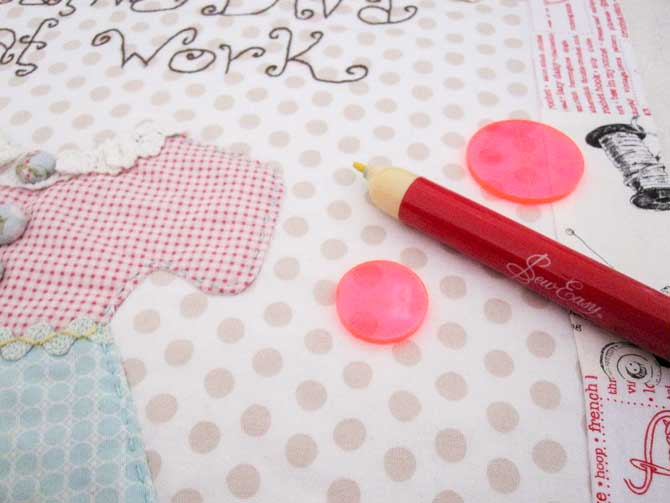
- Use the 1/2″ and 1″ circle templates and the Heirloom six color retractable pen to trace around circles on the quilt, drifting into the borders. Quilt by hand using Gutermann quilting thread. Again, try not to pull too tightly (see above regarding the unattractive pucker).
I found it easier to stitch the quilting circles while the quilt is not in a quilting hoop. While the circles are placed in a random fashion around the quilt, start the quilting with those closest to the center, and move north, south, east and west around the quilt to keep the tension in the quilt sandwich even.
Finishing the quilt by hand will take some time, but it will add charm. Today we had fun with templates doing fun and funky laser cut circles and hexagons. Come back tomorrow when we bind the mini quilt and make a sleeve to hang it.