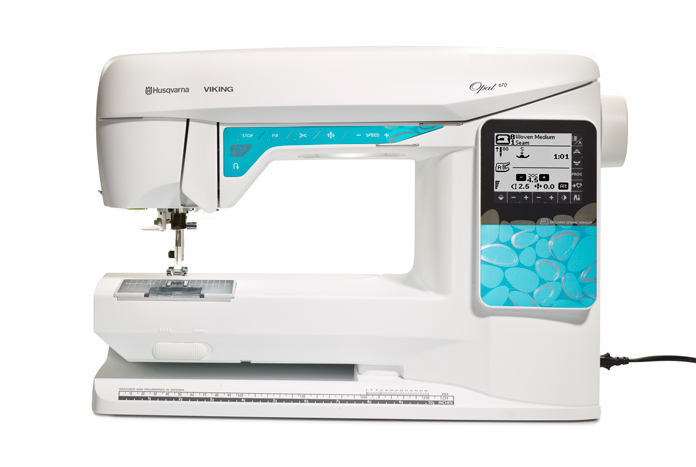
I can’t believe it’s the end of the week! Where has the time gone? Well, we’ve had so much fun exploring the outstanding features of the Husqvarna Viking Opal 670, and the time just flew by.
It’s time to finish up the projects we worked on this week. The hearts we appliqued yesterday were so easy, and today, it’s time to finish the pillow by inserting a zipper and the final seam.
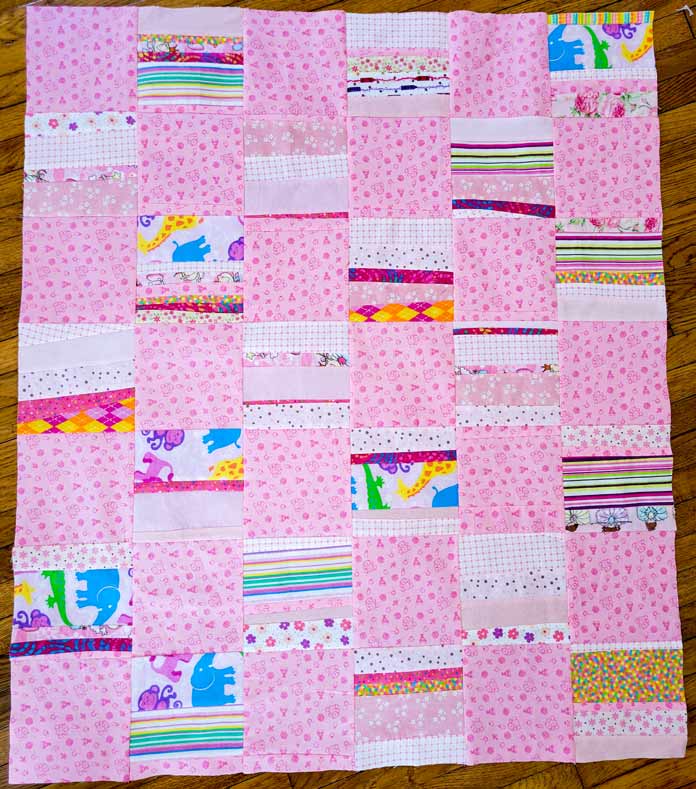
But let’s start with the scrappy quilt I started at the beginning of the week. I make a lot of scrap quilts, and in this one, every second block is one piece of fabric, while the alternate blocks are strips of leftovers sewn together to make a 6½” unfinished block. Super easy to make, and it’s a great way to use up scraps.
There are many ways to assemble a scrap quilt – some more random than others. I love making new fabric from the leftover bits. I sort my scraps by color and make each quilt a specific color to keep them somewhat cohesive. But since you are the maker, you can do anything you like. Sort your scraps and see what kind of quilt you can create!
As for the Valentine pillow, I find most pillow forms are not overstuffed, and if not careful, the beautiful covers we make end up being too large for the form. My rule of thumb is to cut the front and back the same size as the form. In this instance, my form is a 12″, so I’ll trim the front and back to 12″, and I don’t include a seam allowance.
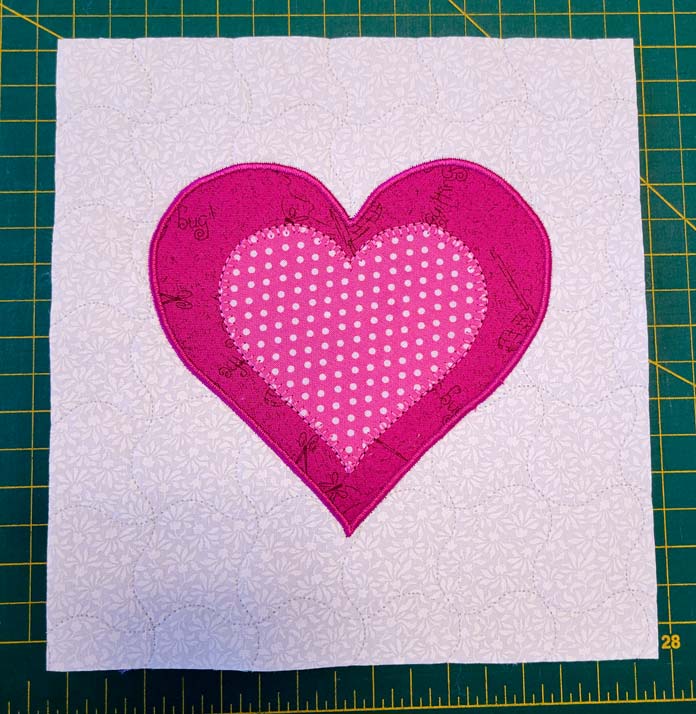
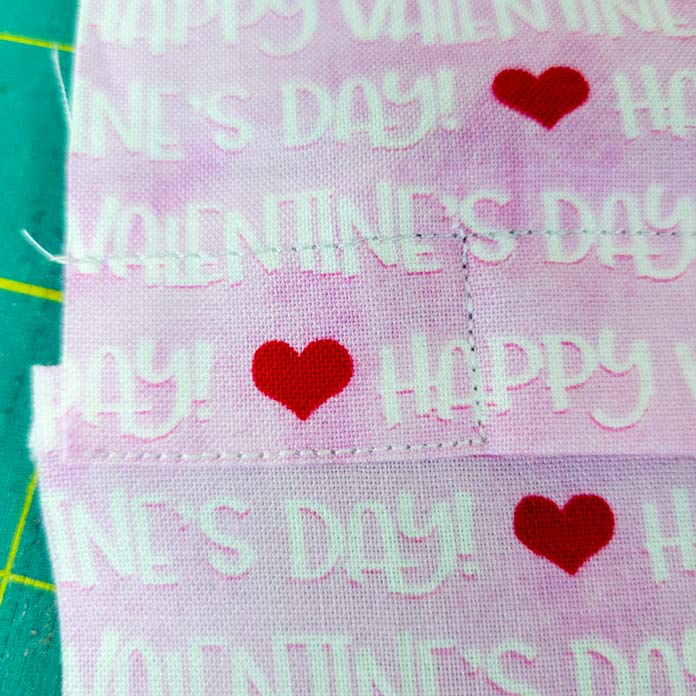
I found some adorable fabric to complement the applique, so I ended up putting a wider border on than initially planned. I attempted to trim the applique background to 8½”, however, I goofed in centering the motif, so it ended up being 8″ square. It doesn’t matter what size you trim it to, but make sure to keep some of the pretty stitching you created in the background.
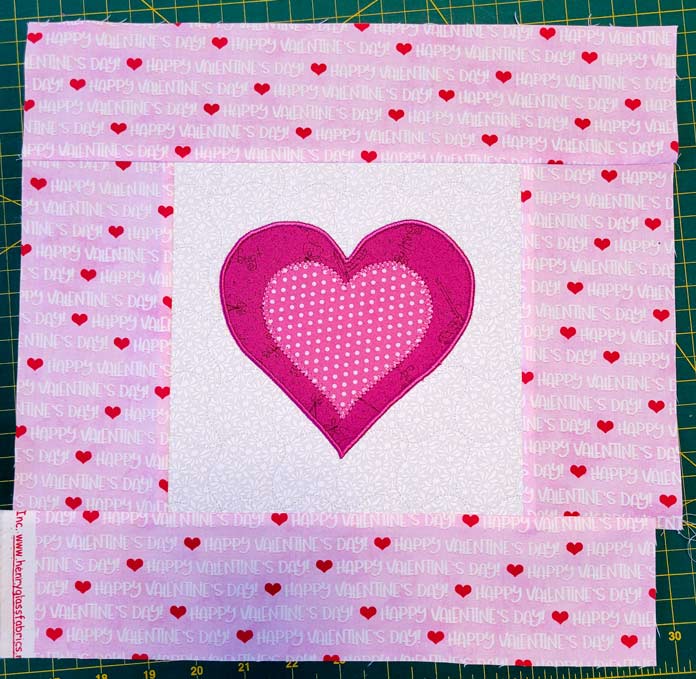
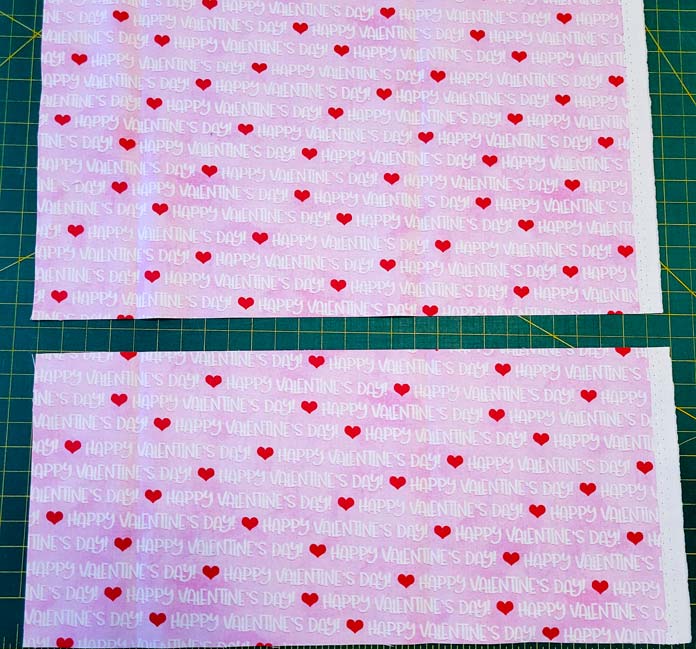
Isn’t this fabric just the cutest? The print is directional, so I need to be careful when cutting the four pieces as I want the words to be in the correct orientation. I cut my pieces 3″ wide and trimmed the cover to size.
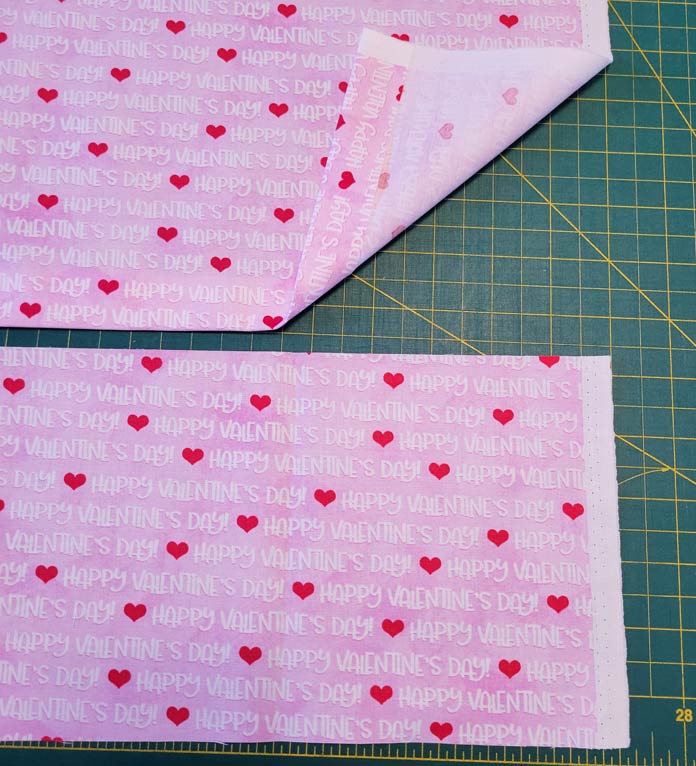
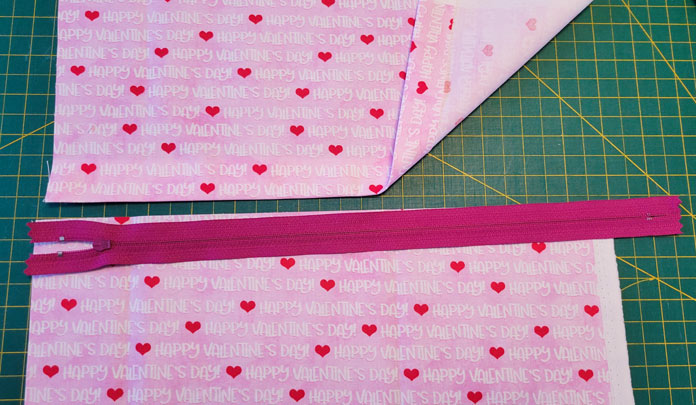
The back of the cushion cover is cut at 13″ wide by 15″ long; the extra length is for the zipper flap. This fabric is directional, and at first, I cut across the center without considering whether the print was straight or not. However, I didn’t like it, so I trimmed up the cut edges and made the words straighter.
There’s about 6″ on the bottom section of the cushion cover back, and the rest is at the top. It doesn’t matter where you make the cut, as long as it’s somewhere on the back.
Fold the raw edge of the upper piece under about 1″, as this creates the flap to hide the zipper.
If you can find a zipper the right length, great. But most times you’ll need to add a zipper stop in the appropriate spot to shorten the zipper. For a cushion cover, I like to use a zipper that’s 2″ shorter than the form. Since my zipper is 12″ and my cushion form is 12″, I need to trim the zipper to 10″.
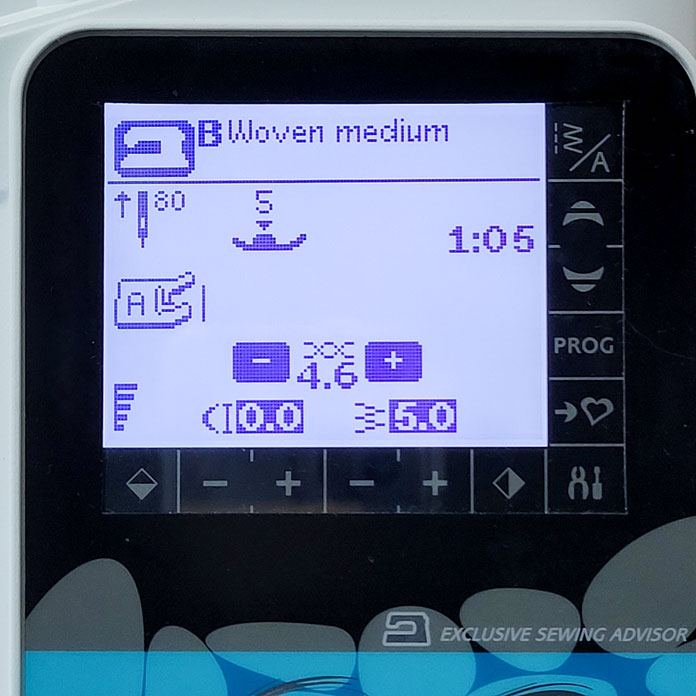
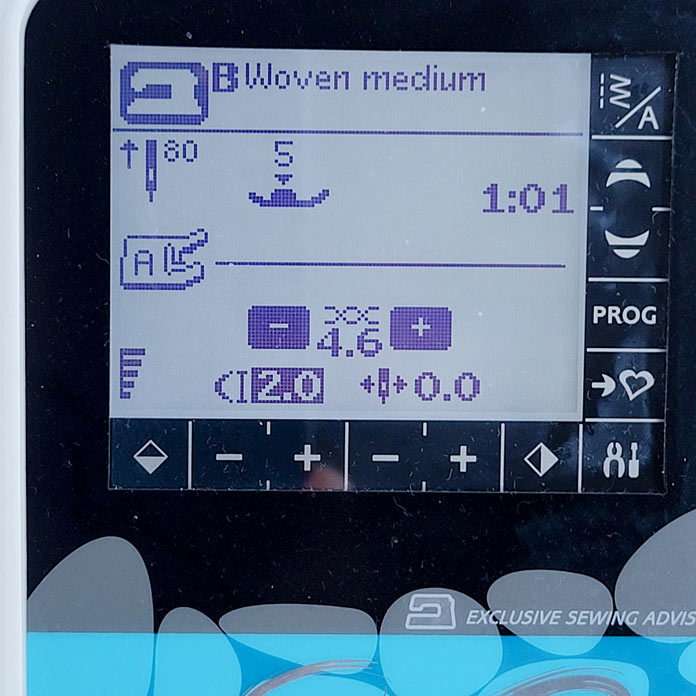
It’s super easy to create a new zipper stop with the Opal 670. I’m using the Utility Foot B, or you could use the Utility Foot A as shown on the screen below. Choose the zigzag stitch (1:05). Drop the stitch length to 0.0, and I set the width at 4.5 or 5.0 as it needs to reach over the zipper teeth. Test the width manually using the flywheel. You can see the stitch on the screen, which appears as a bar tack in front of the recommended presser foot.
I love this flexibility. The tack stitch isn’t a built-in stitch on the Opal 670, but I can make one, and if I want, I can save this in the Program Menu, so I don’t have to create it each time I need to shorten a zipper or use a tack stitch on any other project. Super handy!
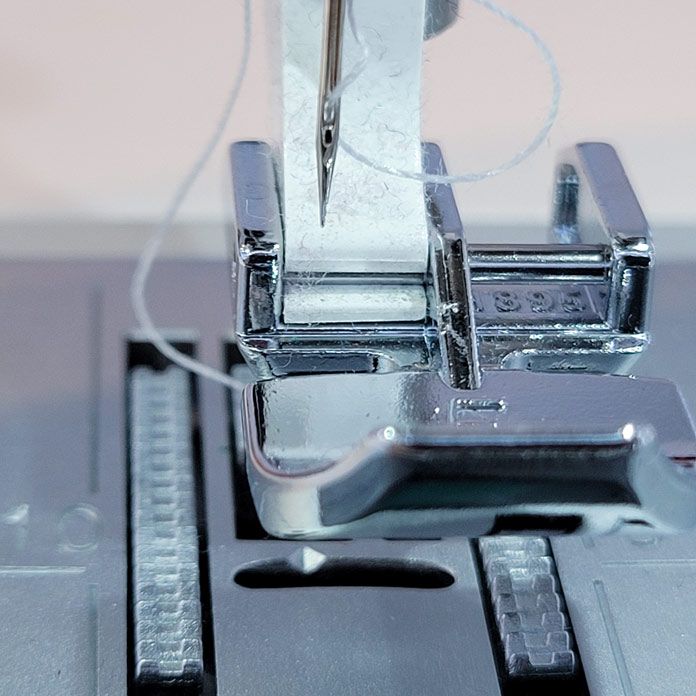
This is what it looks like when I’m stitching it out. The bar tack (zigzag set to 0.0 length) is stitching in place and creating the new zipper stop. It’s so easy!!!!
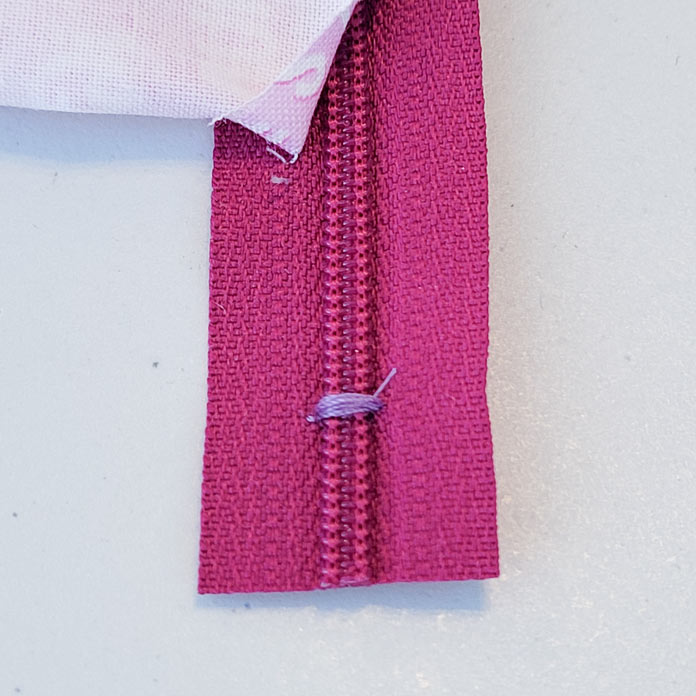
Here’s the new zipper stop. You’ll note I changed threads from one picture to another so you can see the new zipper stop. Once the new zipper stop was complete, I cut off the end of the zipper, leaving about ½” beyond the stop.
Now it’s time to sew the zipper to the bottom section of the cushion cover back. It’s tricky sometimes to get all the pictures needed for the steps. In this photo, the zipper placement is correct – the zipper is face down on the right side of the bottom section of the back of the cushion cover; however, I hadn’t made the new zipper stop and trimmed the zipper yet. The ends of the zipper should be about 1″ in from both ends.
Zipper Foot E is part of the accessories with the Opal 670. It has a left and a right side, so it’s easy to move the foot depending on which side of the zipper you need to sew on. Below, the needle is in the center position, but I need the needle much further to the left.
I’m using the straight stitch, and this is what the settings look like on the touch screen. Notice the two small arrows beside the needle symbol. Yes – I can move the needle to the left or right using the plus and minus signs. There are a total of 29 needle positions on the Opal 670.
That means I can move the needle significantly to the left so my seam can run much closer to the edge of the foot. I love this flexibility!
Here’s what the stitch settings are now. Notice the needle is now at -2.0 to the left of center position.
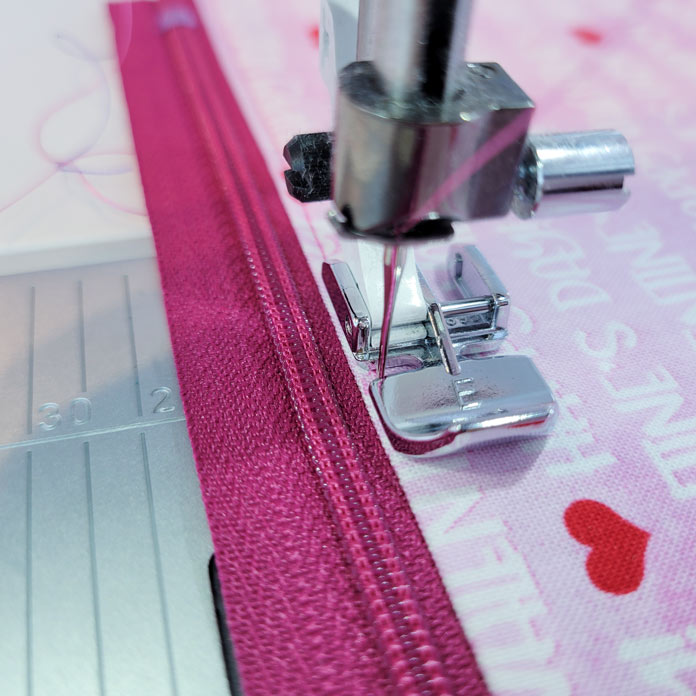
Center the zipper along the top edge of the bottom section of the back of the cushion cover. Notice the textured line along the length of the zipper tape – that’s the seam line and moving the needle to the left makes it easier to follow the seam line.
Now, we’re approaching the zipper pull, and you can try as hard as you want, but if you try to stitch past the zipper pull, your seam will get very crooked and wonky.
Make sure you’re in the needle-down position to hold everything in place and carefully move the zipper pull behind the presser foot. Stitch the remainder of the seam to attach the zipper in place.
Press the seam toward the bottom of the cushion cover so the zipper and fabric are right sides up. Use the Zipper Foot F and position the needle to where you want the topstitching to be. Topstitch along the edge of the zipper to secure the seam allowance on the wrong side.
Lay the top section of the cushion cover back on the work surface, so the folded part is facing up. Line up the long edge of the zipper tape with the raw edge of the folded piece. Make sure the side edges of the fabrics are lined up and pin the zipper in place through all layers.
Move the needle position as required and sew along the textured line through the zipper tape and the two layers of the fold. The bobbin thread will show on the right side of the cushion cover, so be sure to use a matching thread.
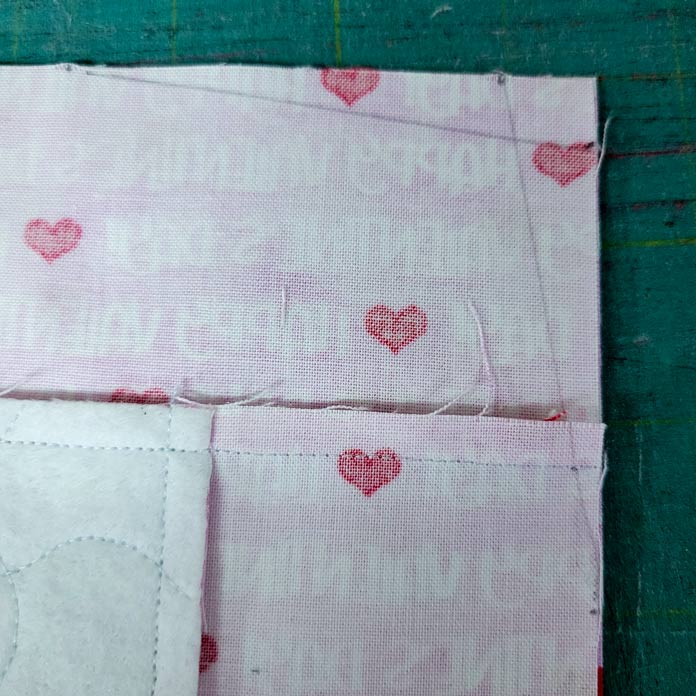
Secure the short ends of the zipper and stitch the ends of the flap in place with an L-shaped seam.
Trim both the front and the back to the size of your pillow form. There’s no need to add seam allowances, so I’ve trimmed the front and the back to 12″. Next, sew the front and back together. Be sure to open the zipper halfway before you do this.
Before stitching all the way around, I like to round off the corners, to eliminate the dog ear that sticks up. I find most pillow forms don’t fill the corners nicely, and rounding the corners makes the cushion cover fit much better.
I create two diagonal lines in the corners by measuring down ½” and over about 3″. Cut on those drawn lines. Do this with the front and back pinned together so you can trim them at the same time.
Using a ¼” seam allowance, stitch around the cushion cover.
Or you can use the Edging Foot J with the built-in Overcast Stitch (1:09) and seam and overcast simultaneously.
And here it is – the final cover. It looks fantastic and it’s easy to do with the Husqvarna Viking Opal 670!
What a super week! I hope you’ve enjoyed the posts this week as I played with the Husqvarna Viking Opal 670. As I mentioned, I took this machine to a quilting retreat, and I sewed on it for six days straight. I was a bit leery – would it have enough bells and whistles to keep me happy? It did, and I was very happy sewing on it for those six days.
Best of all, when it was time to pack up, the Opal 670 is so light it was a breeze to put in the car. It’s a great sewing machine, so whether you’re just starting out or need a second machine, the Husqvarna Viking Opal 670 is worth a serious look.
Be sure to stop by your local dealer to check it out.
Thanks for following along this week.
Have a great day!
Ciao!