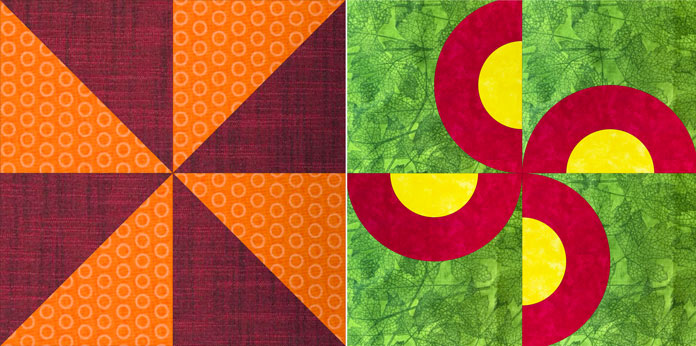
I always have, and no doubt always will, loved creating quilts with half-square triangles (HSTs). Why? Because I love to play with the huge variety of possible patterns when HSTs are laid out in different sizes, directions, and color combinations. HSTs can be arranged and combined to create infinite and beautiful forms and shapes.
When asked to write this week’s series of posts, I started musing about HSTs and creating something new and original. Then, an idea came to me when I glanced at my OLFA Rotary Circle Cutter. I would make a traditional windmill block pattern using half-circles instead of HSTs!
To make this quilt easier to assemble, here’s a list of all the great tools I’ll use to make my windmill quilt:
· OLFA 45mm Splash™ Handle Rotary Cutter
· OLFA 45mm Tungsten Tool Steel Rotary Blade
· OLFA 12½″ Square Frosted Acrylic Ruler
· OLFA 6″ x 12″ Frosted Acrylic Ruler
· OLFA 6″ x 24″ Frosted Acrylic Ruler
· OLFA 24″ x 36″ Double Sided Rotary Mat
· 3pkg HeatnBond Non-Woven Lightweight Fusible Interfacing (20″ x 1 yd/50cm x 0.9m)
or 2¾ yds [2½m] HeatnBond Non-Woven Lightweight Fusible Interfacing (20″/50.8cm wide)
· Oliso PROTM TG1600 Pro Plus Smart Iron
Now, why make only one windmill when four can be made just as easily? While I’m at it, why not add a little extra visual interest to the block design by adding a triangle in one corner?
I want to make this quilt fun, so adding a little corner piece adds the spark of visual interest I look for.
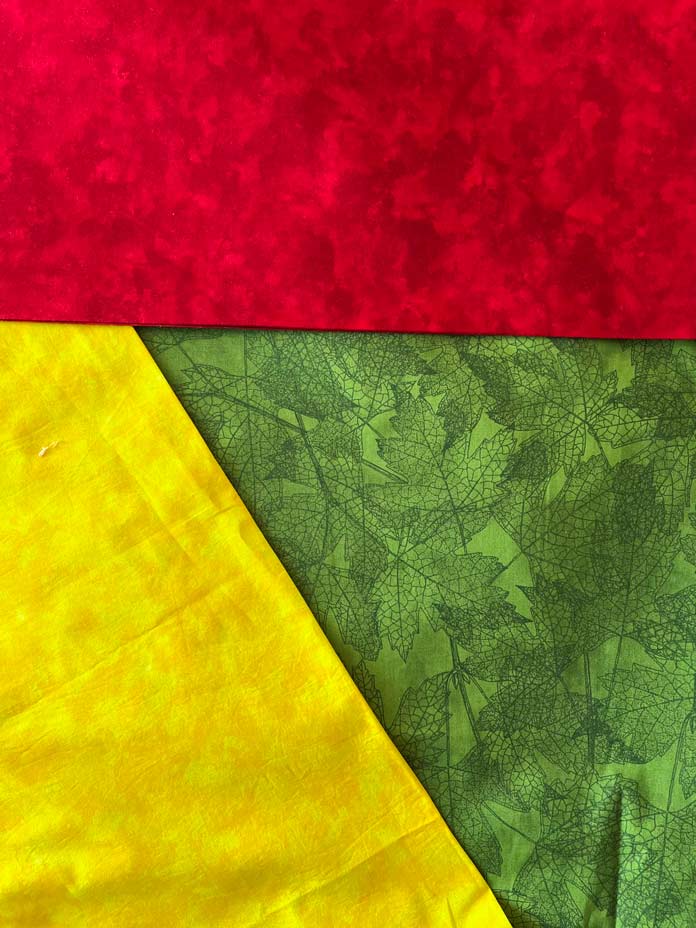
Along with the tools listed above, the following fabrics are needed:
- 1⅓ yds [1.2m] green for background
- 1 yd [0.95m] red for large circles and corner triangles
- ⅓ yd [0.35m] yellow for small circles
- ⅓ yd [0.35m] for binding
- 1¼ yds [1.20] for backing
- 44” x 44” [112 x 112cm] batting
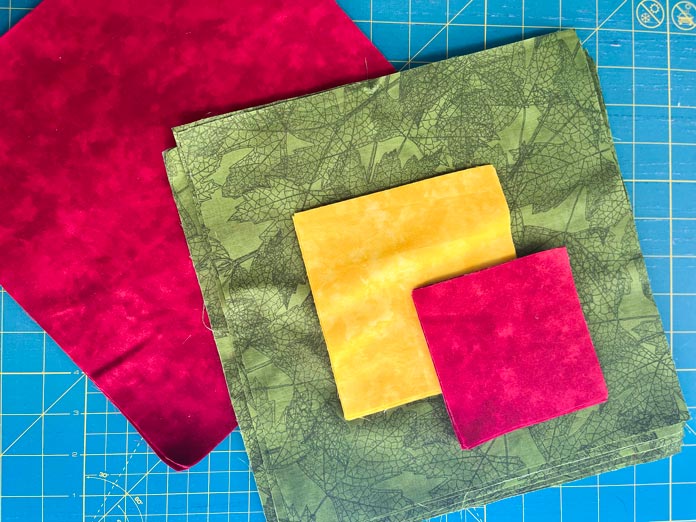
I used the OLFA 6” x 12″ and 12½” x 12½” rulers to cut the following pieces from the fabrics and the HeatnBond fusible interfacing:
Green background fabric:
- 16 – 10½” x 10½” squares
Red fabric:
- 8 – 10½” x 10½” squares; and
- 16 – 4” x 4” squares
Yellow fabric:
- 8 – 5¼” x 5¼” squares
Heat HeatnBond fusible interfacing:
- 8 – 10⅜” x 10⅜” squares; and
- 8 – 5⅛” x 5⅛” squares
On the paper side of each cut square of HeatnBond interfacing, find the center and mark it with a large X.
TIP I find the center easily by using the edges of either the OLFA 6” x12″ or 6″ x 24″ ruler. Place the edge of the ruler diagonally on the paper from corner to corner and draw a diagonal line. Repeat this process for the opposite corners to create an X. The X marking on the paper side of all cut pieces of HeatnBond will come in handy tomorrow when cutting circles.
Fuse the marked HeatnBond squares to the fabric squares.
Note: Before fusing the HeatnBond, it’s very important to read the product instructions, which can differ from one product to the next, even within the same brand.
Center and fuse the (8) 10⅜” x 10⅜” HeatnBond squares to the wrong sides of the 8 red 10½” x 10½” squares.
Repeat the fusing process with the (8) 5⅛” x 5⅛” HeatnBond squares and the 8 yellow 5¼” x 5¼” squares.
We’ve now taken our first steps in making a windmill quilt using half-circles instead of HSTs. The results will be similar, but oh, so different at the same time.
The OLFA 6″ x 12″ Frosted Acrylic Ruler, the OLFA 12½″ Square Frosted Acrylic Ruler and the OLFA 6″ x 24″ Frosted Acrylic Ruler made today’s cutting work so easy!
Tomorrow, I’ll show you how easy it is to create the circle shapes needed to make the quilt blocks. Join me!
This is part 1 of 5 in this series
Go to part 2: Cut perfect circles with OLFA circle cutter | how to use it