Welcome back! Yesterday we chatted about organizing and sorting out sewing machine accessories. Did you get out your accessory feet and start sorting? I made a start, and my Husqvarna Viking Accessory Tote will look amazing. Today we look at different size piping or welting, and which presser foot to use with the Husqvarna Viking Opal 670.
But first, let me show you how I started organizing my presser feet.
I found some small plastic zippered bags in my stash, perfect for sorting the presser feet. I used my handy label maker to indicate the size of the feet.
And if that wasn’t enough excitement, I put the zippered bags into a clear pocket in the accessory tote and labeled the pocket. I’ll be so organized; I’ll have way more time to sew!
I’m so excited!! I’ve sorted quite a few feet, and hopefully, I’ll have had a chance to get everything labeled by the end of the week. WOW – I impressed even myself!!
OK, let’s get into the topic for today, and I’ll tell you upfront that I dove off the deep end. I had a plan for today; however, what I was going to say will get broken up over several days because there’s too much information to share in one day.
I have a curious mind, and when I get an idea in my head, I like to dig as deep as I can, especially if it’s an area where I don’t know all the ins and outs. As mentioned yesterday, this week is all about the accessories for the Husqvarna Viking sewing machines.
There are several piping feet, which I think is an excellent category to explore. However, as I went through my plan, several questions arose about the piping feet, and I decided it was better to stop and research the answers to my questions before we moved on to using the piping feet.
My favorite way to learn something is to pick a topic, experiment, and research to get the answers. Yes, I could take a class and learn from others, which I occasionally do, but I love to play with the tools, which helps me remember the information.
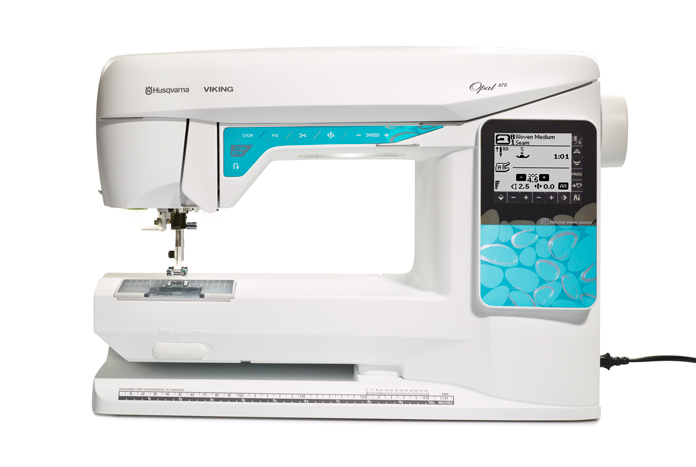
Today, as we explore presser feet used to make piping, I’ll use the Husqvarna Viking Opal 670 as my model. I love this little sewing machine – it’s an excellent machine for retreats or even as your main sewing machine, and it packs a big punch!
Where to use piping?
Adding piping to a garment or a home decor project can add a beautiful polished look to the finished product.
Here are a couple of examples where I made and used piping.
Piping in a high contrast color brightens up the collar of a jacket.
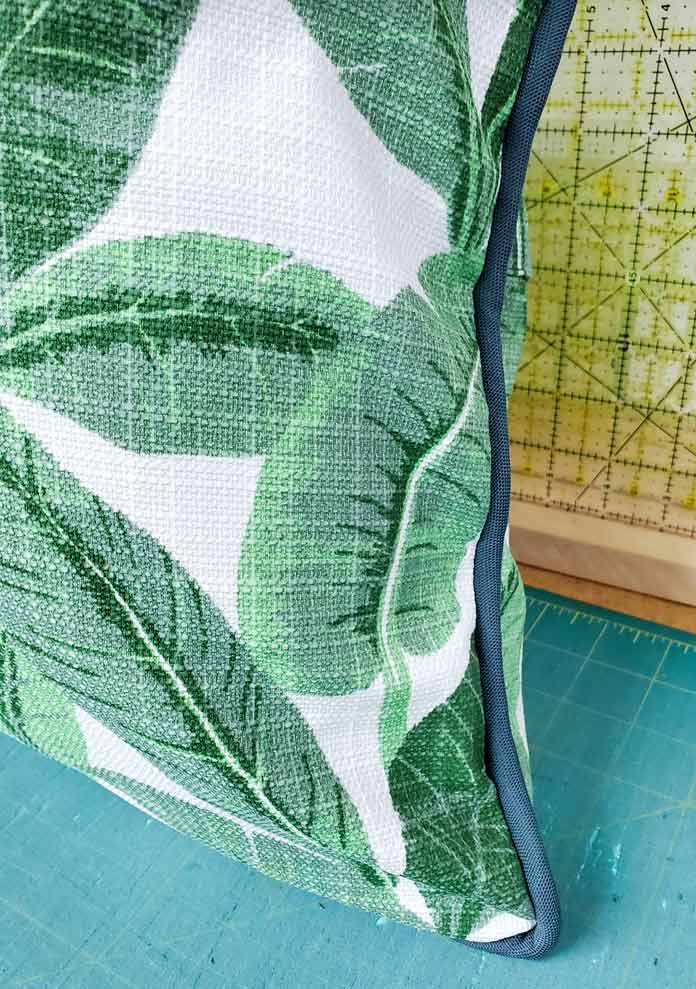
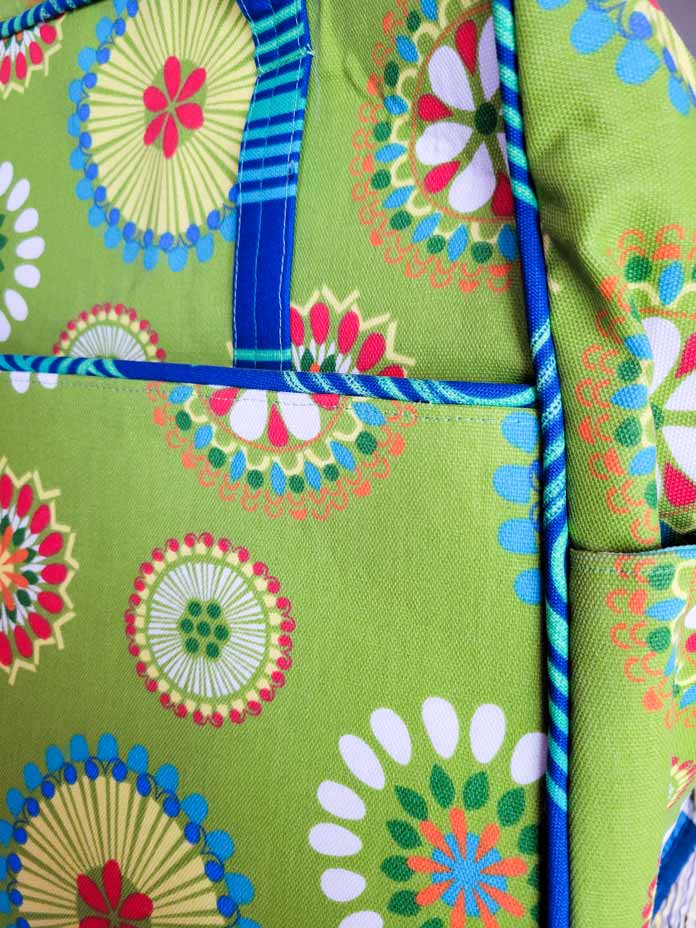
Contrasting piping also adds a decorative element to the outer seams on a tote bag and adds an accent to the pocket. Piping along the edges of a bag, especially the bottom, helps prevent wear and tear on the fabric. Who knew that?
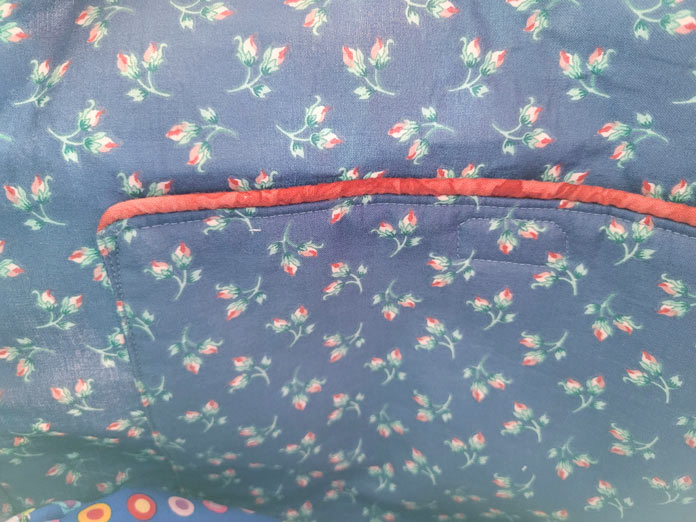
Here’s another example of where the piping helps identify the top of the pocket inside a tote bag. The pocket and the lining fabric are the same, so it’s hard to see the top of the pocket. Problem solved with the pink piping.
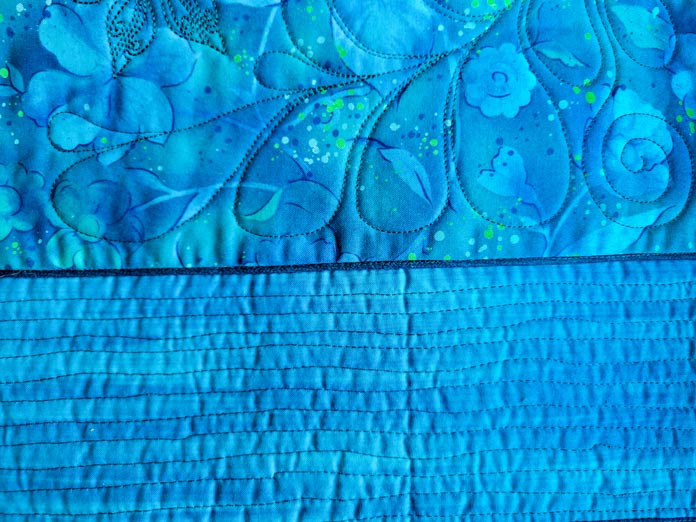
Piping in this quilted table runner provides a contrast between the two pieces of fabric in similar colors.
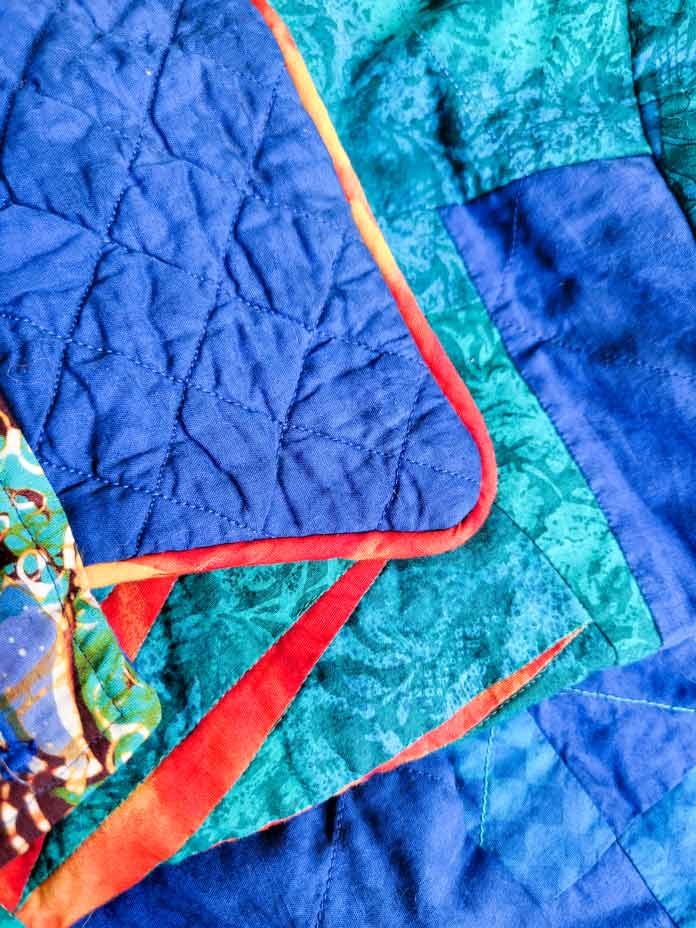
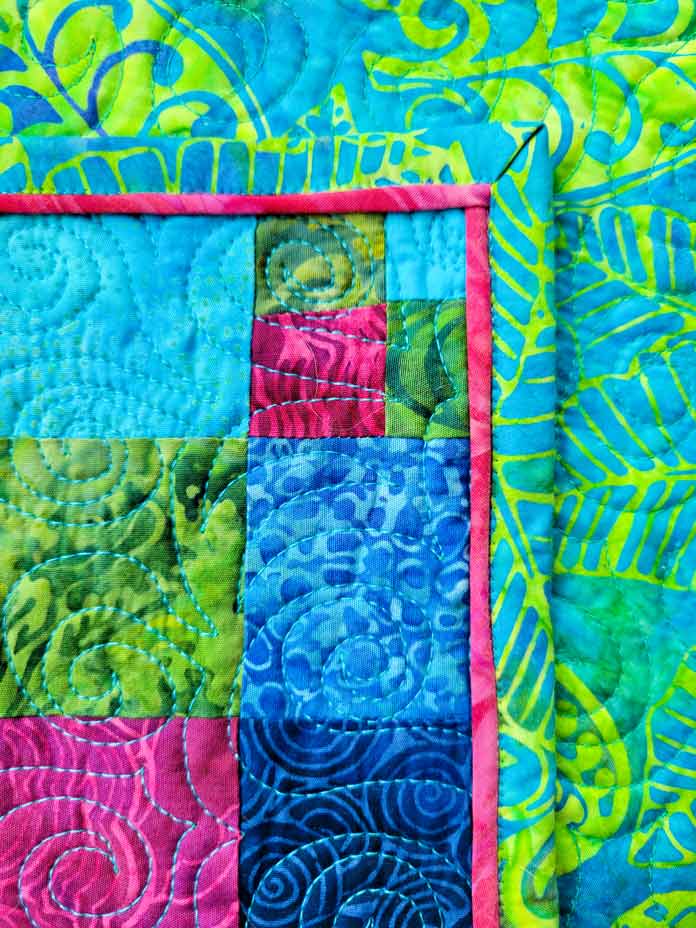
And you can also add piping along the binding of a quilt or table runner to add a little pop of color.
Before we get into the details of making the piping and how to sew it into our projects, let’s step back and look at the available piping feet for your Husqvarna Viking sewing machine. Although I’m using the Opal 670 for my demo today, these piping feet also work on the other Husqvarna Viking sewing machines.
And that brings up a good point. If you want to purchase a new presser foot for your Husqvarna Viking sewing machine, do yourself a favor and drop by your local dealer. You want to get the name-brand product to avoid any potential issues, and we also want to support our local dealers!
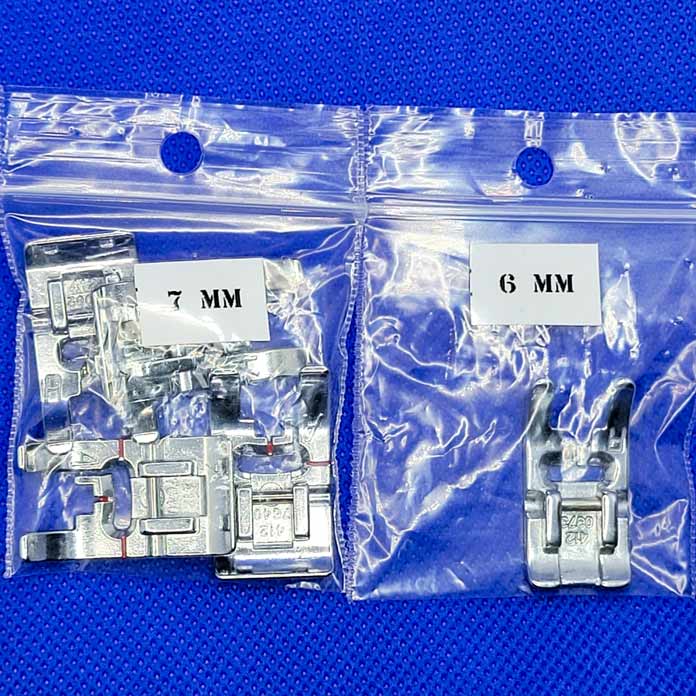
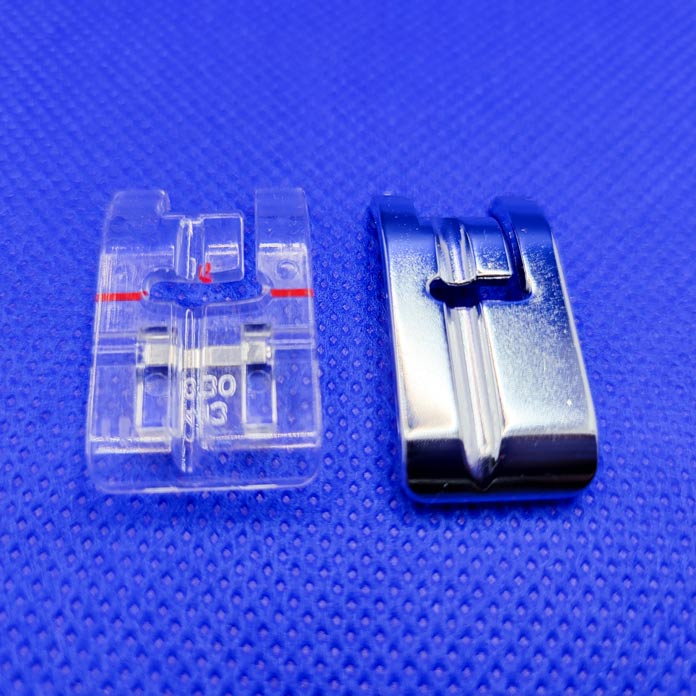
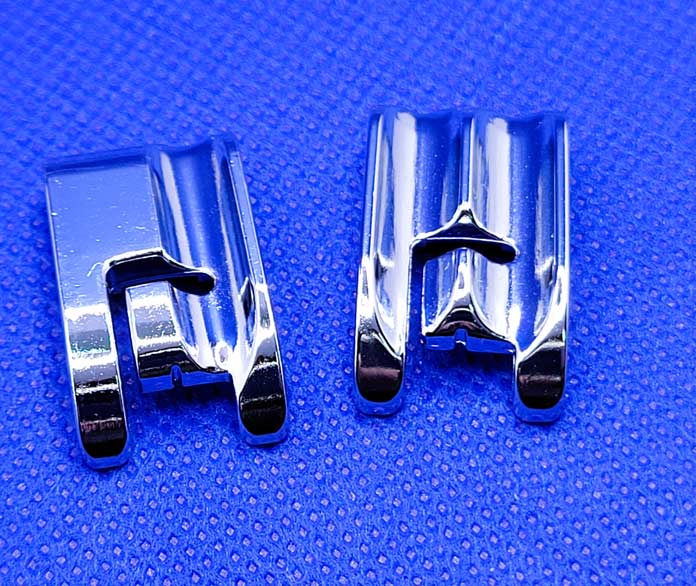
As I look through the Accessory User’s Guide, I find three feet with the word piping in the name, and they do not look the same. The Mini Piping Foot has a plastic version, the Piping Foot is metal and the one on the right? Well, it looks very different, and we’ll address that later.
What’s unique about piping feet is their underside, where you find a groove in the bottom to allow the piping cord to fit under the presser foot. The Mega Piping Foot works a bit differently as you’ll see later.
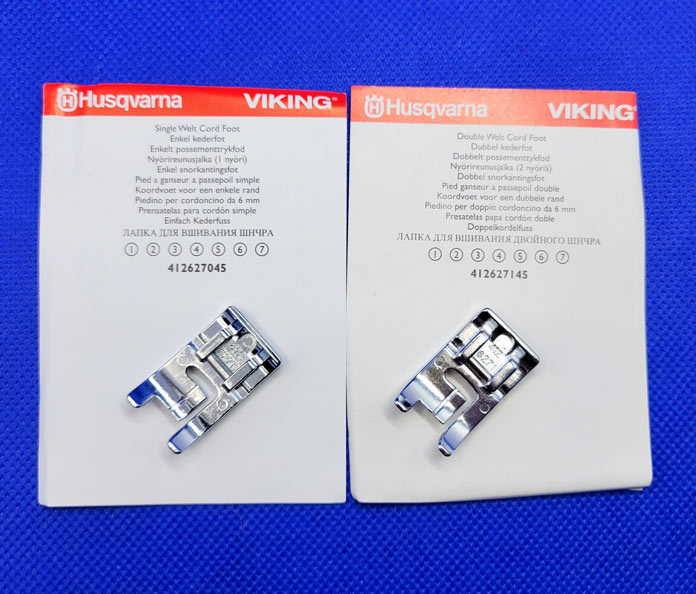
But wait! I found two other feet that look similar to the piping feet, but with ‘Welt’ in the title – no mention of piping. What do I do with these presser feet?
Look at the bottom of these presser feet, as they also have grooves.
One has a large groove – much larger than the piping foot, and one of them has two large grooves.
I have to say, I puzzled over that wording (piping versus welting) long enough. It’s time to figure this out.
It turns out that piping and welting are the same things. Well, it makes sense since the feet look similar. One difference could be the result of where you live, as some countries call welting, piping, and vice versa. The best distinction is that piping (which tends to be smaller and softer) is for garments, and welting is for home decor – predominately in cushions and furniture.
I was almost sure that piping and welting were the same things, but I was never 100% sure, and you know what they say – knowledge is power. I also learned how to use two presser feet in my stash better.
Piping is created by encasing a cord inside a strip of fabric. You’ll find various thicknesses of cord and content choices, so match the cord to your fabric. You can also use yarn, rat tail, and many other cord types. Here are a few things to keep in mind.
- It’s possible to make piping from a thick fabric like denim, but it adds a lot of thickness to the seam allowances.
- If your piping fabric is transparent, you want a nicely finished cord, like rattail on the inside.
- If your project is small or delicate, you want a thinner cord to make your piping. Use larger piping for large items.
- Larger piping tends to be stiffer, so save it for furniture, cushions, or tote bags.
- If you have a lot of curves to go around, the thinner piping is easier to handle.
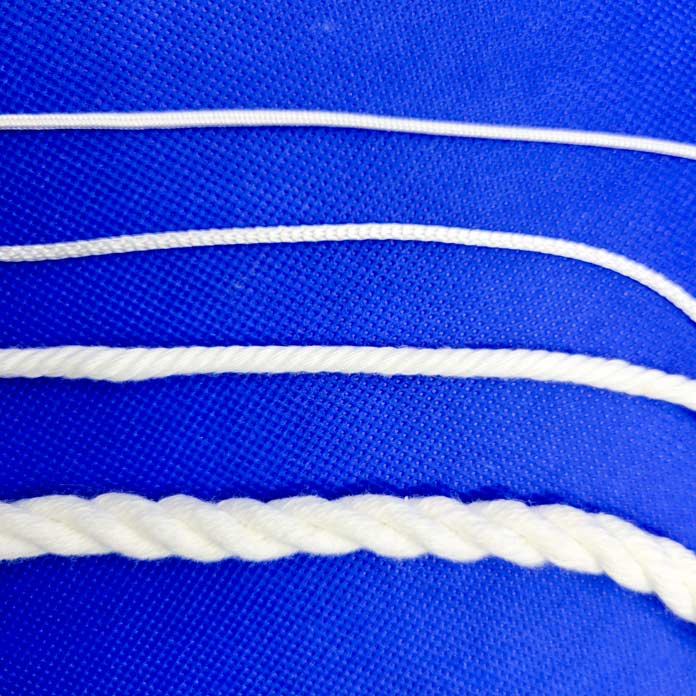
Here’s a sampling of the cording I’ve accumulated over the years, and I’ll be using these to show you how to select the right piping/welt cord presser foot.
Be careful of this very large cording. It has netting on the outside, and I find it’s not very smooth and could result in rippled piping once it’s finished.
Other tips for making piping or welting
- Shrink your piping cord if the fiber content is from a natural fiber.
- If your item has curves of any kind, you must cut the piping fabric on the bias.
- The smaller the piping, the easier it is to go around corners or curves.
- Instead of making a 90-degree corner, it’s easier to overlap the piping at the corner, as I did with the pink piping on the table runner we saw earlier.
Which size piping foot to use and when?
So, let’s look at the various piping feet to determine which one to use for your project.
Here’s a photo of the Mini Piping Foot using the smallest cording I have on hand. The foot is plastic, so we can see precisely where the piping sits under the presser foot. See how it sits in the groove on the underside of the presser foot. The groove keeps the piping cord in place and allows you to get a smooth straight line of stitching when making your piping and also when inserting it into your project.
Of course, you have fabric surrounding the cord when you’re sewing, but seeing the cord like this helps see exactly how the piping foot works.
You want to make sure the piping cord is not too large for your chosen piping foot. The cord I’m using here is for making roman blinds and is easy to get from your home decor fabric store.
Although it’s hard to tell in this photo, the presser foot sits on the feed teeth, allowing the feeding mechanism in your Opal 670 to advance the fabric evenly to give you consistent stitches. While the stitching will not be visible, making good quality products is essential.
The thin piping cord sits entirely in the groove allowing the presser foot to rest on the feed teeth
In this instance, I placed a ⅛” mini-welt cord in the groove of the Mini Piping Foot. It’s hard to see, but the presser foot is not sitting on the feed teeth. So, if I use this cording with this Mini Piping Foot, my stitches won’t be even because the feeding mechanism won’t work correctly, and I’d probably end up with a wobbly seam. Not good when you’re trying to use the piping to create finesse in a garment.
This time, I used the Piping Foot and the ⅛” mini-welt cord – the same one I used above. The Piping Foot is sitting right on the feed teeth, so this gives me a beautiful seam with consistent stitches.
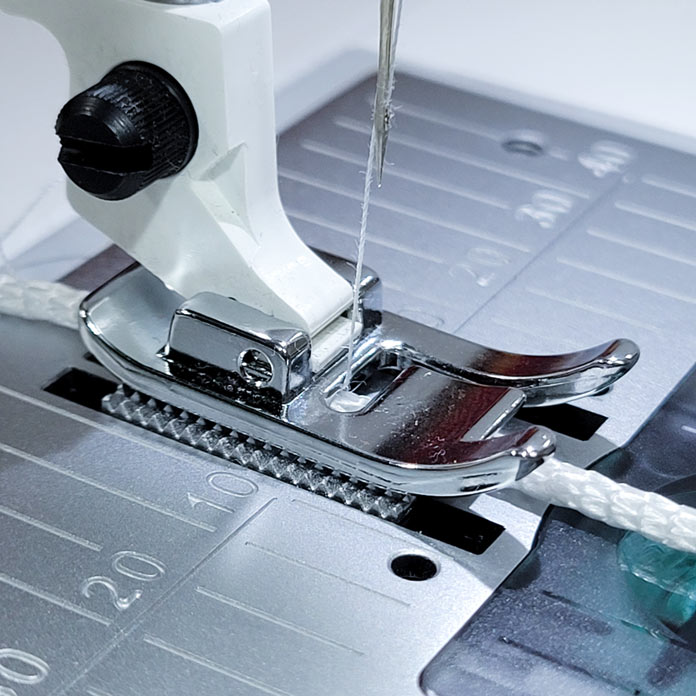
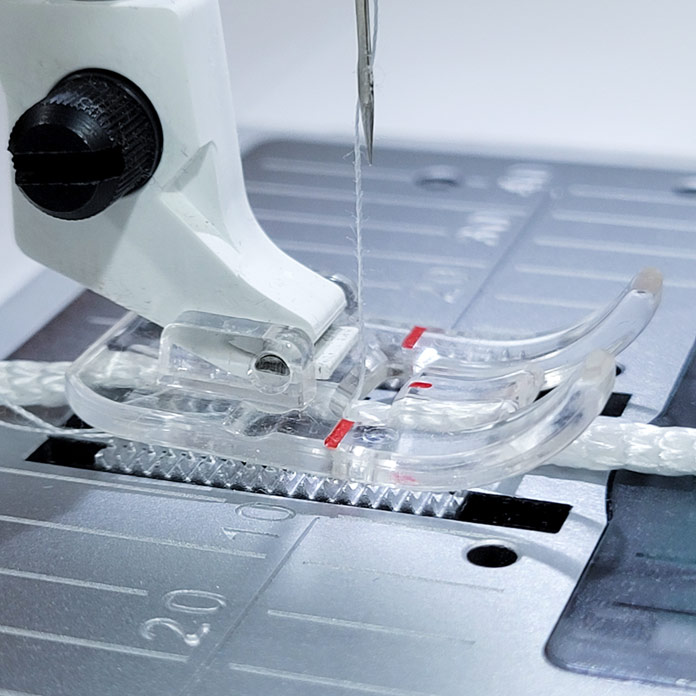
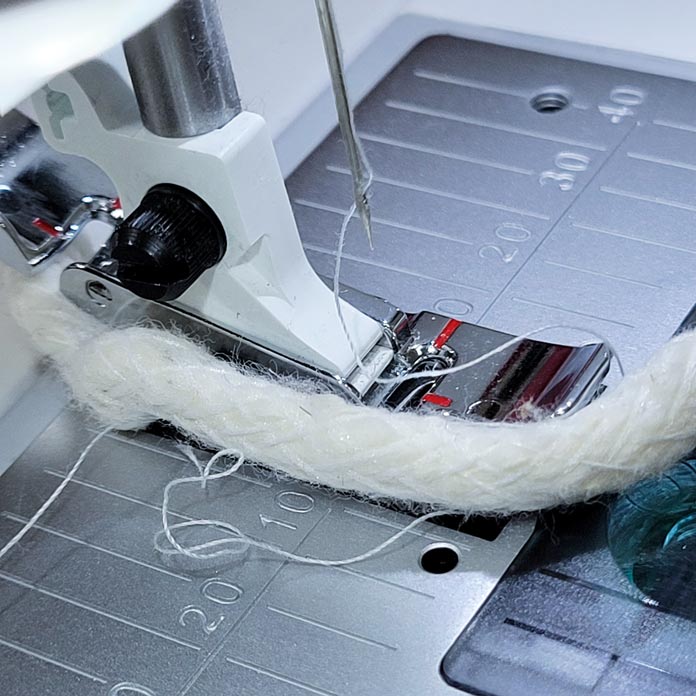
Well, let’s try another experiment. This time, I put a slightly thicker cord under the Piping Foot, and it’s easy to see that this won’t work, as the presser foot is not sitting on the feed teeth. I’d have a huge mess for sure.
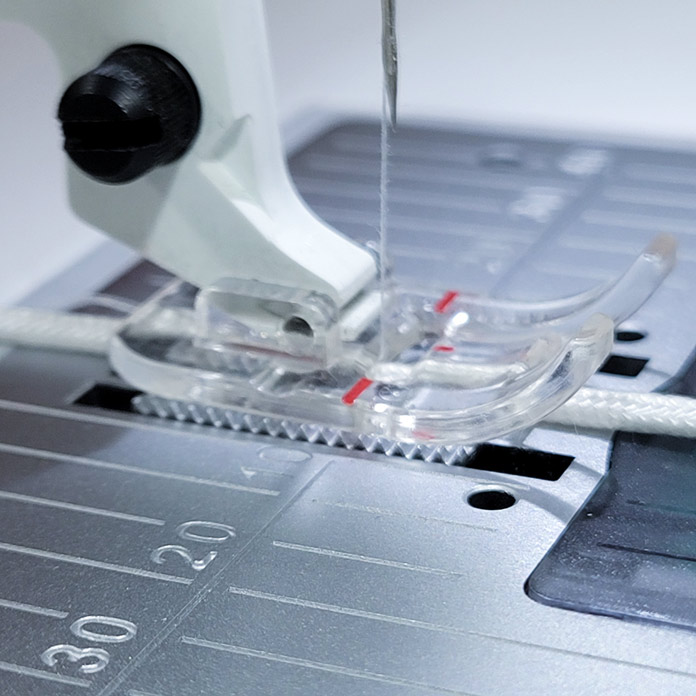
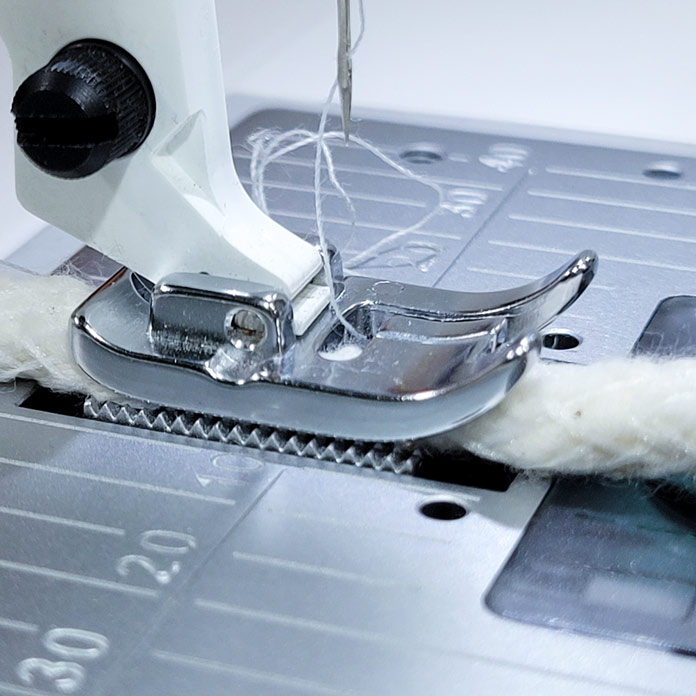
This time, I’m using the Single Welt Cord Foot with the thicker cord, and it’s perfect!
While the largest piping cord I tried (about ⅜”) appears to fit, the cord is flattened by the foot, and there’s a good chance that part of the loosely woven cord will get caught in the stitching line, which would add thickness where I don’t want it, and the presser foot also was not sitting on the feed teeth.
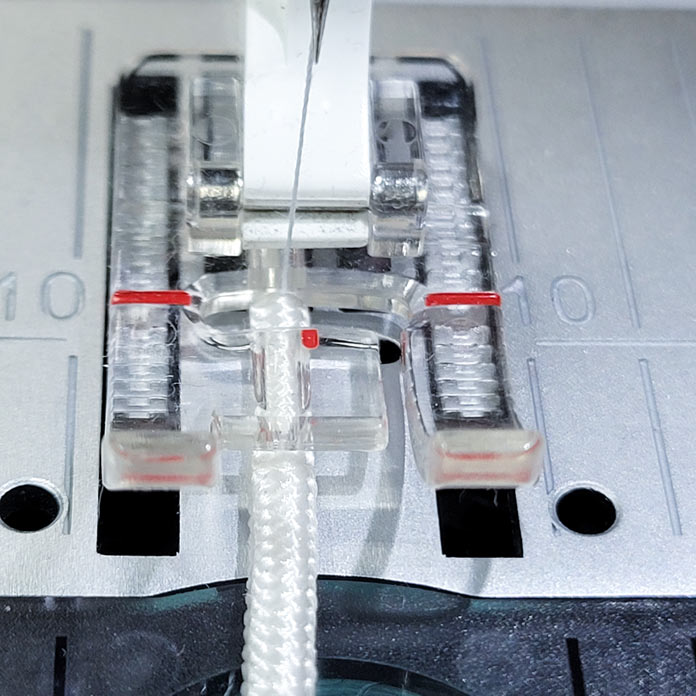
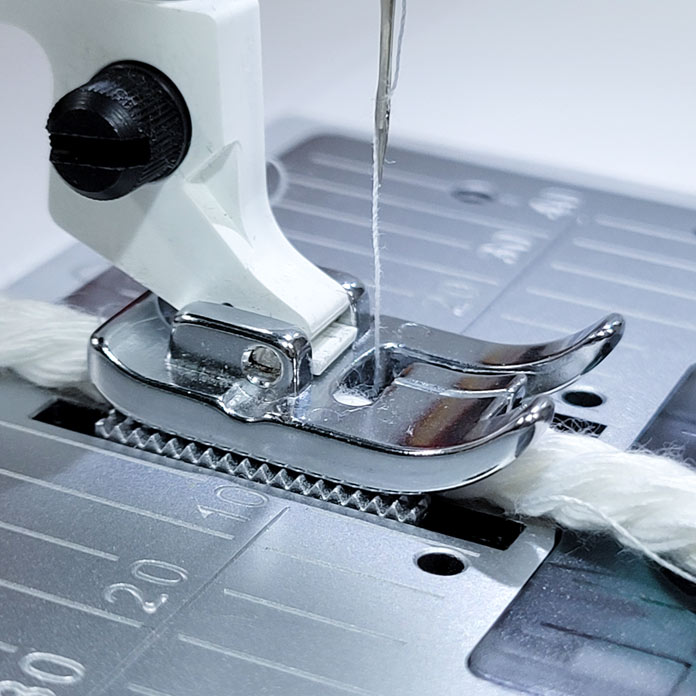
And that’s where the Mega Piping foot comes into play! The piping cord sits beside the foot, allowing us to use any cord thickness!
WOW – that’s incredible! Who knew there were all these options? It doesn’t matter what kind of piping you want to create; a Husqvarna Viking piping or welting presser foot is available.
Tomorrow, we’ll look at using all those piping and welting feet to help determine which one to buy. Of course, we need all five of them! Because while all of them do something similar, all of them do a specific job better than the other depending on the size of cord you use.
Come back tomorrow to watch the Husqvarna Viking Opal 670 in action as I test out the five piping or welting feet to see how easy it is to insert piping or welting into a project.
Have a great day!!!
Ciao!!!
This is part 2 of 5 in this series
Go back to part 1: Lost in the jumble? Here’s how to organize your sewing machine accessories
Go to part 3: The beauty of perfect piping: Here’s how, PLUS tips for success