Let’s continue our summer adventure by sewing the quilted bucket bag together.
Speaking of adventures, wasn’t that FMQ adventure fun? How liberating! Now that you quilted the outside, let’s explore getting it together to take it out on the road.
With right sides together, sew the FMQ pieces together. Press the seams open.
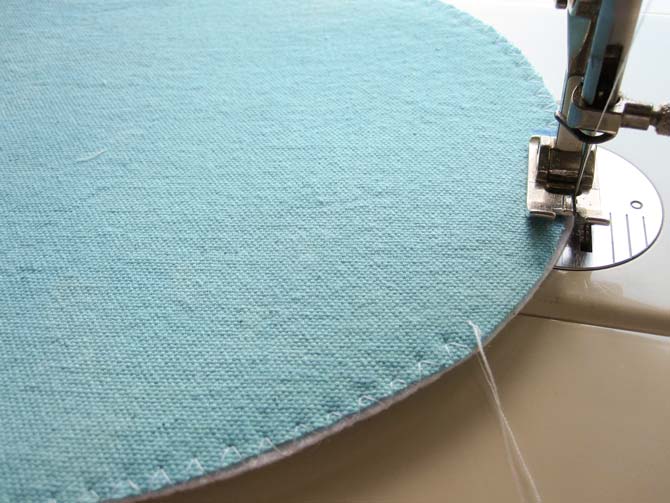
Use a zigzag stitch to finish the edge of the bag bottom and the heavy weight interfacing. (see photo)
- With right sides together, pin the bottom of the bag to the main quilted pieces. This is tricky. Use a lot of pins.
- Make sure the center mark on the bag bottom is matched to the middle of the sewn seam. I found it was easier to pin one side, then the other, all the way around, to make sure the curve eases into the bottom evenly.
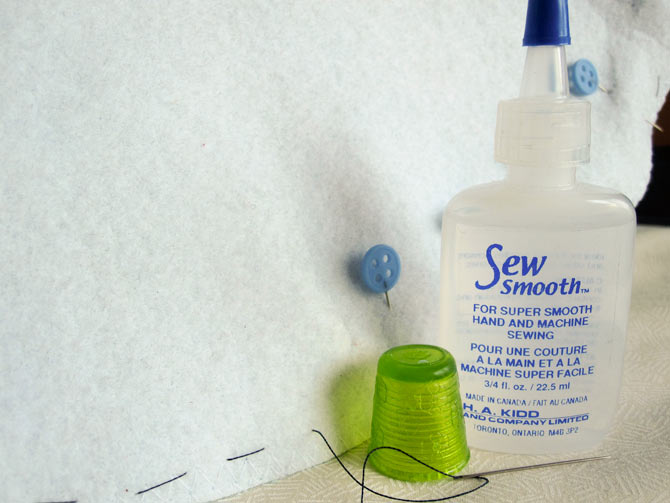
- Once it’s pinned, take a moment to baste the bottom to the bag. (I heard those groans…) Basting is our friend. If you use some Sew Smooth, it will be a quick and easy process. For this particular project, basting will ensure the bottom does not twist as it’s being sewn, and it will eliminate the need for pins. There’s enough to cope with at the sewing machine without fighting pins.
Trust me on this one!
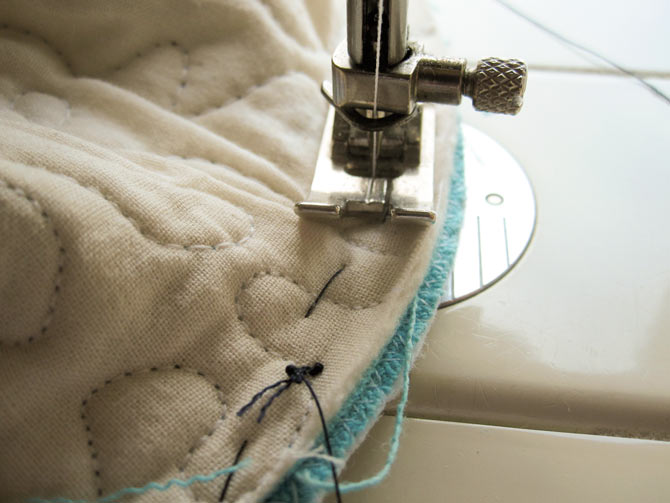
You will find sewing the bag bottom to the bag is a bit of a yoga move. Don’t worry about squashing the full bodied bag so that it fits under the needle. It will pop back into shape. I promise.
- Clip curves, turn right side out, and even the seams. This is a dexterity workout because of the interfaced canvas. Press on — literally. Once the seams are even, and you can see the curve, press well with steam to maintain the nice smooth curving seam.
- Cut one piece of fabric to either match or contrast the lining, 15″ x 12″.
- Cut one piece of interfacing, 15″ x 6″.
- Fuse interfacing to one side of the pocket piece. Fold pocket piece in half and press.
On one side of the lining piece, pin the pocket piece, matching the bottom edges. - Make three divisions in the pocket piece and top stitch to the lining. Baste the pocket to the lining, just at the edge.
- Repeat the process with the lining pieces. This will be much easier because there’s not so much interfacing involved.
- Clip the curves, but don’t turn.
- Slip the main bag into the lining so that the right sides are together, matching the side seams.
- Pin the top of the lining to the top of the bag, leaving an opening to turn the bag right side out.
- Sew the top of the bag, and turn the main through the lining.
- Push the lining into the bottom of the bag and make sure the lining goes right to the bottom.
- Press the top edge so that it’s even and straight.
- Slip stitch the opening closed.
Now that we’re done sewing the quilted bucket bag together, tomorrow on QUILTsocial, we channel the good vibrations a summer road trip brings by installing the drawstring channel, the closing cords, and some nifty embellishments.
1 comment