Our easy, breezy quilted bucket bag is almost ready for some fun road trips, but we’re going to need to channel some good vibrations — as well as fabric yoyos and cord channels.
Let’s get started! The sooner we finish, the sooner we can head off into adventure. Remember those canvas pieces we hemmed earlier? Time to install them now.
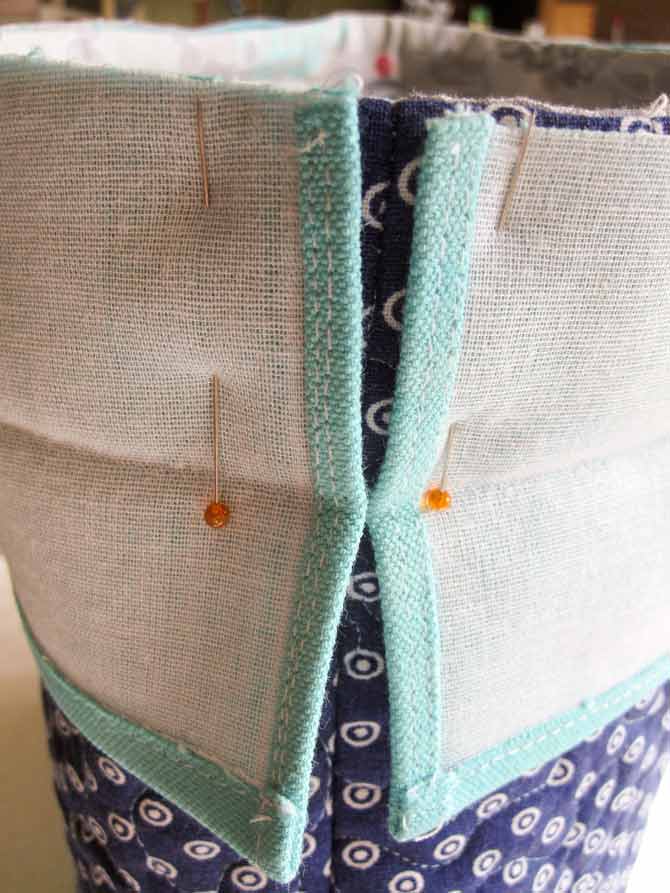
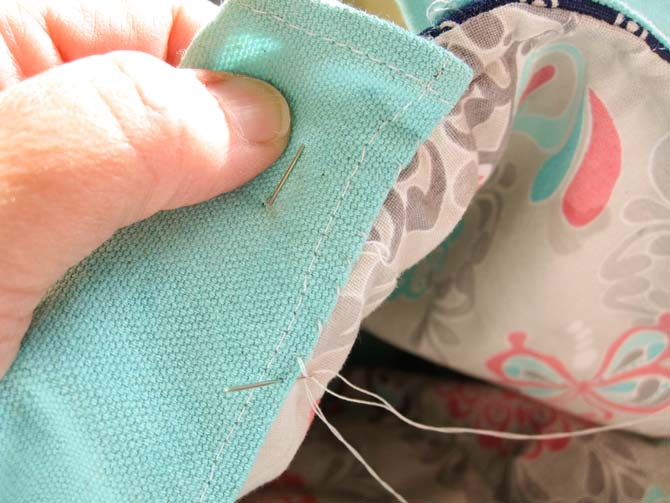
- With right sides together, pin the pieces to the top of the bag, making sure the ends butt into the seams. (see photo)
- Sew both cord channels to the top of the bag. Press.
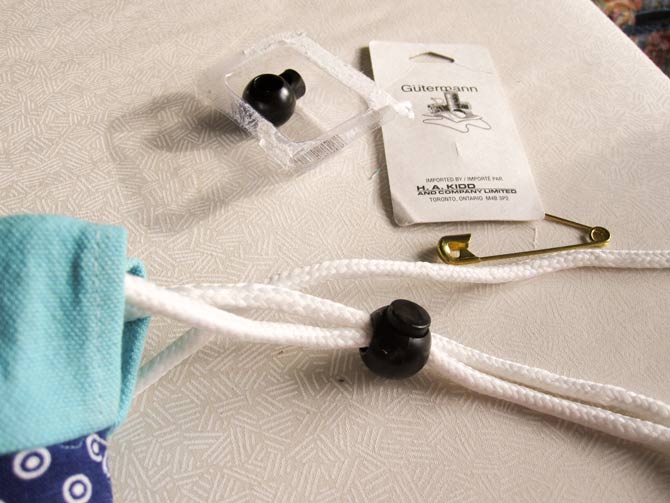
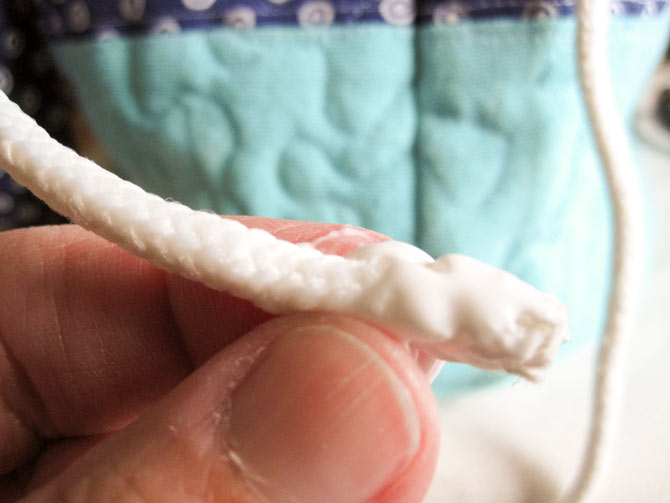
- Cut two pieces of cord, each 36″ long.
- Cover the cut ends with white glue or Fray Check.
- Allow to dry.
- Attach one end of the cord to a large safety pin.
- Thread into one end of the cord channel and out the other end. Thread the second cord through the opposite end of the cord channel.
- Squash the cord ends together tightly and feed into the cord stopper.
TIP Depending on the thickness of the cord, this might be a bit of a struggle. Don’t fret. The cord will eventually slip through the center.
- Even up the cord, and push stopper up to the top of the bag.
- Draw eight 2.5″ circles using an air erasable pen. Cut out.
- Make eight yoyos from these circles.
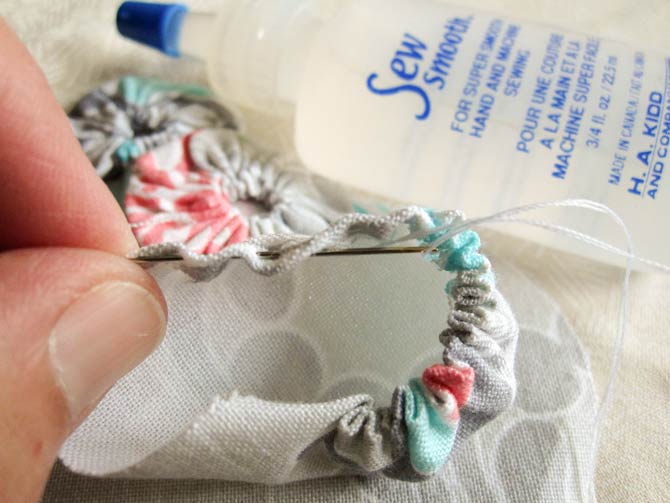
- To make yoyos, turn under a scant hem and sew with a running stitch.
TIP This is easier to do with Sew Smooth thread conditioner, as the thread will just slip through without knots getting in the way.
- Sew all around the circle and pull thread up tightly. Tie off.
- Squash the yoyo down, and neaten the gathers. Press.
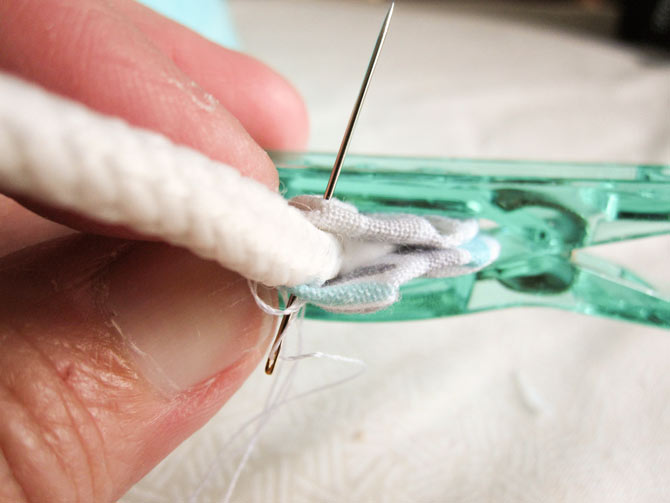
- Place a large glob of white glue on the end of the cords.
- Sandwich the cord between the yoyos and clamp together using large Clever Clips.
- Using a small slip stitch, sew the yoyos together to create cute cord ends.
Fabric yoyos and cord channels done, come back to QUILTsocial tomorrow, as we finish up our easy-breezy quilted bucket bag by putting on carrying strap — all the better for swinging it happily onto your shoulder as you depart on your summer road trips.
This is part 4 of 5 in this series
Go back to part 3: Sewing the Quilted Bucket Bag Together
Go to part 5: Finishing the Quilted Bucket Bag
2 comments