I must start today’s blog with a confession.
As I mentioned yesterday I have been teaching quilt making for 14 years and have seen many many different kinds of sewing machines. Once I got into quilting in a serious way, I purchased a serious machine and while I did not look down on the smaller machines, I never once considered that I would want one. Well – I want one!!! I am shocked! After playing around with this machine for a couple of days, it has passed every test that I have thrown at it.
Today I wanted to share with you some of the stitches that come with the Husqvarna Viking H|Class 100 Q.
Oh dear – a second confession of the day. I have a regular sewing day on Mondays and I was going to do hand work. I decided it would be a good opportunity to see how the H|Class 100Q performed. I have to say that 15 pounds of sewing machine is a pleasure to load into the car and with the hard case, I wasn’t worried about something getting broken
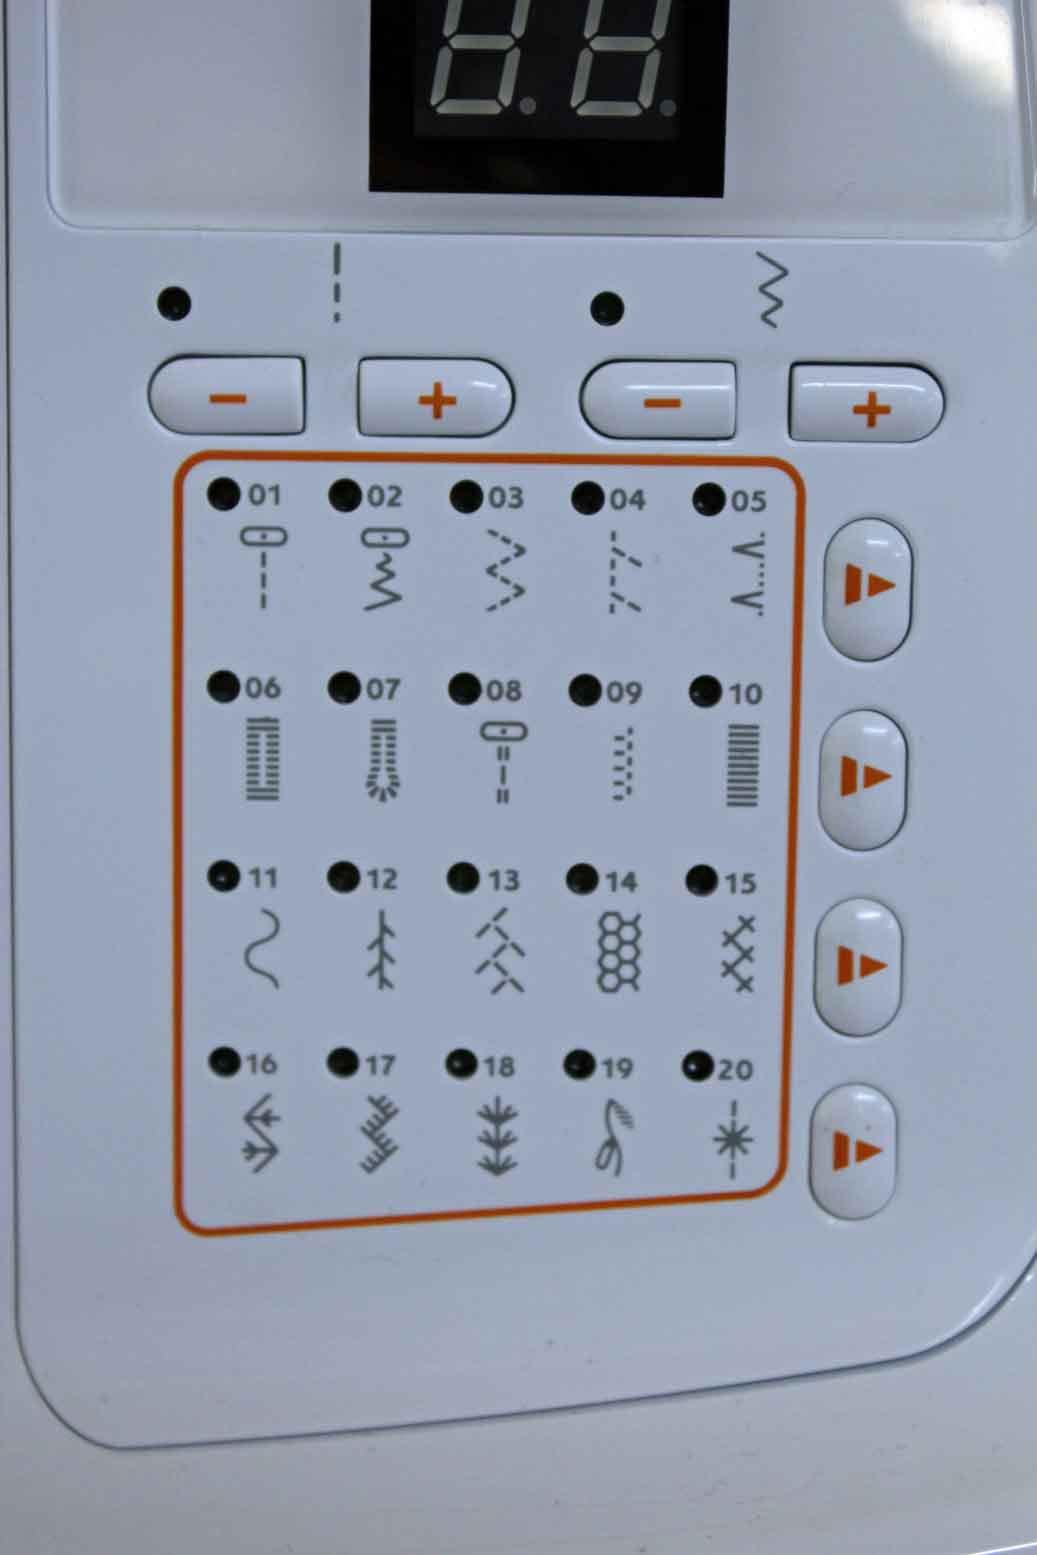
Let me share with you some of the stitches. Here is the Stitch Control Panel. There are TWENTY built in stitches.
The first stitch I played with was 01 – Seam or straight stitch.
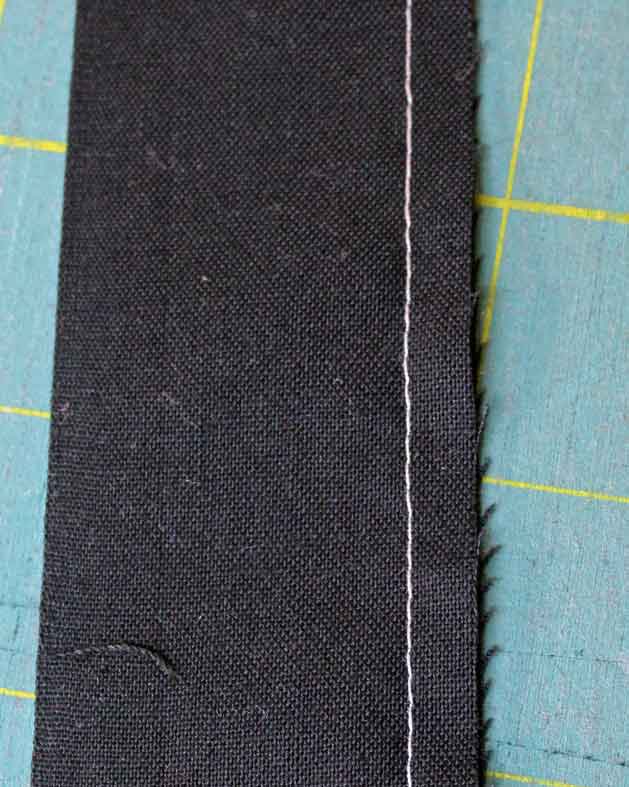
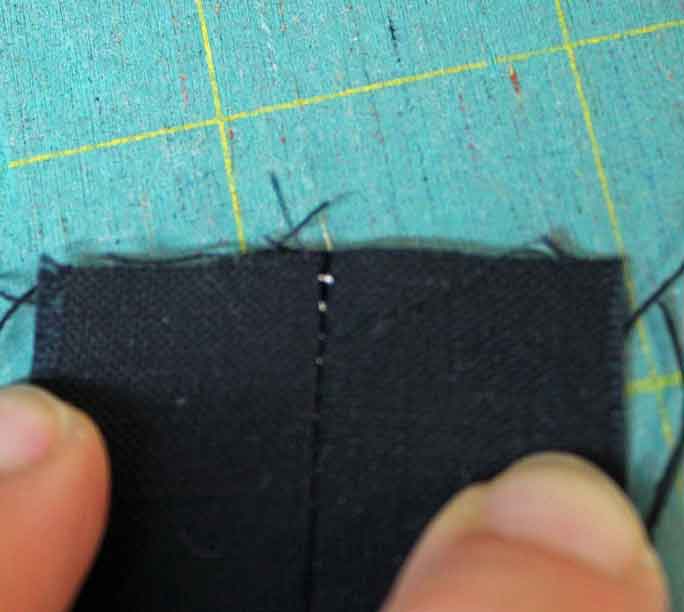
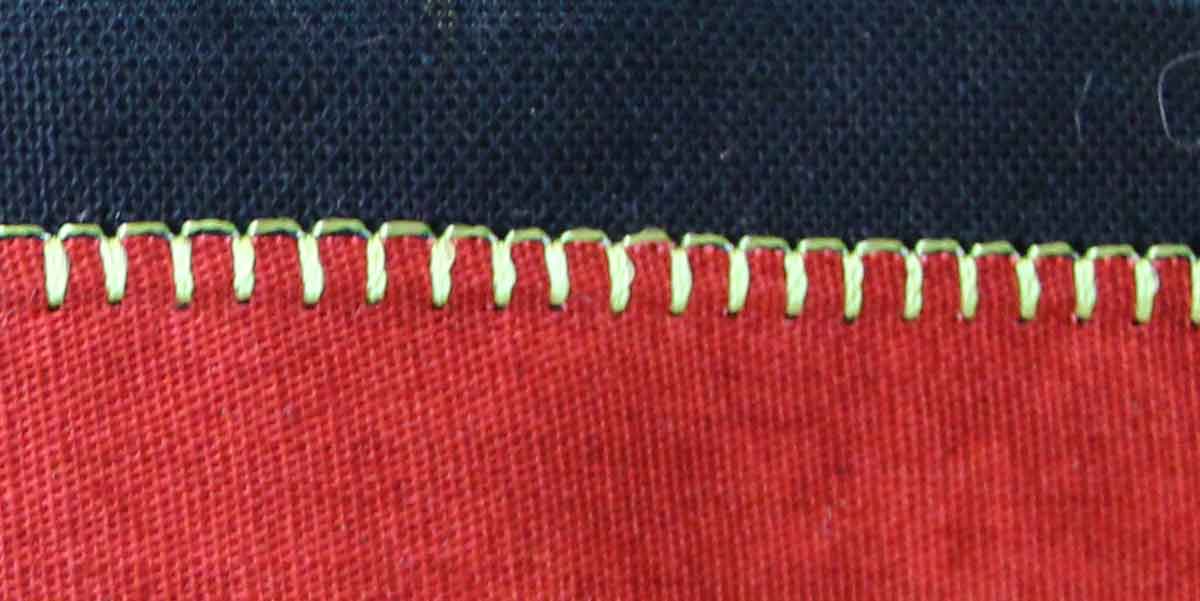
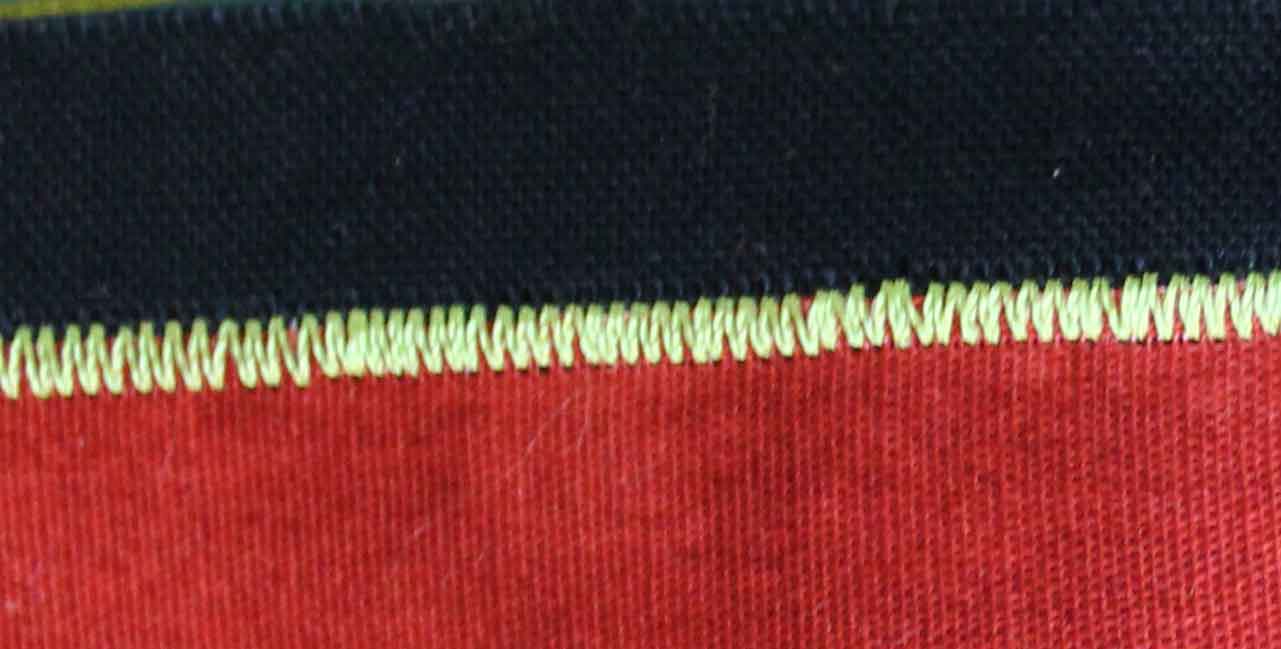
Will the H|Class 100 Q pass my test of using gray thread on black fabric?
The answer is YES – I sewed this black fabric with gray thread. Pressed the seam allowance to one side as we do in quilting and do you see the gray thread from the top????? NO – there is no indication of the thread color. That means the tension is working well.
This feature is extremely important to me as a quilter. I may be working on multiple projects in a day and I tend to sew with the same colour of thread (gray) for everything. The only time I would even consider changing thread colour is when I sew a predominately white quilt – the gray may shadow through. But for everything else – I sew with gray. If I were able to see the stitches on the top once this is pressed – that is not good.
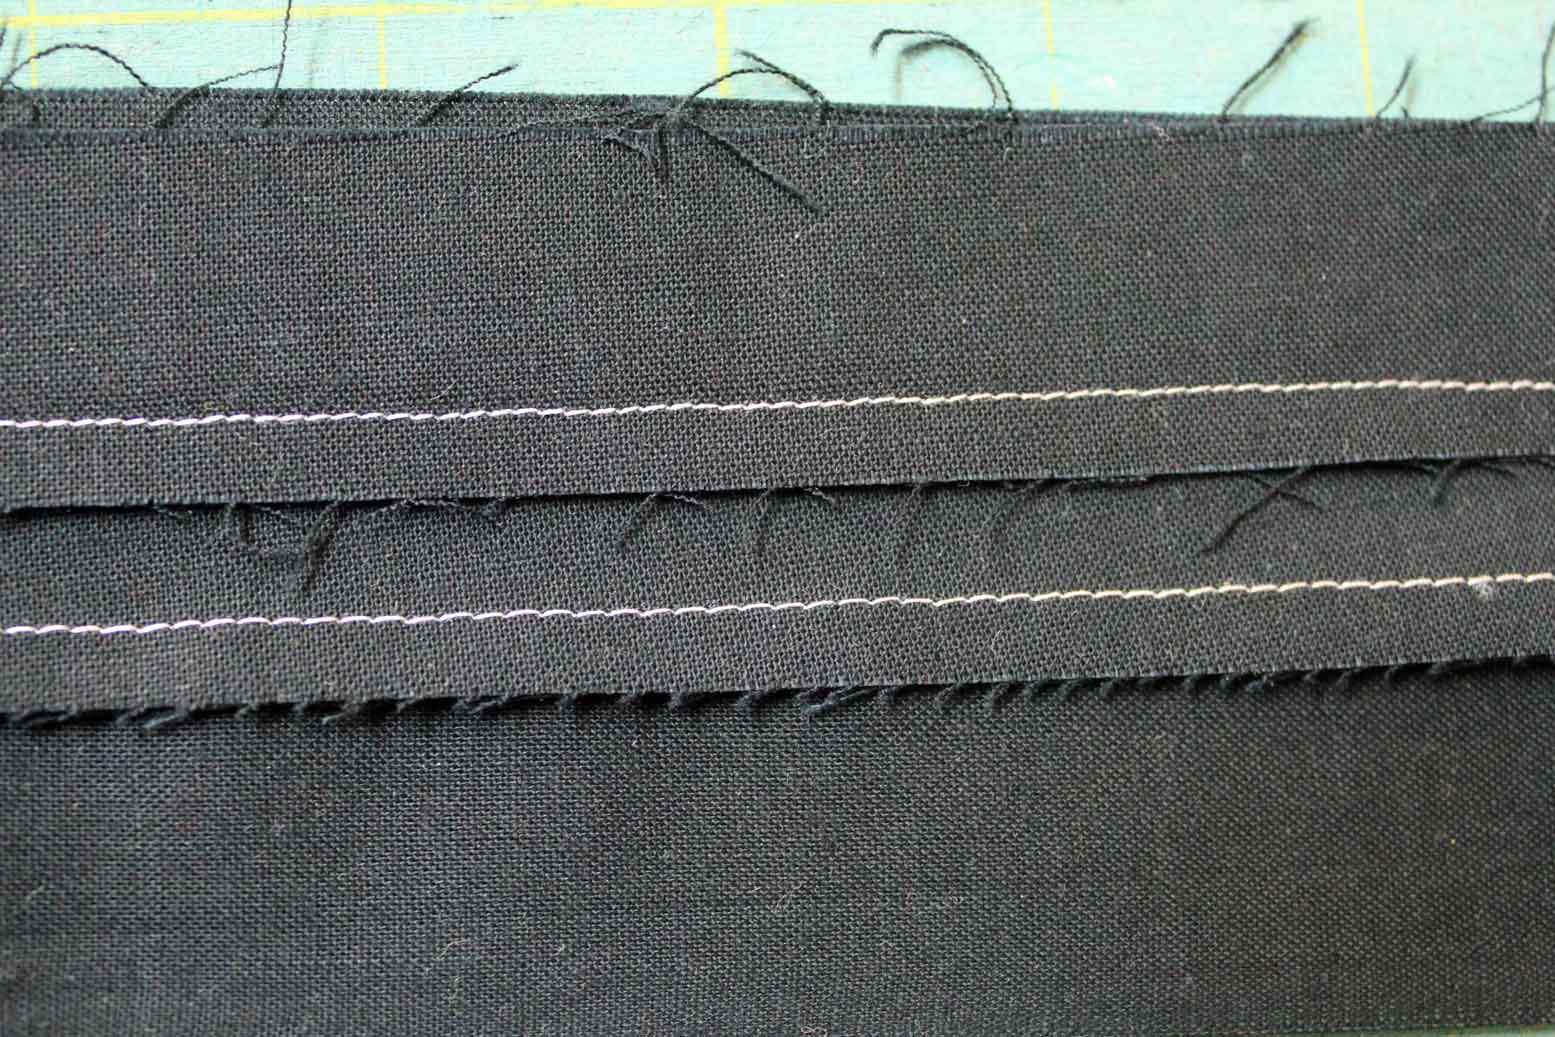
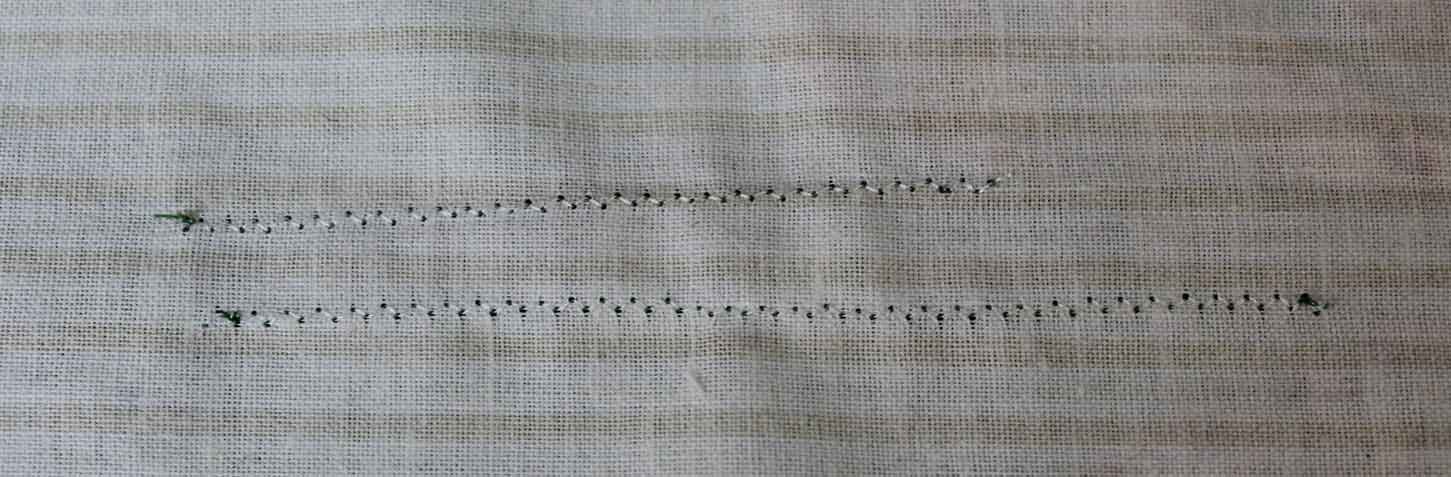
Then I played around with the stitch length. This is another area where people run into trouble. The sample below shows a length of 2.0 on the top row of stitching and 2.5 on the bottom row.
Every machine is different, but getting the correct stitch length is extremely important to a quilter.
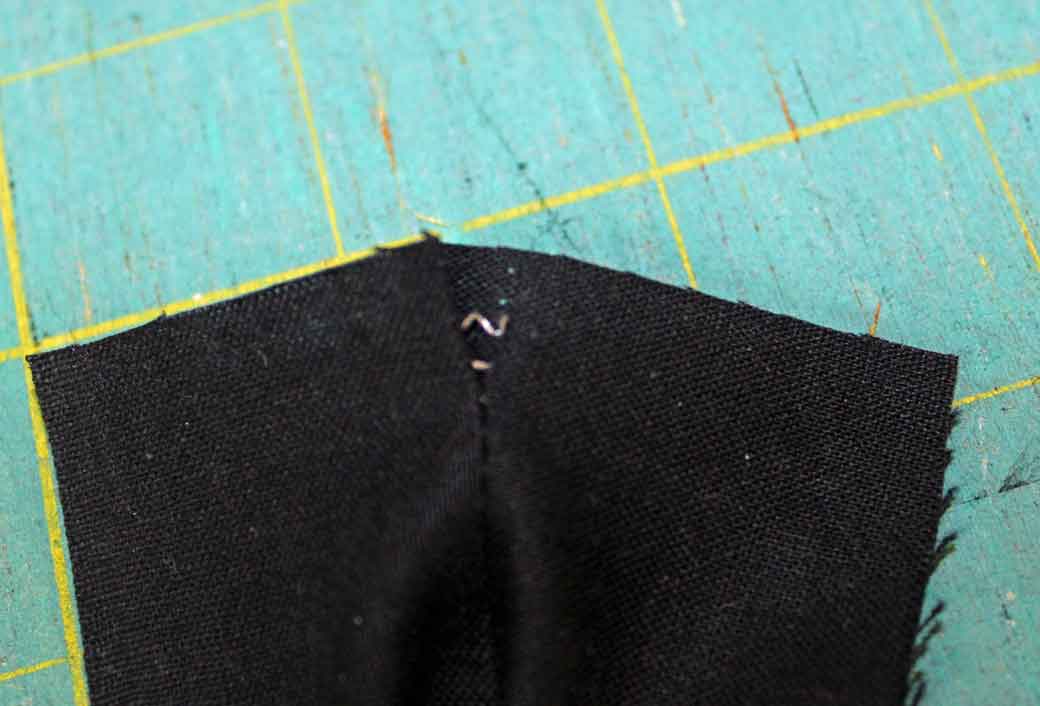
In this sample with a stitch length of 2.5, I’m able to pull the end of the seam apart. This is NOT good news when you are piecing. It means the ends of your rows have the potential to pull apart.
In this sample with a stitch length of 2.0, I am not able to pull the end of the seam apart. You can see my fingers trying to open the end and it won’t budge. This is good news and something we should all be aware of.
Yes – I am very happy with the straight stitch on this machine.
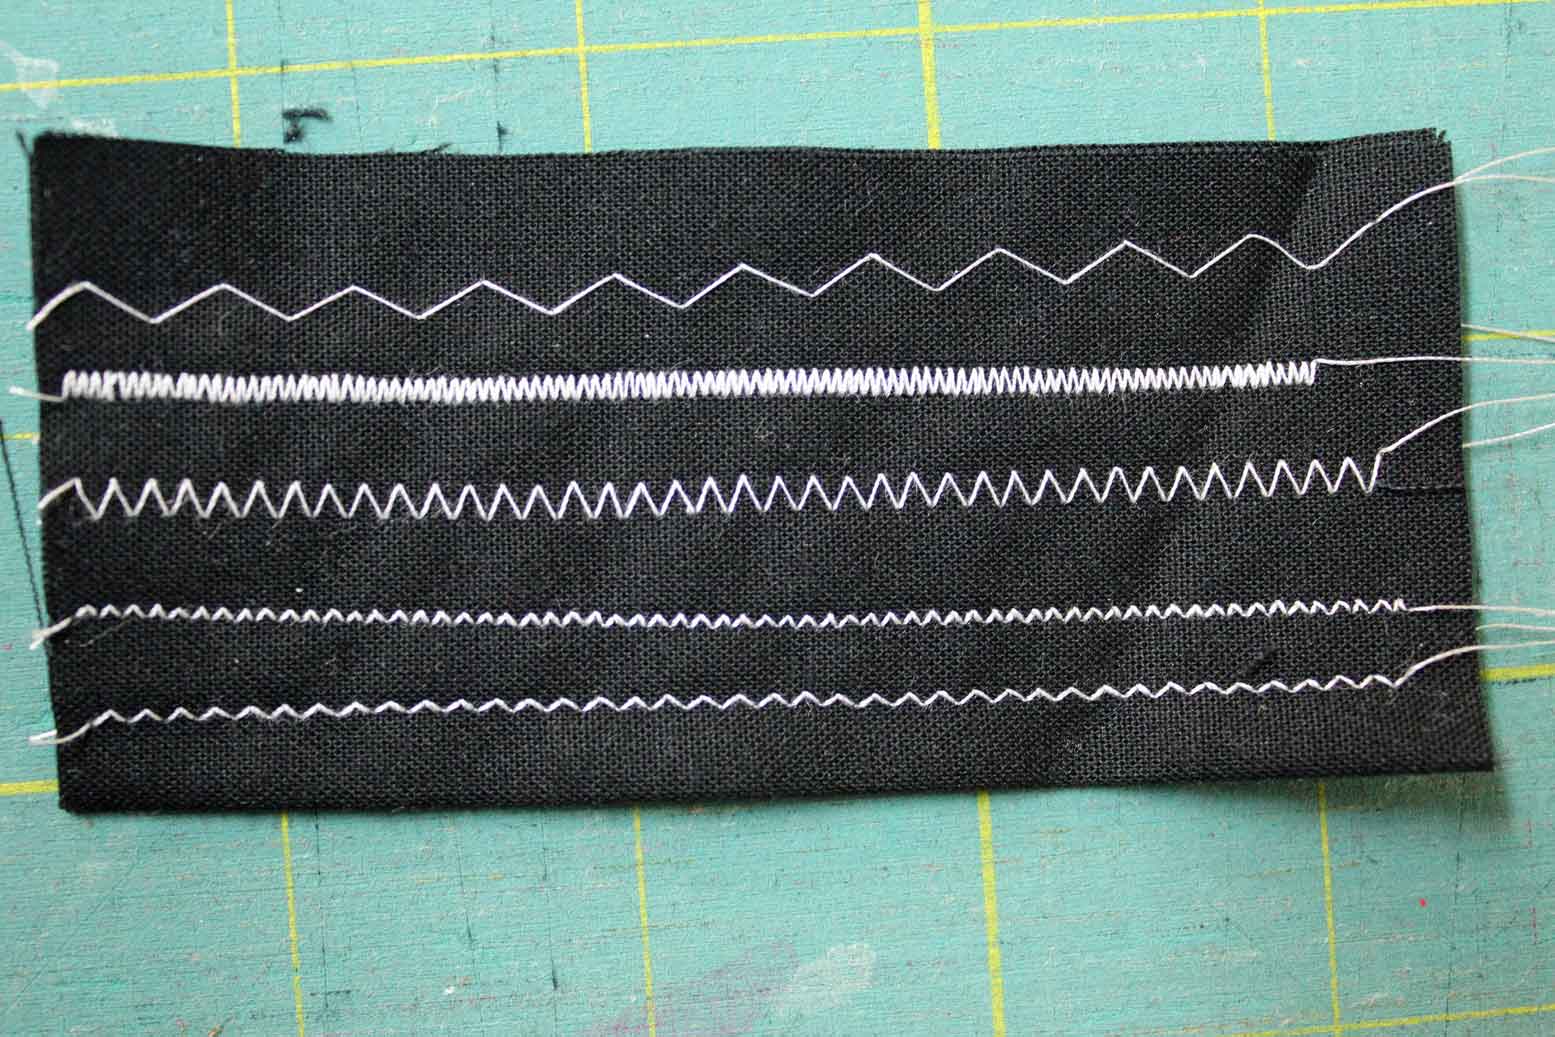
Let’s move to the next one – 02 – the Zig Zag. Oh boy – we could be stitching here forever. There were so many options – I could go from .5 width of zig zag to 7.0 in increments of .5. I can also change the stitch length from .7 to 9.0. I don’t even have that ability on my main sewing machine! I could have stitched out many many variations of the zig-zag, but here are a few to show you the capabilities of the machine.
OK – so there is a lot of flexibility on the zig zag, but let’s put it to my next test. What if I try some invisible appliqué which I do a lot of. I grabbed my bobbin weight thread (for the top) and used a pre-wound bobbin weight bobbin.
It is VERY hard to see – hey – it really is invisible applique. I was so impressed – I could not believe that I could have this quality of stitch from an entry level machine. I used a white bobbin thread and there is NO thread showing on the top.
Here is the reverse side of the appliqué (I only stitched the stem down). You can see the bits of green at the end where I used the FIX button (more on that later) and bits of the green shadowing through from the top, but the H|Class 100 Q made quick work of that invisible applique. I did have to modify the stitch length from what I normally use on my main machine, but with the variety of lengths and widths on the H|Class 100 Q – it was easy to find a setting that I liked.
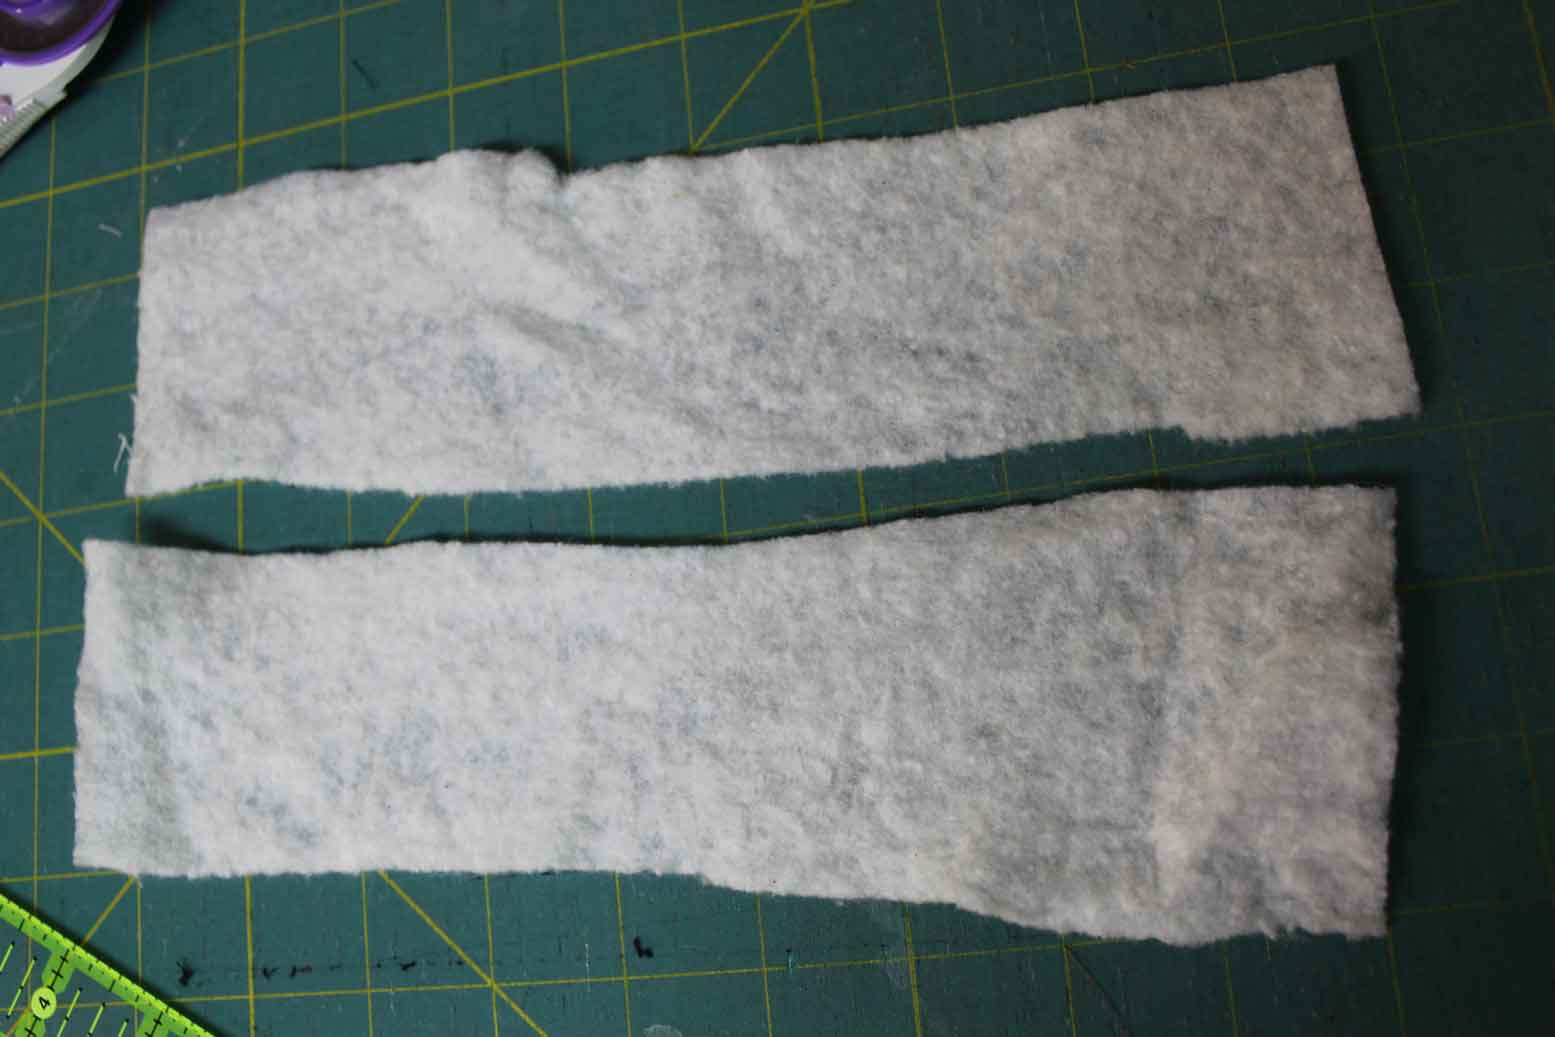
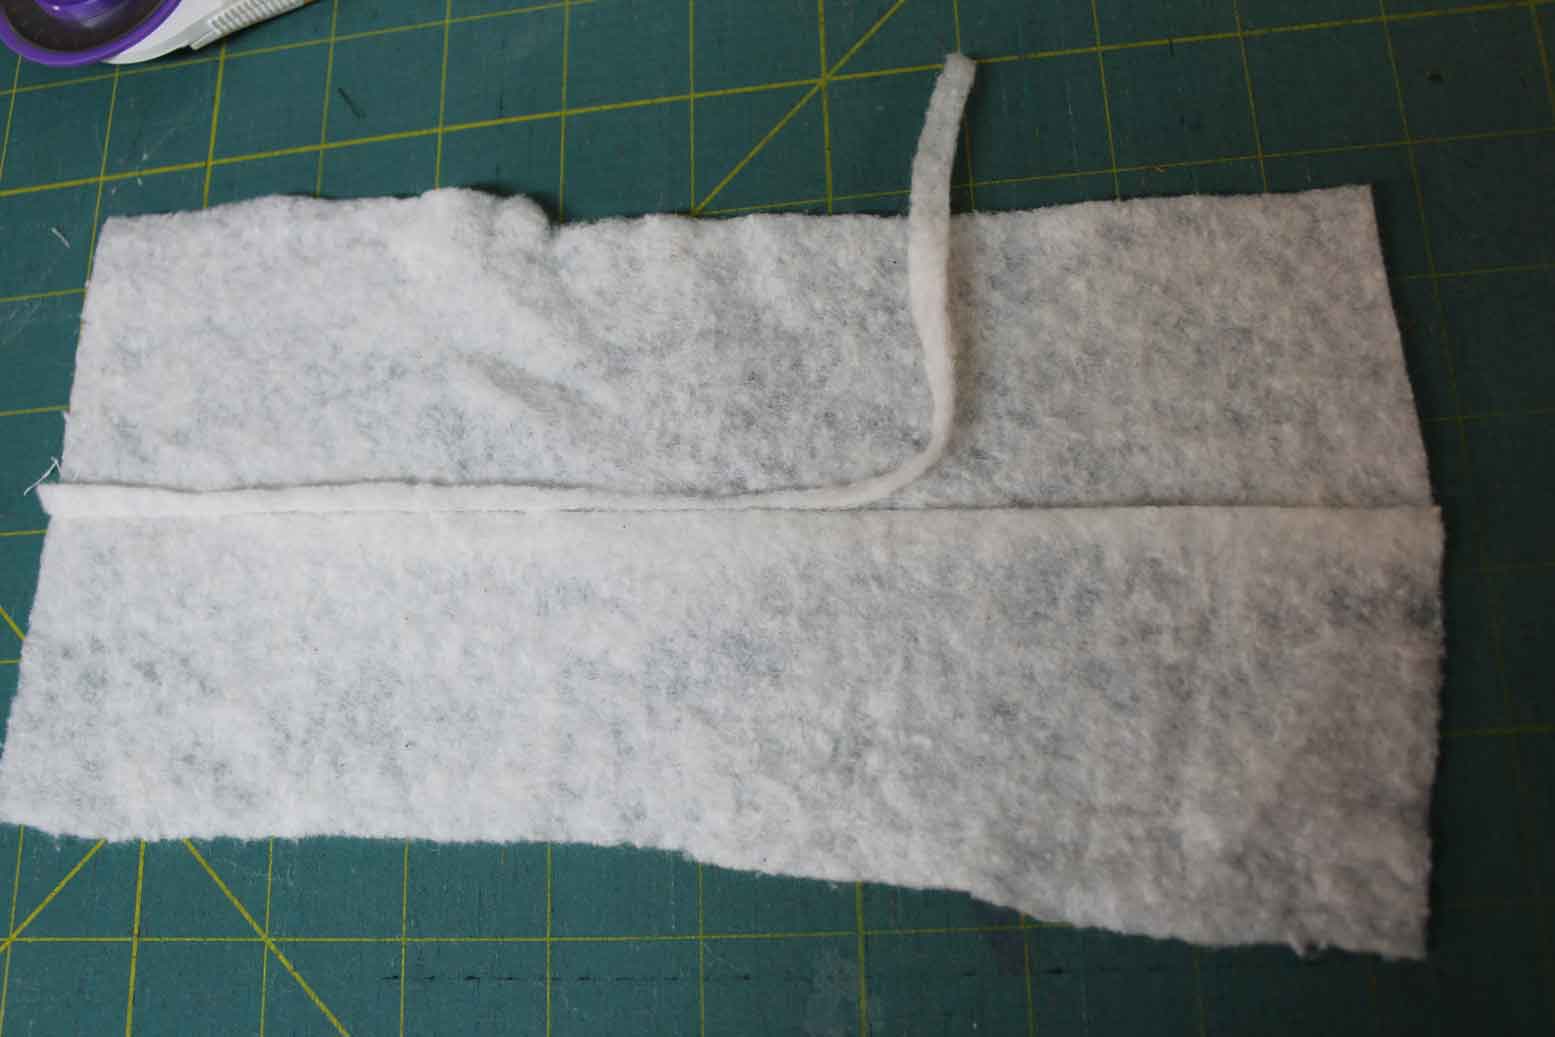
Time to move to the next stitch – 03 – Three-Step ZigZag. This is a strong stitch as it takes THREE stitches in each zig zag instead of just one. I have two places where I use this stitch. One of them is to join batting pieces.
Then I got out my Edge Joining Foot (not included with this machine, but can be purchased separately. The best part – these feet are interchangeable with my other machines.
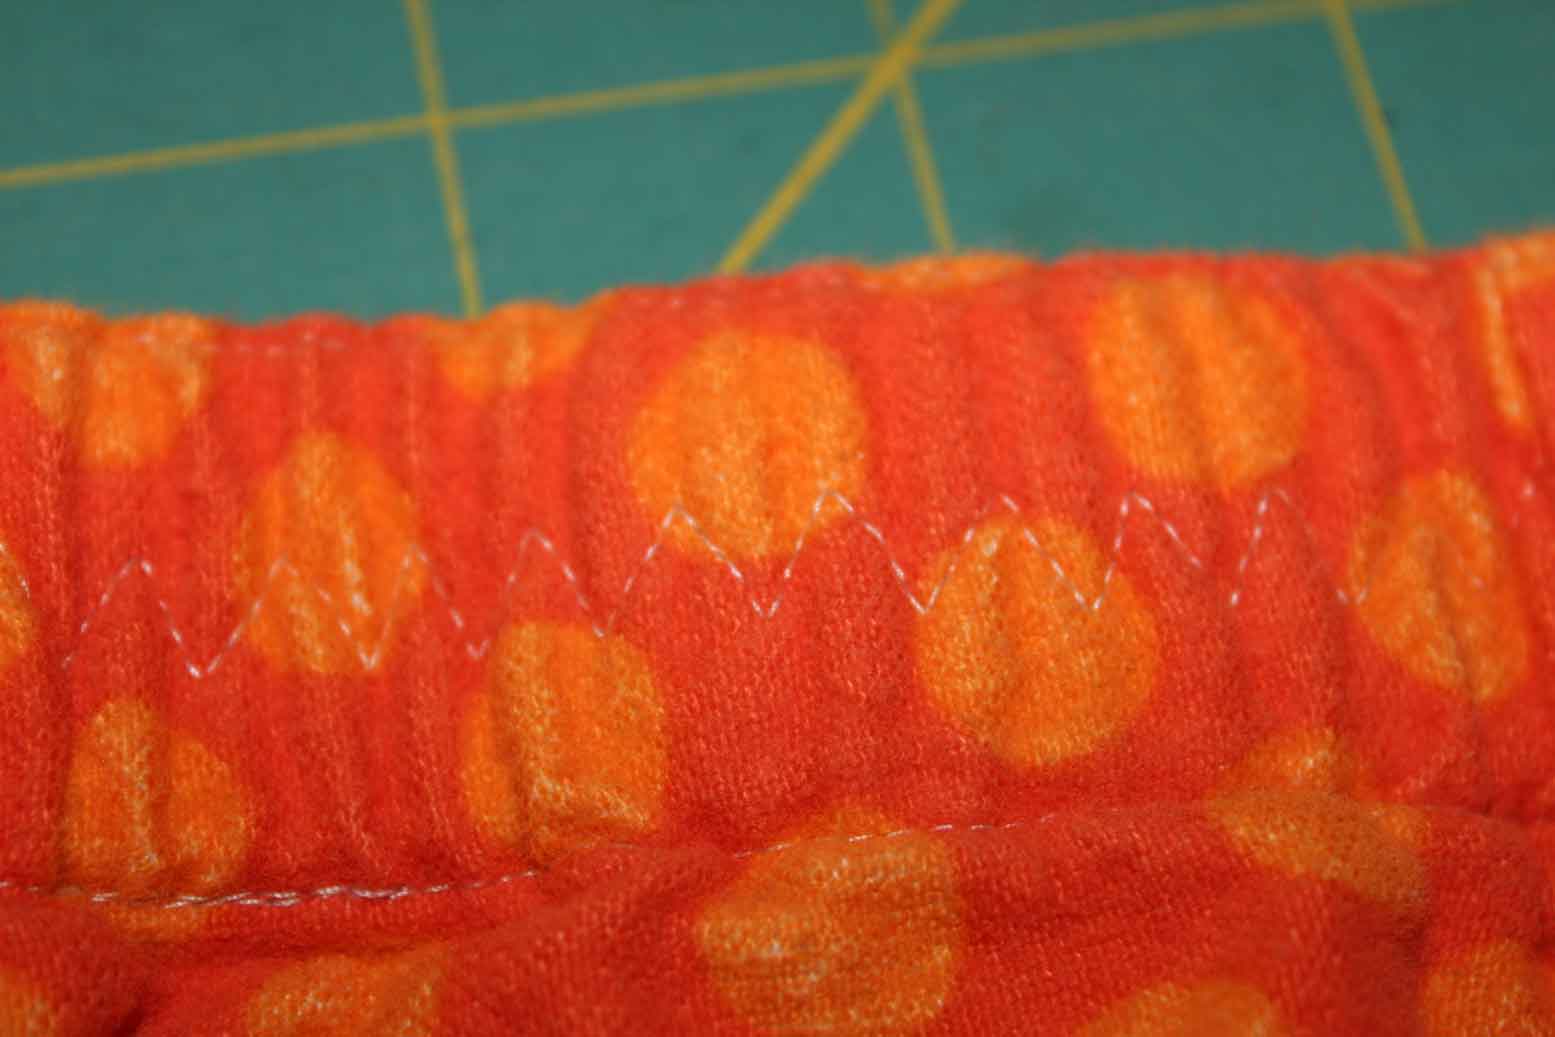
I also have another use for this Triple-Step Zig Zag. When I make PJ pants or anything with elastic in the waist, I do not want the elastic to twist -even when I purchase the kind that is not supposed to twist. I run a row of the Triple-Step Zig Zag through the waist band once the elastic is properly inserted. Never have twisted elastic in the waist band.
I am going to skip a couple of the stitches – which I will cover in another post.
Let’s have a look at 09 – Blanket Stitch. Again – huge flexibility with the width of the stitch – from 1.0 to 7.0 and the length from 1.0 to 4.5. The stitch was perfect. I like to use this stitch on the edge of fusible applique.
Next up was 10 – Satin Stitch. Again the range of play with this stitch is HUGE. The width is from .5 to 7.0 and the length is from .7 to 3.0. This kind of flexibility is essential to having the right tools to deal with all shapes and sizes of applique. My main sewing machine doesn’t have the same flexibility.
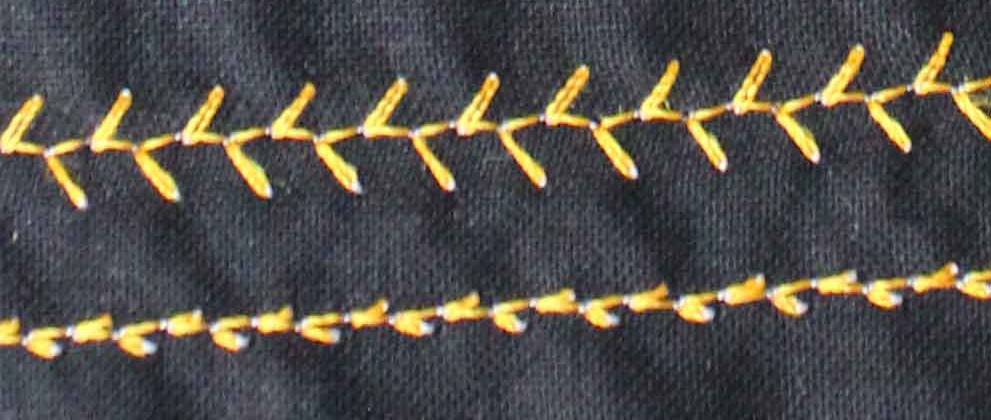
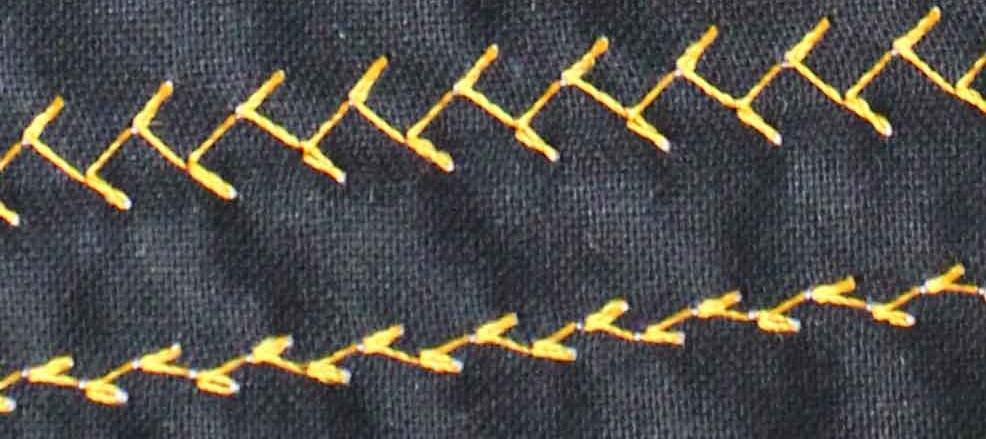
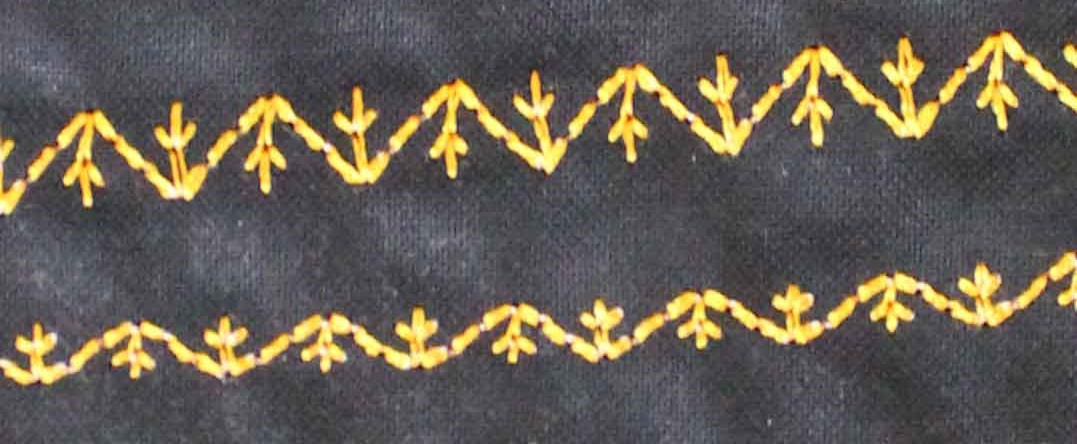
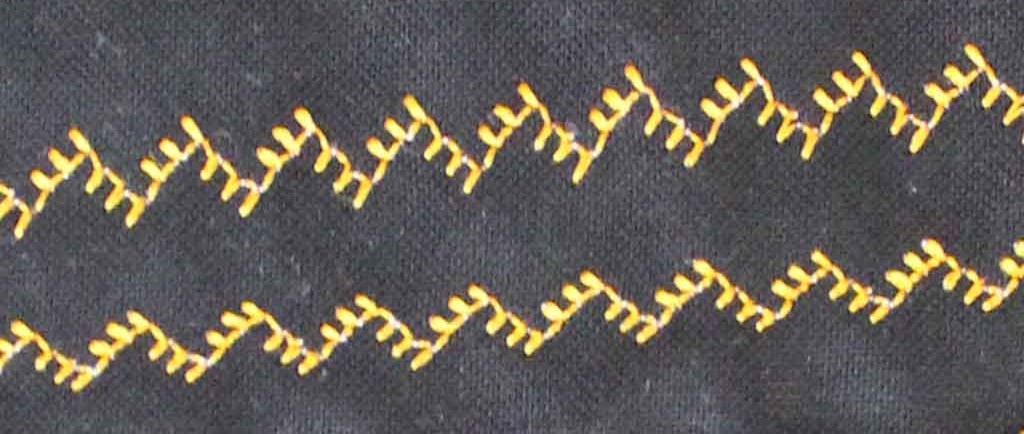
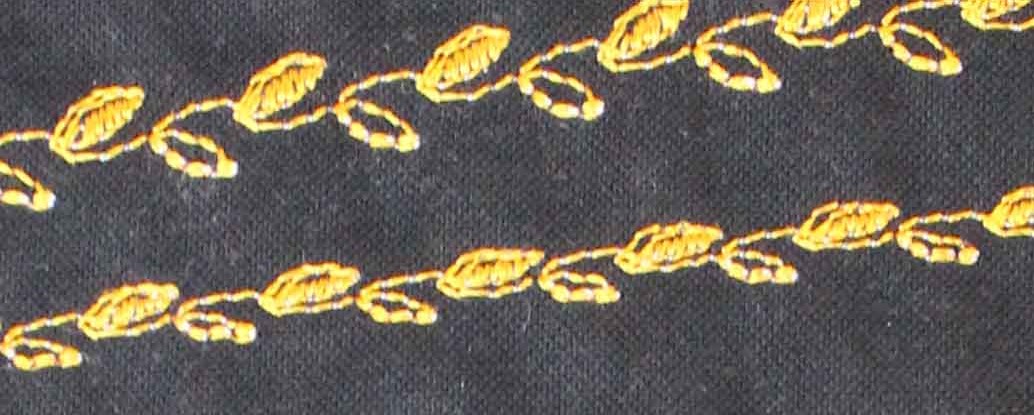
Then I had a peek at the TEN decorative stitches on the H|Class 100 Q. All of them had an excellent range of width and length. You could play all day and still not get to see all the possibilities.
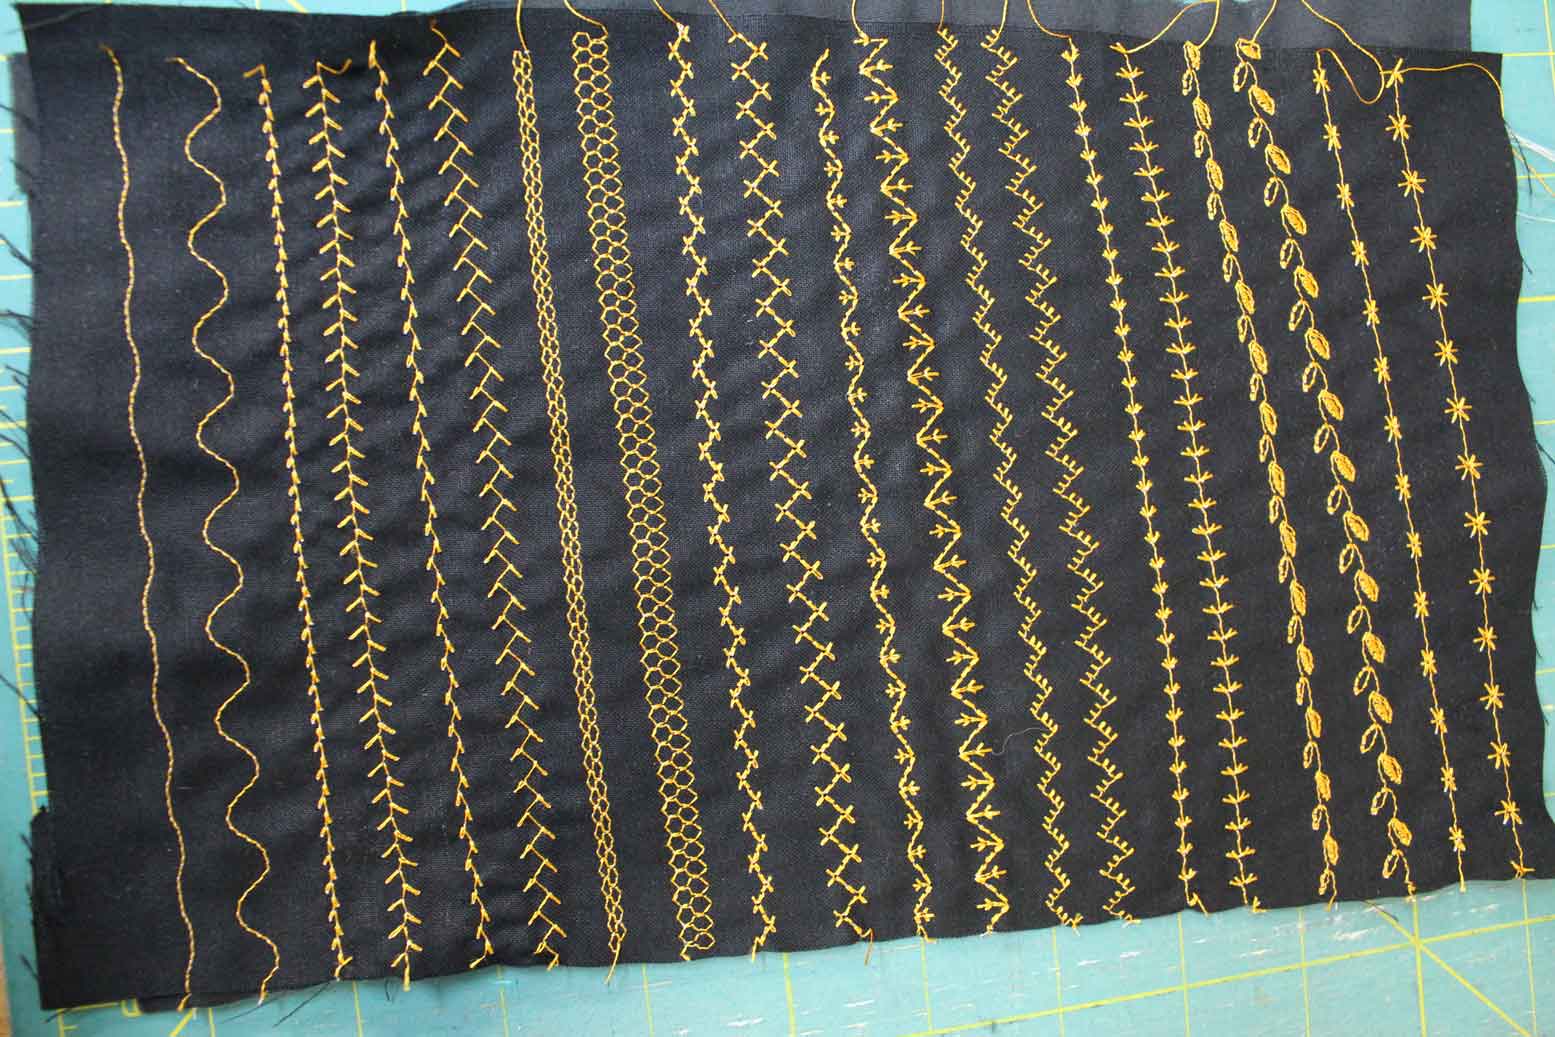
The following photos show the narrowest stitch out and the widest stitch width of each of the ten decorative stitches.
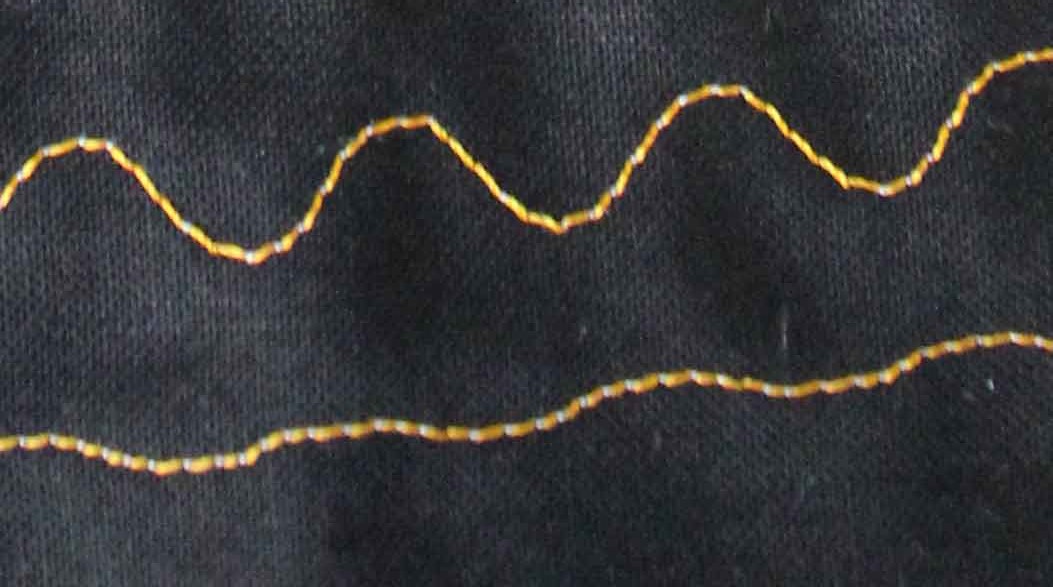
Isn’t that exciting??? There are so many possibilities with the stitches that it boggles the mind. I didn’t even get a chance to see what happens when I play with the stitch length in the decorative stitches. That is for another day.
One of the things that everyone should do with their existing sewing machine or with the purchase of a new one. Try ALL the stitches – play with the width and length. Create little samples that you can put into a note book and write down all the pertinent information. Stitch width, stitch length, type of thread used in the bobbin and the top. I know – you are saying that you do not have time. However consider the stitches on the machine and all the variations of the same stitch tools. The more you know about the tools you have, the more you will use them.
Well – I have to say that I am very impressed. The wheels are spinning with the possibilities that the H|Class 100 Q offers. Hmmmm – I could just as easily use this machine instead of my big one – no removing the main machine from it’s cabinet, nothing to pack up – the H|Class 100 Q is light and very portable. I could easily put this in the car and take to class, I could sew with it in the back yard, at the cottage, in the RV. I might even consider taking it on a bicycle tour!!!! I mean – it is that portable and has some heavy duty abilities.
On that note – I am off to do some more playing.
Have a great day!
Ciao!!
1 comment