As the week winds down to an end my post today is about finishing the quilted triangle cushion top.
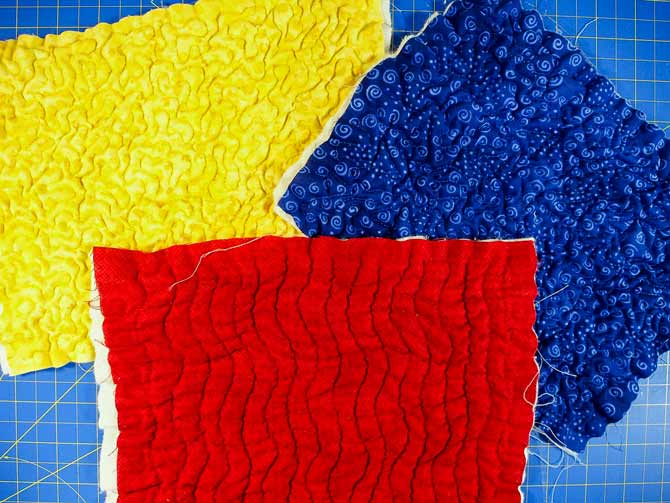
Yesterday I talked about Stitch-N-Steam and how it adds texture to your fabric. I created 3 pieces of textured fabric with the yellow, red and blue pieces of fabric.
The stitching I did on each piece was free motion – each with a different motif. And I put batting in each sandwich as well as I wanted a bit of loft and softness to the piece.
This photo below shows the piece I made yesterday with no batting and the one I made today with batting.
Both had the same stitching motif. Now one piece is smaller than the other but the difference with and without batting is pretty evident. With batting it’s a bit softer and more pillow-like. The one without batting is more crinkly and not as soft looking.
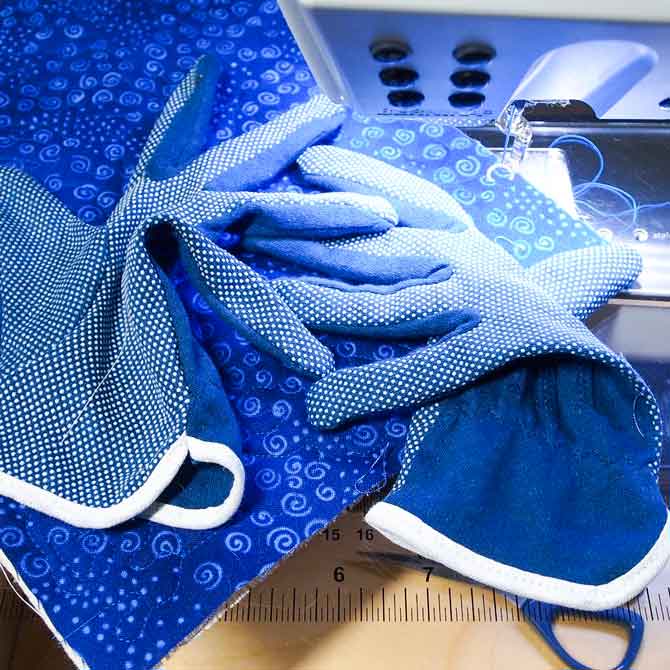
To ensure that I had control of my fabric sandwich while doing the free motion quilting I made sure to wear my quilting gloves. The gloves have little rubber dots on them that allow me to grip the fabric lightly and be able to control where it goes making for smooth quilting. They come in different sizes and are color coded for each size.
Three different motifs – three different textures
Here’s the front of the three pieces. The yellow was done with stippling, the blue with stippling and triangles and the red with wavy lines.
The red design is definitely different from the other two whereas the yellow and blue, even though were stitched with different motifs, look a lot more alike.
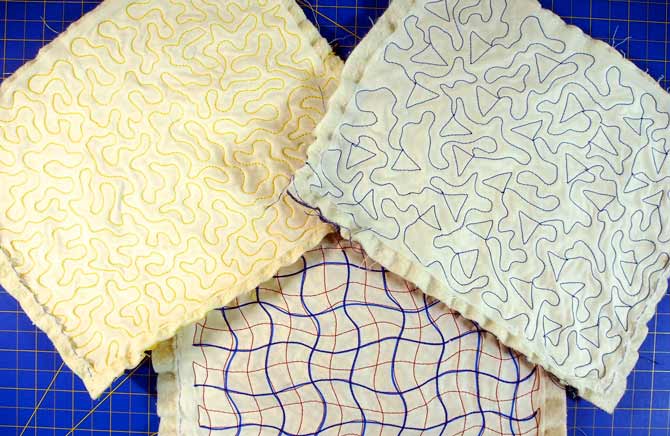
Turning them over you can see the quilting motif much better. Sure looks different than the front.
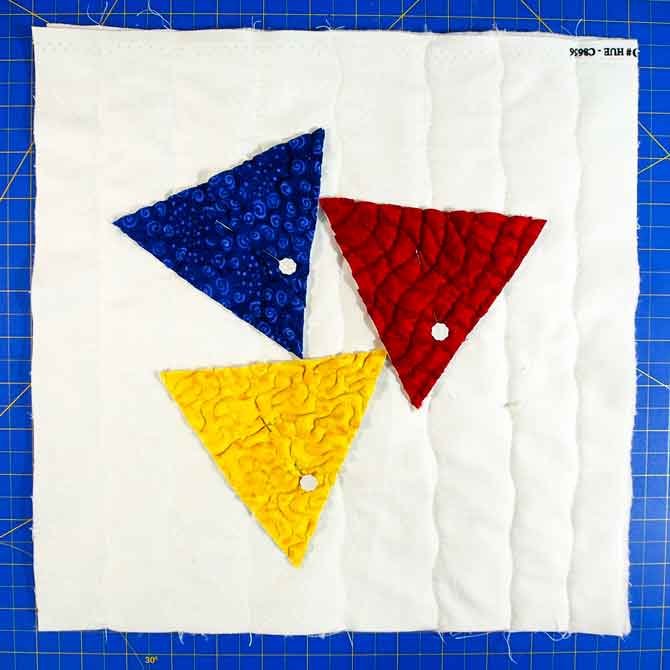
Adding Triangles
I drew an equilateral triangle on the back of each textured fabric piece with a Fabric Fun marker. I knew that it would mark well on the polyester fabric and I didn’t worry about it being permanent. Nobody would ever see the markings as they were on the back.
After cutting out my pieces I pinned them to the quilted pillow top with a flower headed pin. I couldn’t fuse them in place because the polyester fabric on the back would melt if I added fusible web to it. And that wouldn’t be a good thing after all the work I went to to create these textured pieces of fabric.
Quilting the pillow top prior to adding the embellishments is much easier than trying to quilt around the triangles after they have been stitched in place. Too much stopping and starting which means lots of thread ends. But these thread ends can be dealt with easily by using Self-Threading needles to pull the threads to the back and bury under the backing. I love self-threading needles and think they are the greatest thing since sliced bread.
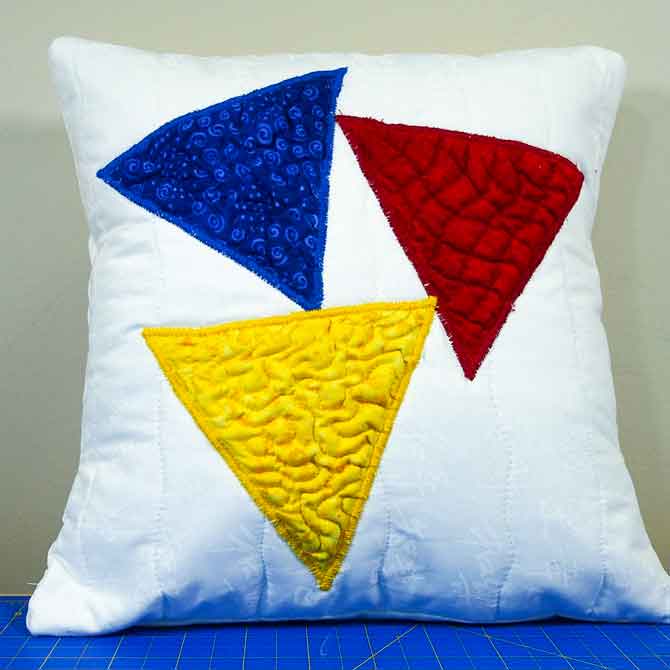
Now that the triangles are pinned in place the next step is to stitch them in place. I used the same Gütermann threads to do a satin stitch around each piece as I used for the free motion quilting. I was keeping everything simple. Simple is good.
I used a free motion satin stitch but in hindsight I think I would do a regular satin stitch next time as I would get better coverage on the uneven edges. A wide stitch width is needed for optimal coverage.
Using your handy dandy thread snips by Titech snip away the thread ends once the satin stitching is done.
The pillow top is now complete and uses a 12″ pillow form.
It’s been another great week here at QUILTsocial talking about color, contrast and texture. I hope you have had as much fun as I have creating the quilted triangle cushion top and learning all sorts of great tips and techniques. Happy Quilting!
1 comment