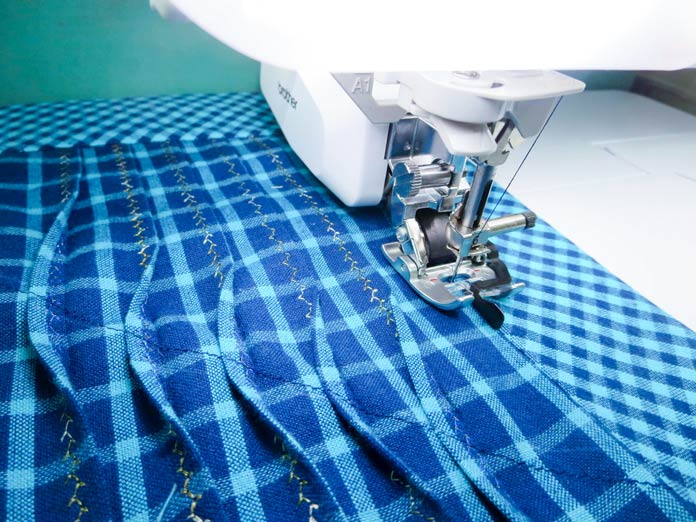
Yesterday I showed you how to pleat woven cotton fabric by making different types of pleats and tucks. The Brother Innov-ís BQ3100, with its automatic fabric sensor, made it so easy to stitch through all those layers of fabric!
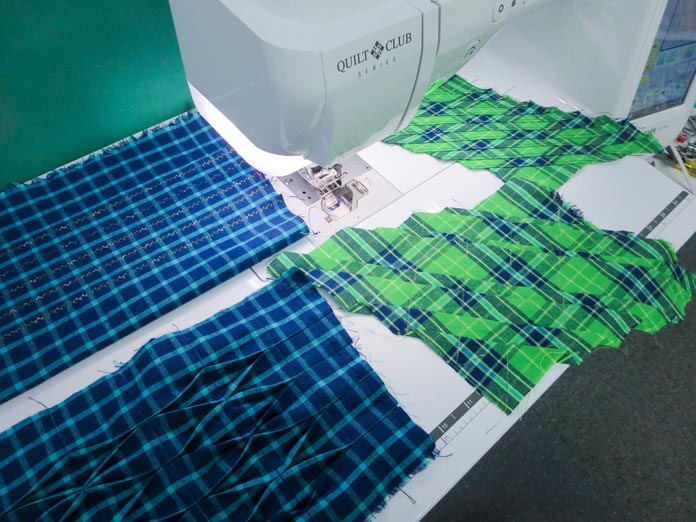
This project started out by just making samples of various types of pleats and tucks so I could try some new techniques on my Brother Innov-is BQ3100 machine. But now that I had four different samples, I decided to make a cushion. The next step was to figure out how to join everything together. I trimmed each sample piece, so the edges were straight. The green pieces were too small to match the dark blue ones, so I added some plain fabric on the ends to make them larger.
Now with everything squared up, I can sew the four sections together.
I wanted to add a border all around and I decided to cut the fabric on the bias because I liked the look of the diagonal squares. To stabilize the border, I used iron-on interfacing on the back of the border fabric before cutting the border strips. The border strips were originally cut at 3″ wide, but I realized they would be too wide, so I trimmed them to 1½” wide.
My cushion top ended up being 21½” x 11½”. The back of the cushion was made using 2 – 11½” x 14″ pieces of fabric. I sewed a narrow double-fold hem on one 11½” edge of each back piece.
Overlap the 2 pieces so you end up with a 21½” x 11½” rectangle (the same size as the cushion front).
Layer cushion front and back, right sides together. Stitch along outside edges using a ¼” seam to join all the layers together.
Turn the cushion right side out and top stitch along the seam between the border and the pieced cushion sections. For this step, I used the newly-designed MuVit walking foot with the Stitch-in-the-ditch foot on my Brother Innov-is BQ3100 machine so I could stitch precisely on the seam line.
Have a look at the MuVit Digital Dual Feed | Brother V-Series Feature Showcase video to see the MuVit foot in action. This is an older video, but itʼs an excellent guide for using the MuVit foot. The Brother MuVit Compact Dual Feed Foot video shows how well the newly designed foot works.
Next, I made a cushion form, stuffed it, and inserted it into the cushion. And here’s my finished cushion!
Please join me again tomorrow on QUILTsocial when I’ll show you how to use the My Custom Stitch feature on the new Brother Innov-ís BQ3100 machine. Soon, you’ll be designing your own decorative stitches!