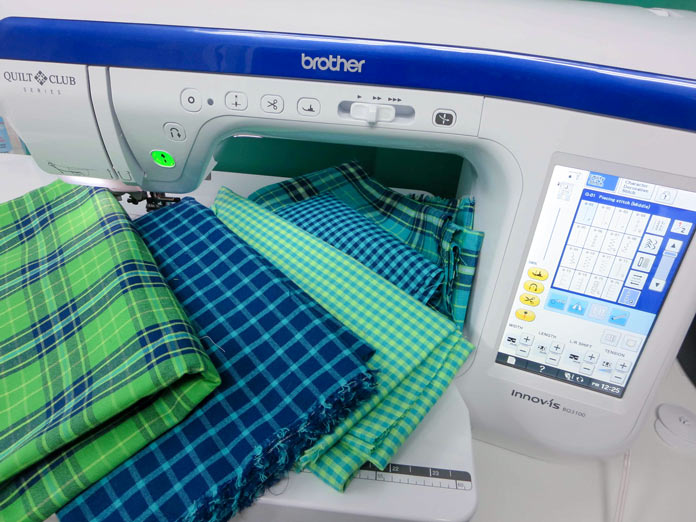
Yesterday, I showed you how to create some texture on fabric using my Brother Innov-is BQ3100 machine and a basic pleating technique. Today, I’m making some more advanced pleating techniques on woven cotton fabric.
Wovens are fabrics that have the design made by weaving the threads rather than printing on top of the fabric. Homespuns are a great example of woven fabric. They have the design on both the front and back of the fabric and they add a nice texture to your project. They do fray a little more than “regular” quilting cottons but using Mary Ellen’s Best Press starch alternative will help to stabilize them.
When I started this cushion project, I wasn’t sure how it was going to end up. I just knew I wanted to try several different techniques for creating interesting texture on fabric. Then I was going to sew everything together to make a cushion top. So, there are no exact measurements for the pieces – just work with whatever you have!
Now, let’s get started making pleats and tucks using wovens.
I started with a 12″ square of fabric.
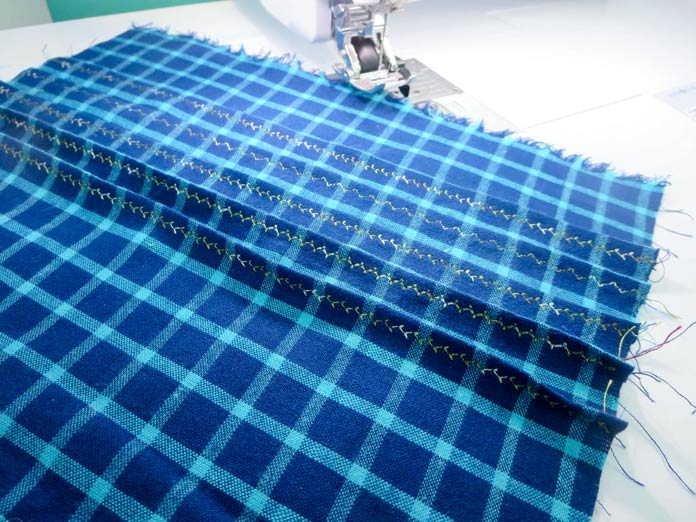
I didn’t have to draw lines on the fabric to set up my pleats as I did before on the plain cotton. I just used the design lines on the fabric and pressed on those.
Once the pleats were pressed in place, I used a couple of the many decorative stitches on the Brother Innov-is BQ3100 along the edge of each fold.
I used the quarter inch foot with guide to help keep my lines of stitching straight.
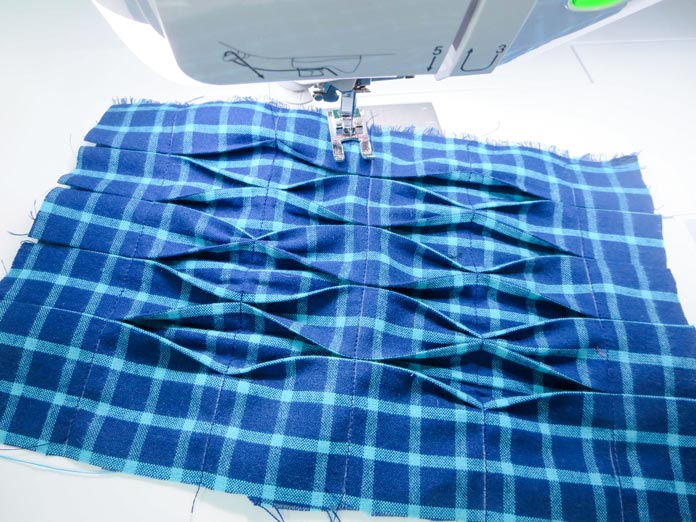
Then I stitched one diagonal line across the pleats, folding them in the opposite direction. What a simple way to create texture on fabric!
Here’s another variation on this theme.
Again, I used design lines on the fabric to make folds. This time, I folded the pleats toward each other. I used Wonder Clips to hold the edges together.
I drew guidelines about 2″ apart and stitched one row of pleats down.
And here’s what I ended up with! Another piece of “new” fabric for my cushion top. And of course my Brother Innov-is BQ3100 machine had no trouble stitching over all the layers, because I had the automatic fabric sensor key activated!
Here’s another way to make pleats and tucks in fabric. This is called an “Eze Pleater” or “Perfect Pleater” I’ve had mine for years and haven’t used it in a very long time but thought it might work for this week’s project.
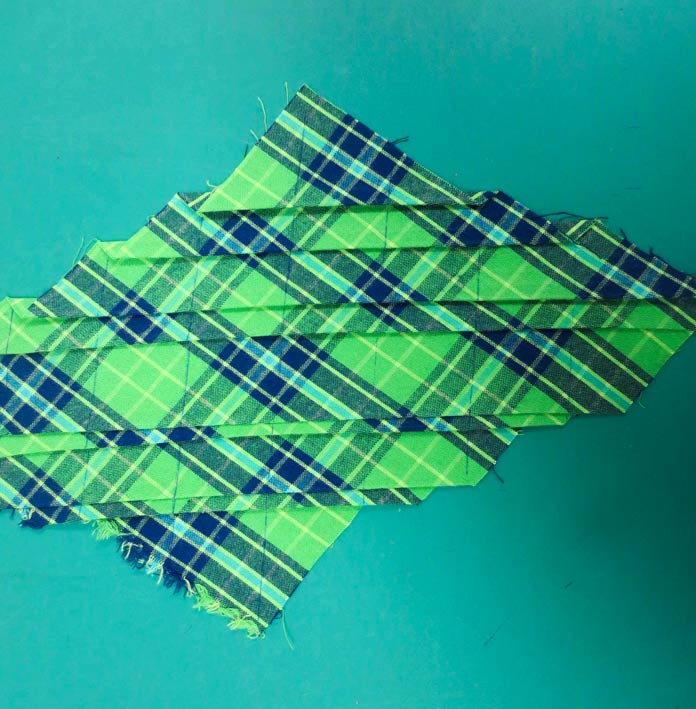
This time, I placed my fabric on the diagonal. This means everything will be on the bias, and you’ll need to handle carefully. The EZE Pleater lets you make pleats of different sizes. You just tuck the fabric in whichever groove you want and then press everything in place.
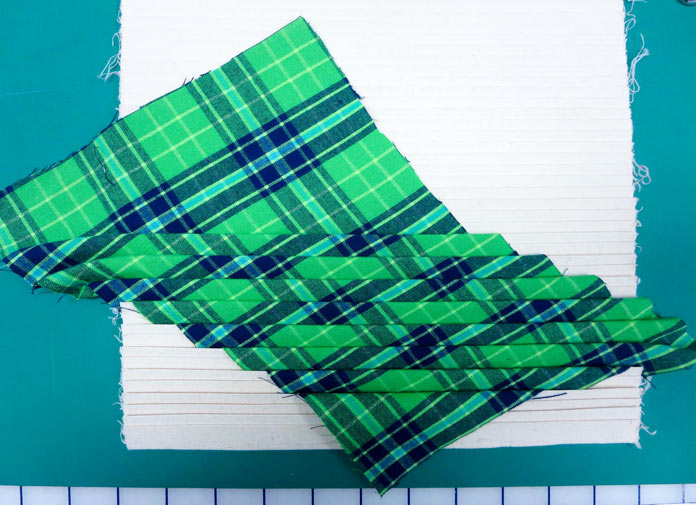
Here’s what my fabric looked like when I took it out of the pleater.
I drew some lines on the fabric as stitching guides, and then stitched the pleats in place.
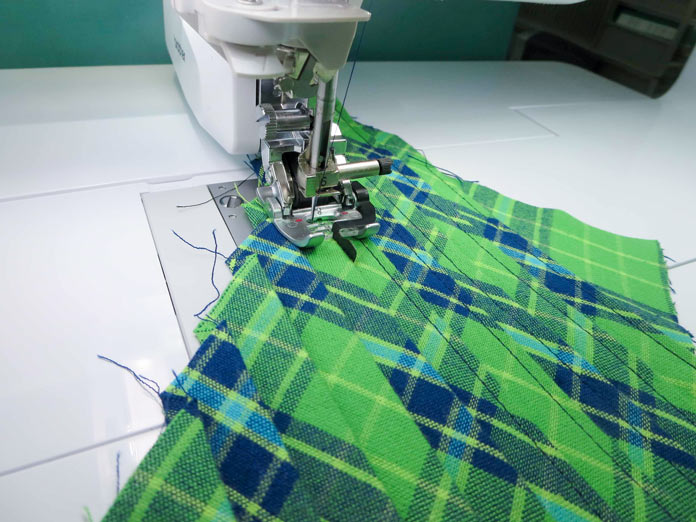
Next, I made a piece of pleated fabric that had equal size pleats.
The pleats were stitched down close to the fold. I used the MuVit foot quarter inch foot with guide on my Brother Innov-is BQ3100 machine and stitched along the fold lines.
And here’s the finished piece!
I hope you’ll come back again tomorrow when I’ll be showing you how to use the new Brother Innov-ís BQ3100 machine to sew all these pleated sections together to make a one–of–a–kind decorator cushion.
This is part 2 of 5 in this series
Go back to part 1: Creating textured fabric with pleats and tucks
Go to part 3: Making a one-of-a-kind cushion with the Brother BQ3100