Last month I introduced you to the new Brother Innov-ís BQ3100 machine, also known as “The Achiever Sewing and Quilting Machine”. This machine is one of the Quilt Club series of machines for sewing and quilting. You can check out all the features of the BQ3100 machine by clicking on the Specifications tab on the Brother website.
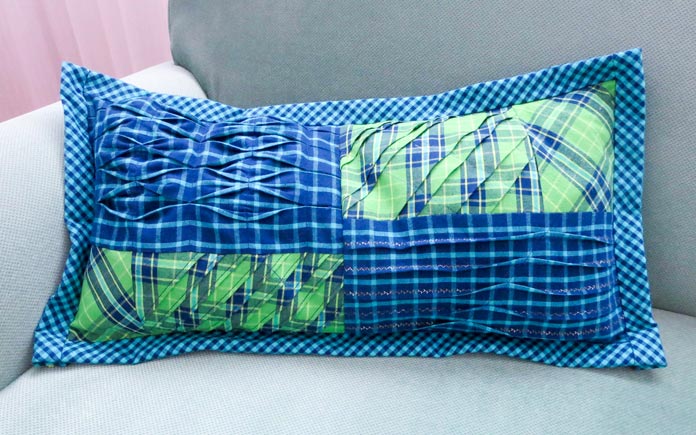
I love creating “new” fabric, so this week I’ll show you how to make tucks and pleats to create textured fabric. I had lots of fun experimenting with different methods of making tucks and pleats and made many samples which I then used for this decorative cushion. I’ll share with you all the steps needed so you can make your own custom designed cushion.
Here are the basic steps for creating pleats:
Use a piece of fabric that is about 12″ square
Using a fabric marking tool, draw lines that are 1″ apart.
Press on the lines so you have a series of ridges.
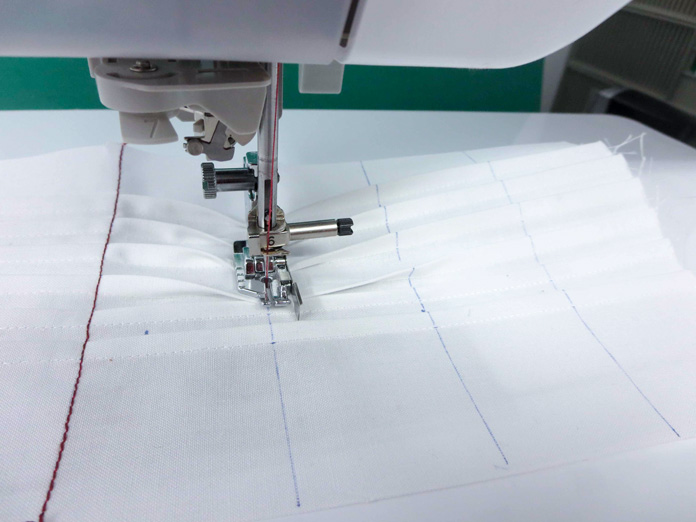
Using the quarter inch foot with guide on the Brother Innov-is BQ3100 machine, stitch along the edge of each fold. Then press all the folds flat.
Draw lines about 3″ apart on the folds.
Stitch along the first line, using a straight stitch.
Stitch along the second line, this time placing the folds in the opposite direction.
The fabric can get quite bulky at this stage, but because I have the automatic fabric sensor key activated on the Brother Innov-is BQ3100 machine, itʼs no problem to sew through the bulky fabric. The machine automatically detects the thickness of the fabric and adjusts the stitching accordingly.
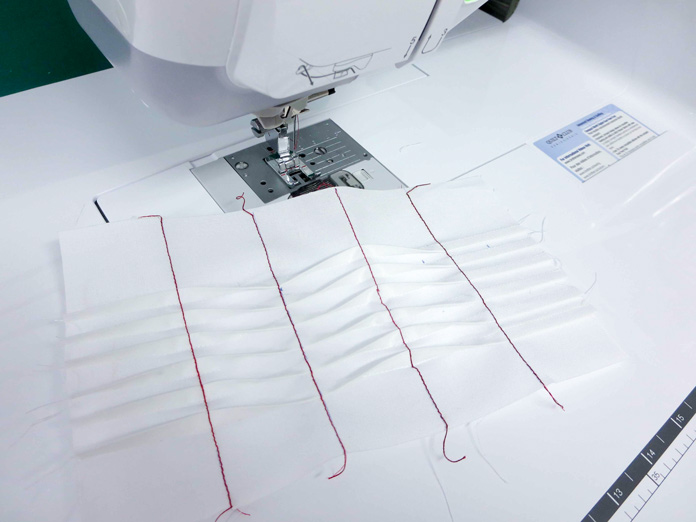
Continue sewing on each line, moving the pleats in the opposite direction on each row.
Here’s my finished sample.
Now that you’ve got the basic technique mastered, I hope you’ll come back to QUILTsocial tomorrow to see some variations of this pleating technique.
This is part 1 of 5 in this series
Go to part 2: How to pleat woven cotton fabrics using a sewing machine | Tutorial