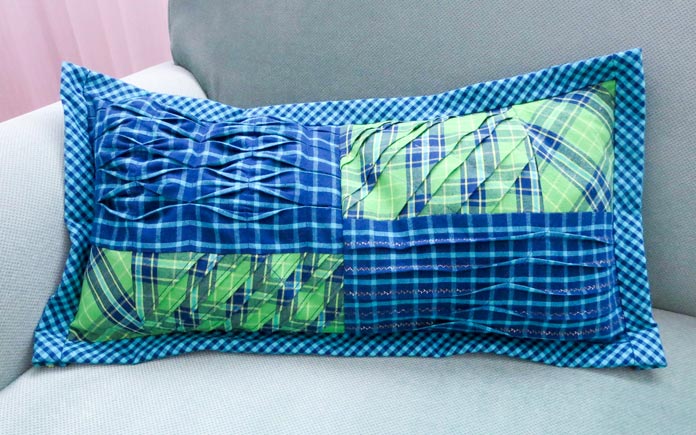
Yesterday, I showed you how to make a cushion using four different pieces of pleated and tucked fabric created on the new Brother Innov-ís BQ3100 machine.
I used a few decorative stitches on my cushion, and although there are hundreds of decorative stitches on the Brother Innov-ís BQ3100, sometimes you just need something different.
Now, using the exclusive My Custom Stitch feature on this machine, you can do just that! The video, How to Design Your Own Custom Stitch with My Custom Stitch by Angela Wolf for Brother, shows one way to do this. Angela uses the Brother Dreamweaver machine, but the method is exactly the same for the Brother Innov-ís BQ3100.
My Custom Stitch is also well explained in the manual included with the machine. There are even some grid sheets supplied if you want to draw your design before entering it in the machine.
There are several ways to create your own custom stitch. I decided to draw my design free hand rather than use the grid sheets.
Here’s how to get started:
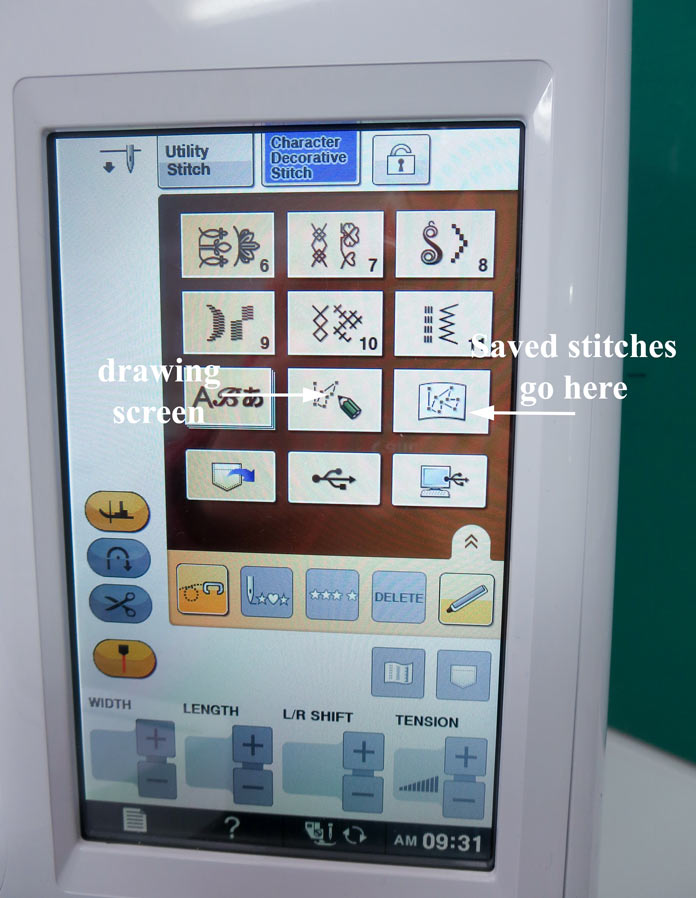
Press the Character Decorative Stitch key at the top of the LCD screen. Then press the key with the little pencil in it. That’s your drawing tool!
Now you can see your drawing space. You can draw with the screen in a vertical or horizontal position.
Using your finger or a stylus, move the pencil to your starting point and press Set. Move the pencil or use the arrow keys to move to another spot and press Set. Just keep drawing until you have a design that you like.
You can press the magnifying glass at the top of the screen to enlarge the stitch on the LCD screen. Now you can adjust the width and length of your stitch if you wish. You can also edit the stitch by removing some of the points, or you can keep adding to the design.
When you press the Test key, you can see a close-up look of how your stitch will look on fabric.
When you’re satisfied with your design, press the Memory key to save it in the machine, on a USB stick or in your computer.
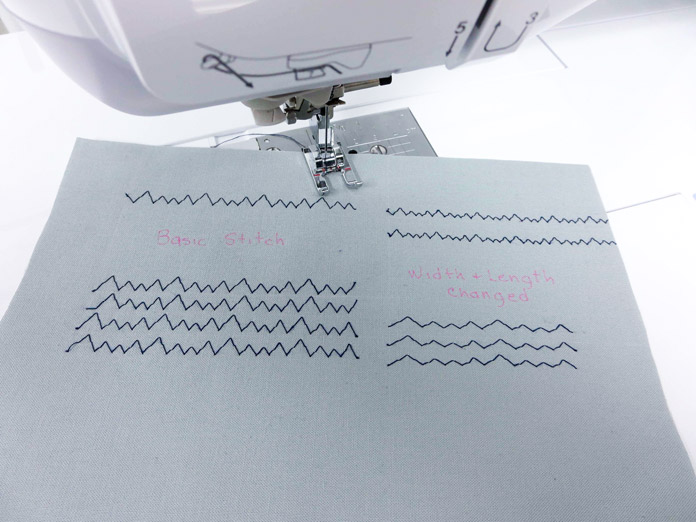
And here’s how my new custom stitch looks on fabric. The design possibilities are endless. Have fun!
Tomorrow, I’ll show you even more ways to use the My Custom Stitch feature on the Brother Innov-ís BQ3100. Please come back and join me!
This is part 4 of 5 in this series
Go back to part 3: Making a one-of-a-kind cushion with the Brother BQ3100
Go to part 5: Doodling with My Custom Stitch on the Brother BQ3100
2 comments