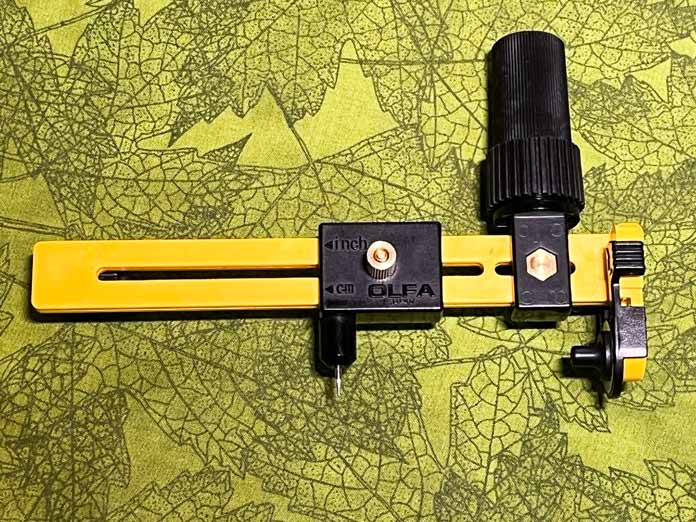
Welcome back! Yesterday, with the help of the OLFA Rotary Circle Cutter I cut all the half-circles needed for the construction of my take on a windmill quilt.
Today’s fun is all about fusing those red and yellow half-circles to the green background fabric to make windmill blocks.
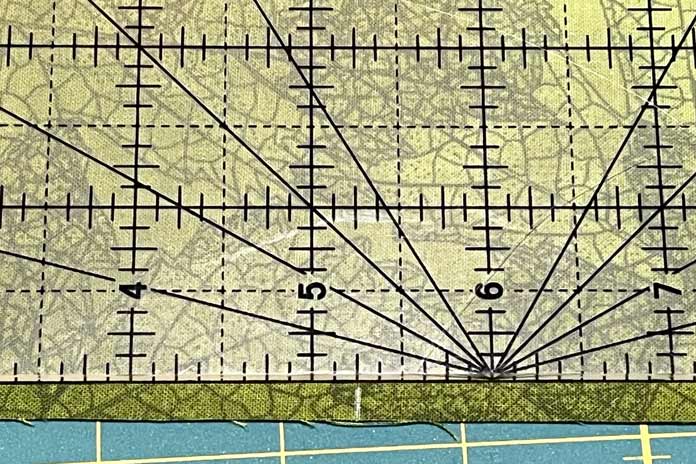
First, mark the center point of one side of each of the (16) 10½” x 10½” green background fabric squares.
I’m using the OLFA 6″ x 12″ Frosted Acrylic Ruler to measure and mark 5¼” from one of the block’s edges. The white mark itself is less than ¼” in length, perpendicular to the edge of each square.
Mark the center point at 5¼” with a small line on one edge of each of the background fabric squares.
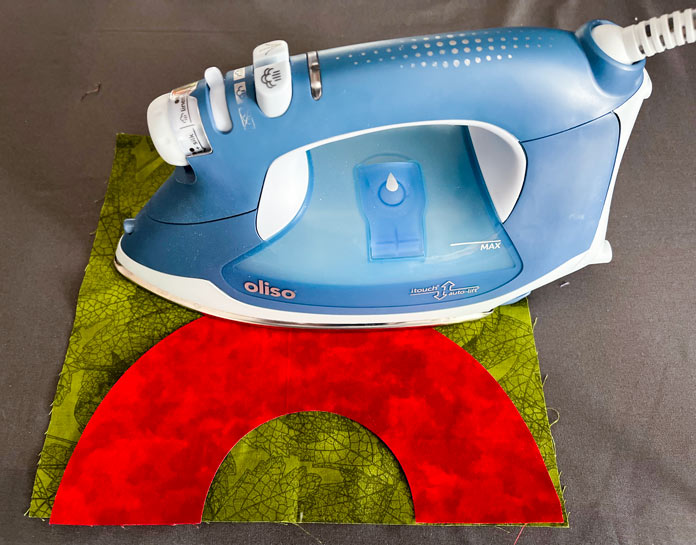
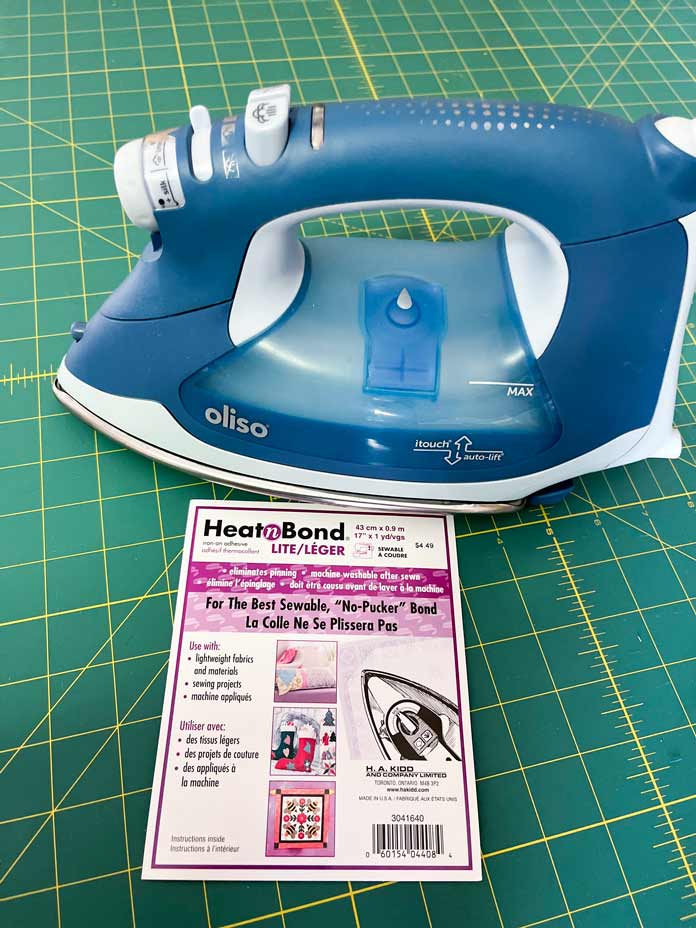
Before fusing the yellow and red half circles to the background fabric, preheat the Oliso PROTM TG1600 Pro Plus Smart Iron to the silk setting as recommended in the HeatnBond Non-Woven Light Weight Fusible Interfacing instructions.
Note: I can’t stress this enough! Read all the instructions included with the interfacing. Even within the same brand, fusing instructions can change depending on the individual product.
Here are three fusing tips and tricks I’ve learned through experience:
- only remove the interfacing paper at the point of fusing, and not before
- do not keep the pieces to be fused close to the hot iron
- when preparing to fuse another fabric piece, do not lay it on the warm ironing board where another piece was just fused
Now, on to the fusing!
On the edge of the background square where the mark was drawn, center the large red half-circle and fuse it to the background fabric. Repeat this step on all 16 background squares.
Before fusing the smaller yellow half-circle, hold it up to a light or window to see the line of the X previously drawn on the interfacing’s paper backing. Using the X as a guide to find the center point, draw a small mark on the straight edge of the yellow half-circle.
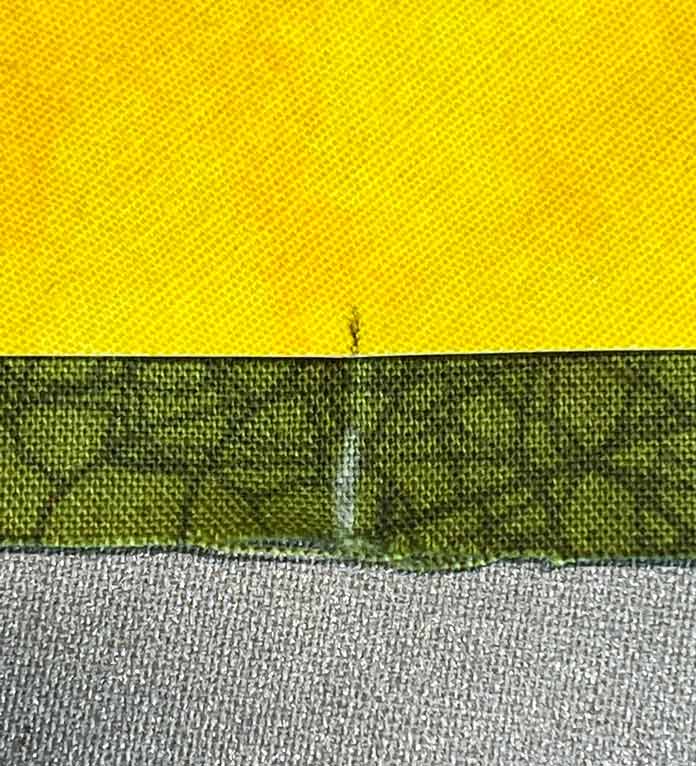
Remove the interfacing backing paper and line up the mark on the yellow half-circle with the mark on the edge of the background fabric.
Slide the half-circle piece down to meet the edge of the background fabric and fuse it into place.
With the yellow and red half-circles fused to the green background fabric squares, today’s work is done. Remember the three tips I mentioned earlier about when and where to remove the HeatnBond interfacing backing paper as you’re working!
Today’s fusing and yesterday’s cutting were made easy with the OLFA Rotary Circle Cutter, the Oliso PROTM TG1600 Pro Plus Smart Iron and HeatnBond Non-Woven Lightweight Fusible Interfacing. Be sure to have these time-saving (and trouble-saving) tools and products in your sewing room to make completing your projects a breeze.
Tomorrow, I’ll put the finishing touches on these circular windmill blocks before assembling the quilt top. See you then!