Yesterday, thanks to well-made tools such as the OLFA Rotary Circle Cutter and the Oliso PROTM TG1600 Pro Plus Smart Iron, the first part of the windmill block construction was easily completed.
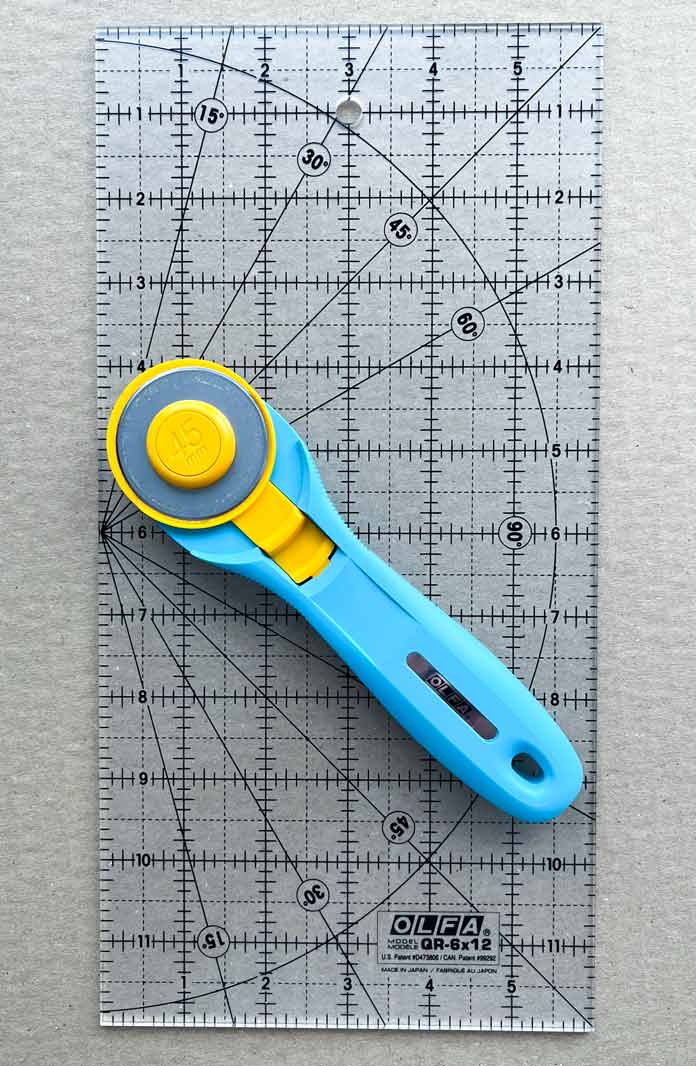
Today, along with my sewing machine, I’ll use my OLFA 45mm SplashTM Handle Rotary Cutter and OLFA 6″ x 12″ Frosted Acrylic Ruler.
With the large and small half-circles fused to the green background fabric squares, the next step in completing the block is to add a decorative stitch along the curved edges.
There are many decorative stitches you could use here, but I like to use a double blanket stitch when doing raw edge applique by machine.
Before I start sewing a decorative edge stitch, I put a clear presser foot, such as a satin stitch or applique foot (also referred to as an open toe foot) on my machine.
Once I’ve selected the double blanket stitch, I also:
- move the needle as far to the right as possible
- reduce the stitch length to a two (2) setting
- reduce the stitch width to a two (2) setting
The reason I move the needle far to the right is I find it easier to stitch along the curve by following the edge of the foot, rather than trying to keep the curve centered in the middle of the foot.
As to why I prefer a smaller stitch length and width, it’s because I like the way a smaller stitch length and width make a nicer edge finish.
Using a coordinating-colored thread, sew along the edges of both the inner and outer half-circles.
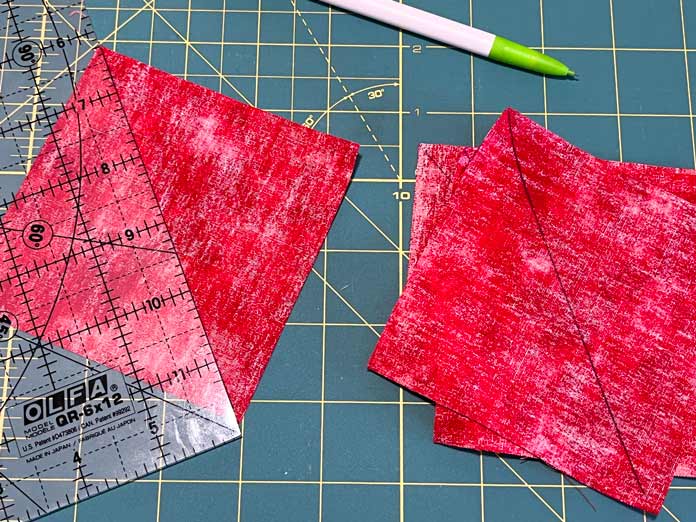
The next step in completing the blocks is to add the triangle corner piece.
Draw a diagonal line from corner to corner on the wrong sides of the (16) 4” x 4” red fabric squares we cut on Monday.
Next, with right sides together, place a 4” x 4” fabric square on the corner of each background fabric square, matching edges. Sew along the diagonal line on the 4” x 4” square.
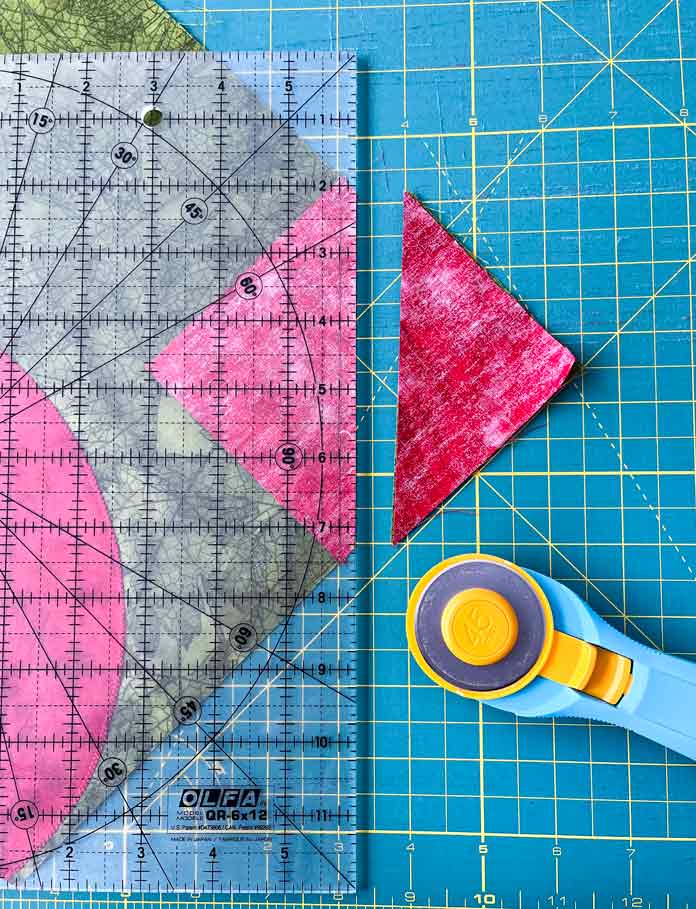
Using your OLFA rotary cutter and OLFA 6” x 12” ruler, cut away the excess fabric ¼” from the seam line towards the outer corner of the block.
Open the fabric and press the corner triangle towards the outer edge of the block.
With all the pressing completed, so are the blocks!
The OLFA 45mm SplashTM Handle Rotary Cutter and the OLFA 6″ x 12″ Frosted Acrylic Ruler definitely came in handy to finish these blocks. Having the right tools makes creating so much faster and easier.
Tomorrow, I’ll assemble the quilt top from the blocks created this week and show additional possible layouts using the blocks. It’s amazing to see the effects the arrangement and rotation of the half-circle windmill blocks can have on the overall appearance of a quilt! Come back tomorrow to see some of the options!