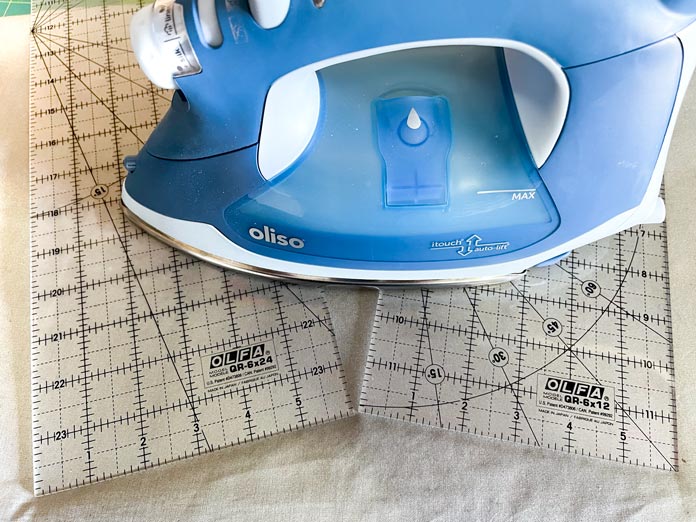
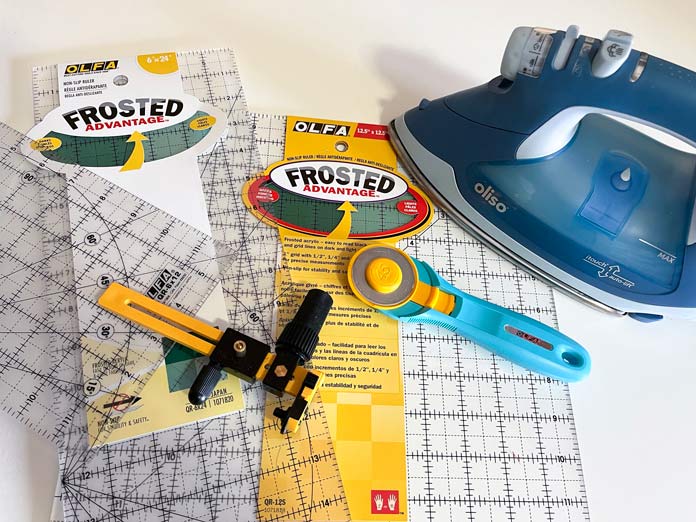
Yesterday, thanks to well-made tools such as the OLFA Rotary Circle Cutter and the Oliso PROTM TG1600 Pro Plus Smart Iron, the first part of the windmill block construction was easily completed.
Today, along with my sewing machine, I’ll use my OLFA 6″ x 12″ Frosted Acrylic Ruler to complete the quilt top.
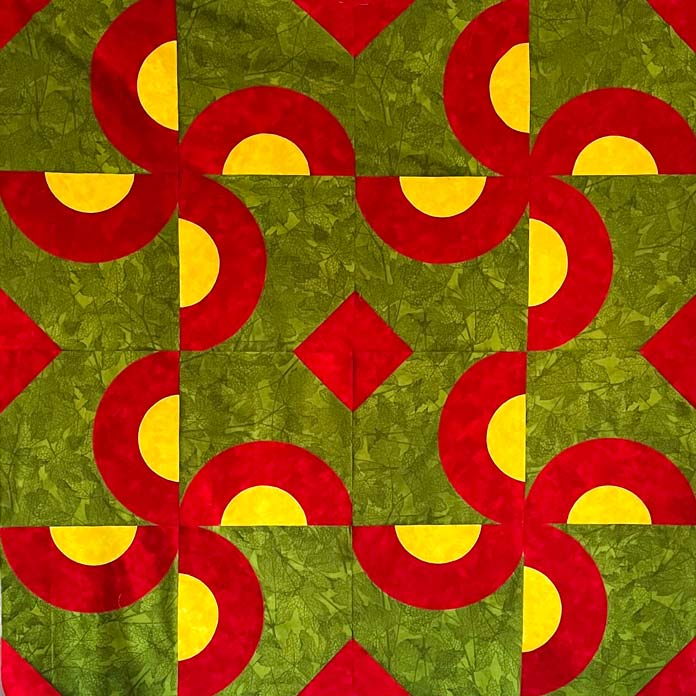
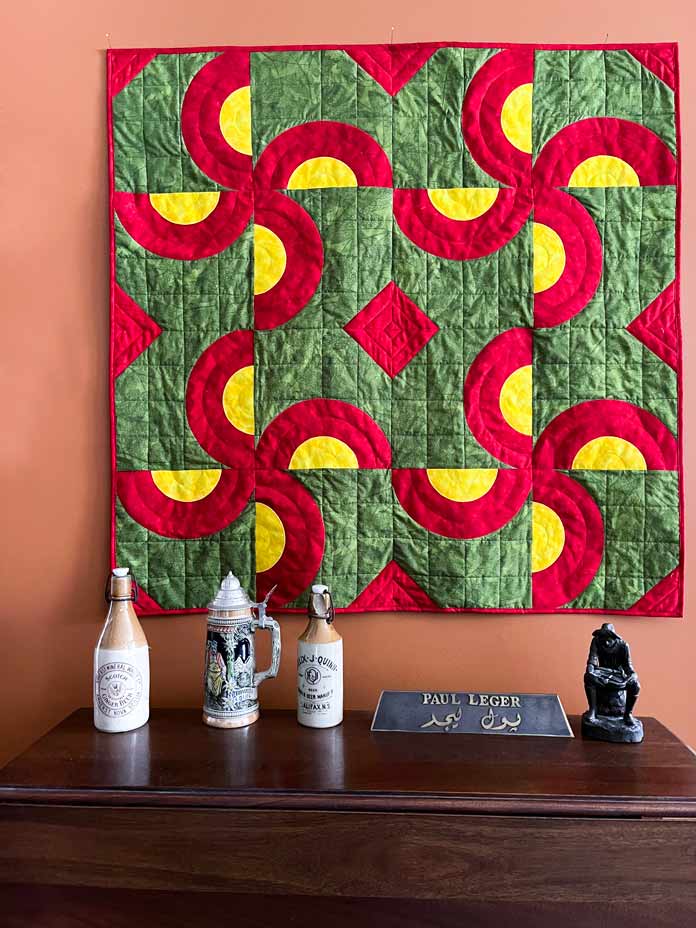
The blocks are complete and it’s time to assemble the quilt top. Just to refresh your memory, here’s the quilt top preview picture I added to Monday’s post.
I still plan to make this quilt according to the original layout, but before I start, I want to play with some other possible layouts for these blocks.
Often, we quilters don’t give ourselves permission to play with and change quilt top layouts. We tend to go with what the pattern tells us. Today, I want to give everyone the opportunity to play!
Here are just four of many possible layouts.
Putting this quilt top together is easy.
Most of the layout examples I’ve shown above are all constructed from the same rows. Make four rows using four blocks each, flipping every other row.
All seam allowances are ¼”.
Note: If the chosen layout does not have alternating rows, I suggest each row should be sewn one at a time to reduce the chances of making a mistake.
Next, sew the four rows of blocks together, ensuring each successive row is oriented in the opposite direction from the previous.
There is no right or wrong choice when it comes to quilting a quilt. We can quilt it ourselves or have it quilted by a professional with a long arm machine. In my case, whenever possible, I prefer to do my own quilting. I may not have the skills of a professional long arm quilter but, with each quilt I quilt, my abilities improve.
As I was working on this quilt, I thought of all the possible quilting designs I could use to enhance this project. Ultimately, I decided on curved, straight, and diagonal lines.
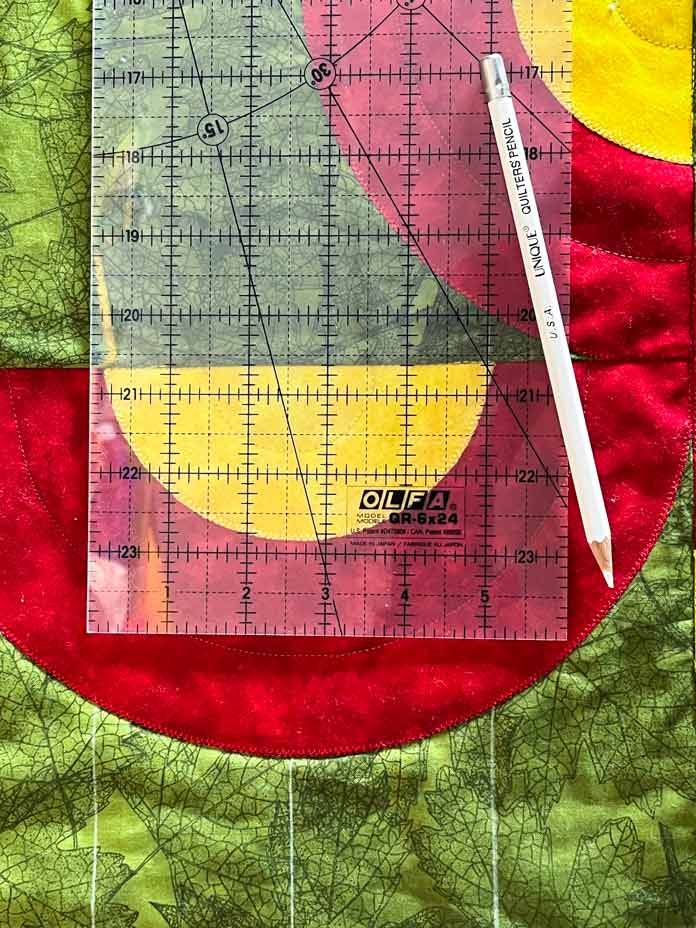
Before quilting, draw lines in the half-circles. There are many ways to mark curving lines.
Curved lines can be made by:
- following the edge of a walking foot
- using plastic circle templates
- using a drawing instrument such as a compass
- any one of many other possible methods
There are no right or wrong tools; it’s a matter of personal preference. For this quilt, I used a compass to pre-mark my curving quilting lines in the center and the outer edge of the half circles.
Once lines are drawn, quilt over the lines.
In the large green background section, with the help of the OLFA 6” x 24” ruler, I drew straight lines going up and down and across at 2½” intervals. The effect of these lines crossing each other creates a grid on the background fabric.
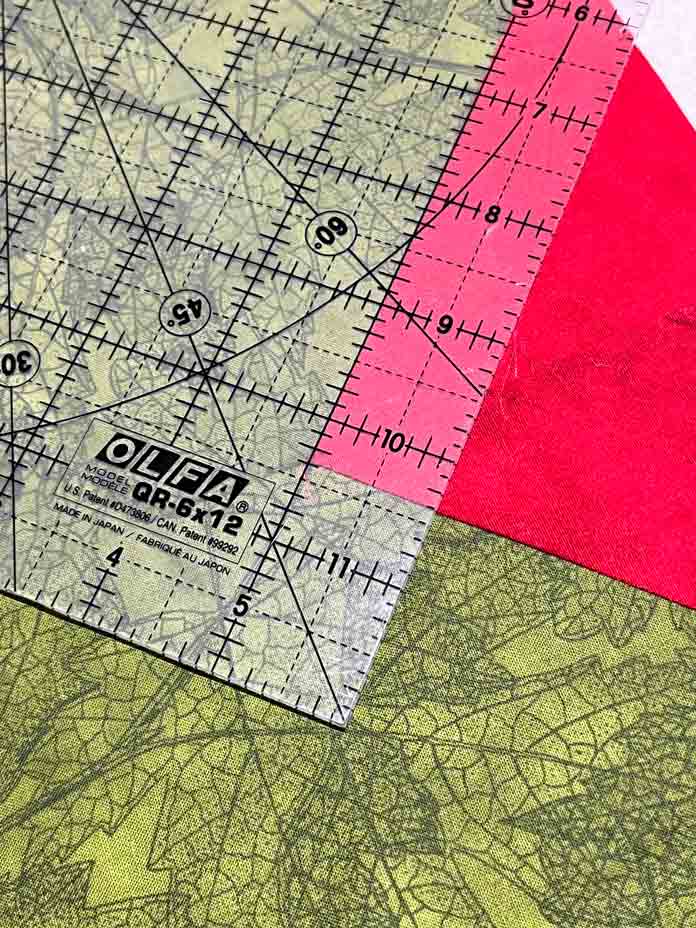
The only sections remaining to quilt are the red triangles. In the triangles, using my OLFA 6” x 12” ruler I drew lines spaced 1” apart.
With the quilting completed, so is the quilt top!
Finally, add the binding to the edges of the quilt. I covered this topic in another post – https://quiltsocial.com/how-to-sew-the-perfect-quilt-binding-by-hand-or-by-machine/.
This quilt proved to be an innovative and eye-pleasing way to create a windmill quilt using half-circles. The blocks were easy to assemble, and the quilt top block layout was fun to play with and sew together!
It’s no secret that to make this or any other quilt, the tools used make all the difference. Once again, here are all the tools I used this week to construct this quilt:
· OLFA 45mm SplashTM Handle Rotary Cutter
· OLFA 45mm Tungsten Tool Steel Rotary Blade
· OLFA 121⁄2″ Square Frosted Acrylic Ruler
· OLFA 6″ x 12″ Frosted Acrylic Ruler
· OLFA 6″ x 24″ Frosted Acrylic Ruler
· OLFA 24″ x 36″ Double Sided Rotary Mat
· HeatnBond Non-Woven Lightweight Fusible Interfacing
· Oliso PROTM TG1600 Pro Plus Smart Iron
Thanks for following along this week, and be sure to join us next week for another great quilting project demonstration!
This is part 5 of 5 in this series
Go back to part 4: Finish off those windmill blocks with beautiful machine applique stitching
2 comments